Installation & Start Up
Wall Mount Mechanical Installation
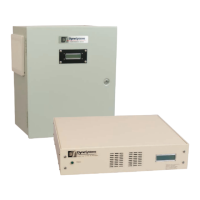
The PAU should be mounted in the vertical position (Refer to Figure 5.1). It is required that
12” of clearance around the entire PAU be provided to allow for lter changes and adequate
airow around the cabinet.
The method of mounting the PAU to a vertical surface is the responsibility of the end-user.
Wall Mount Wiring
Once the PAU is securely mounted, and all conduits with the appropriate wires are
in place:
1. Open the access panel and route the wires into the panel.
2. Connect the wires according to the prints provided (Refer to Figure 5.2).
Note: The prints provided with the PAU take priority over this manual.
It is likely that not all of the terminal connections will be used.
The PAU has safety inputs in the form of Coolant Temperature and Coolant Pressure/
Flow. Additionally there are three spare generic safety inputs. These inputs have different
functionality and correct wiring must be observed
Note: All digital inputs to and outputs from the PAU terminals are PLC +24VDC logic. The
Current Command (TB1-2 - TB1-3) is an analog signal of 0-10 VDC or 0-20mA. Both single
ended and differential inputs can be congured. The Dyne On command is required to
enable the controller; a dry contact wired between terminals TB1-4 and TB1-5 can be used
in lieu of a PLC or controller.
3. Close the access door and secure
Dyne Systems • DS820F PAU
DPD-001-04B • © Copyright Dyne Systems, Inc.
13