Above Ground Model 250i Motorcycle Dynamometer Installation Guide
3-38
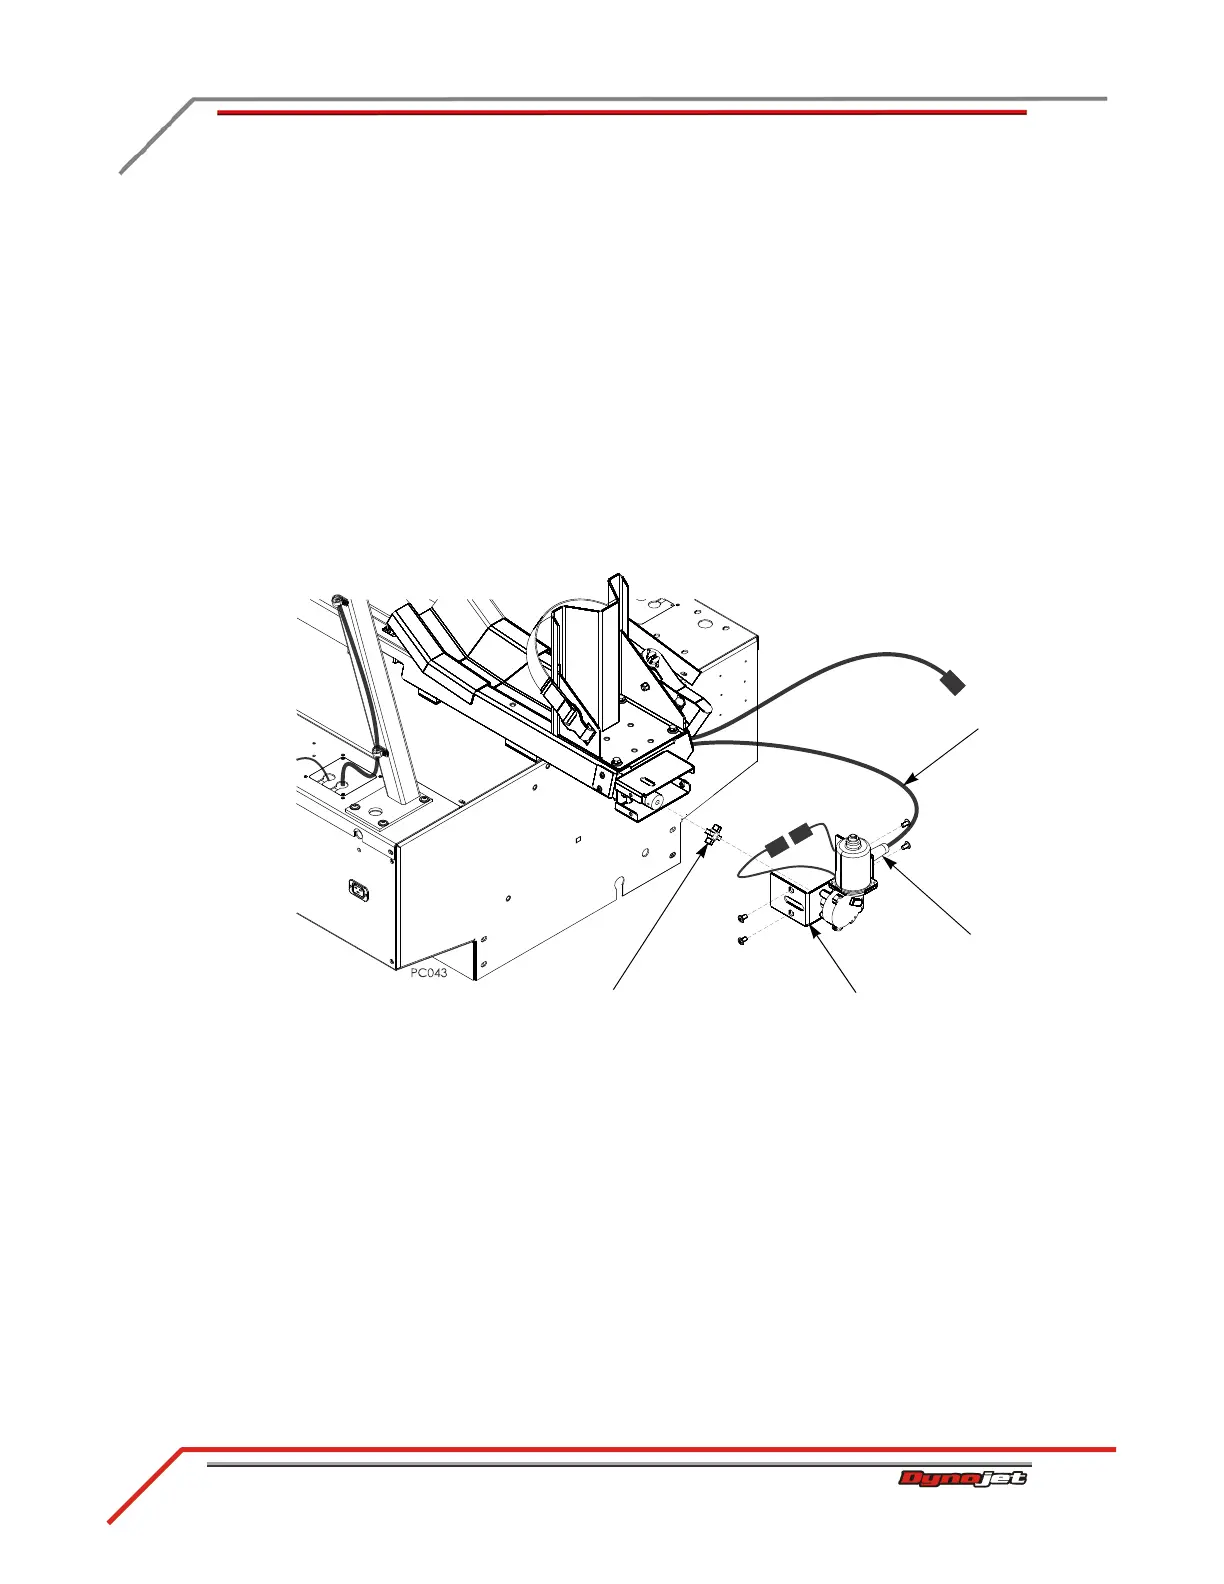
4 Bring the power carriage cable (two-pin connector) from the front of the dyno
over to the motor mount. Refer to “Cable Routing” on page 2-28 for more
information.
5 Secure the power carriage cable strain relief to the side of the motor assembly
cover.
6 Insert the plastic coupler spider on the carriage screw half of the coupler.
7 Place the power carriage motor assembly near the motor mount and plug the
motor connector into the power carriage cable.
8 Turn the carriage screw to align the coupler jaws with each other and slide the
coupler jaws together until the motor assembly cover is flush with the motor
mount.
9 Secure the motor assembly cover to the motor mount with four 1/4-20 x 1/2-inch
button-head screws.
Figure 3-38: Assemble the Power Carriage
motor assembly cover
coupler spider
power carriage
cable
strain relief
 Loading...
