12
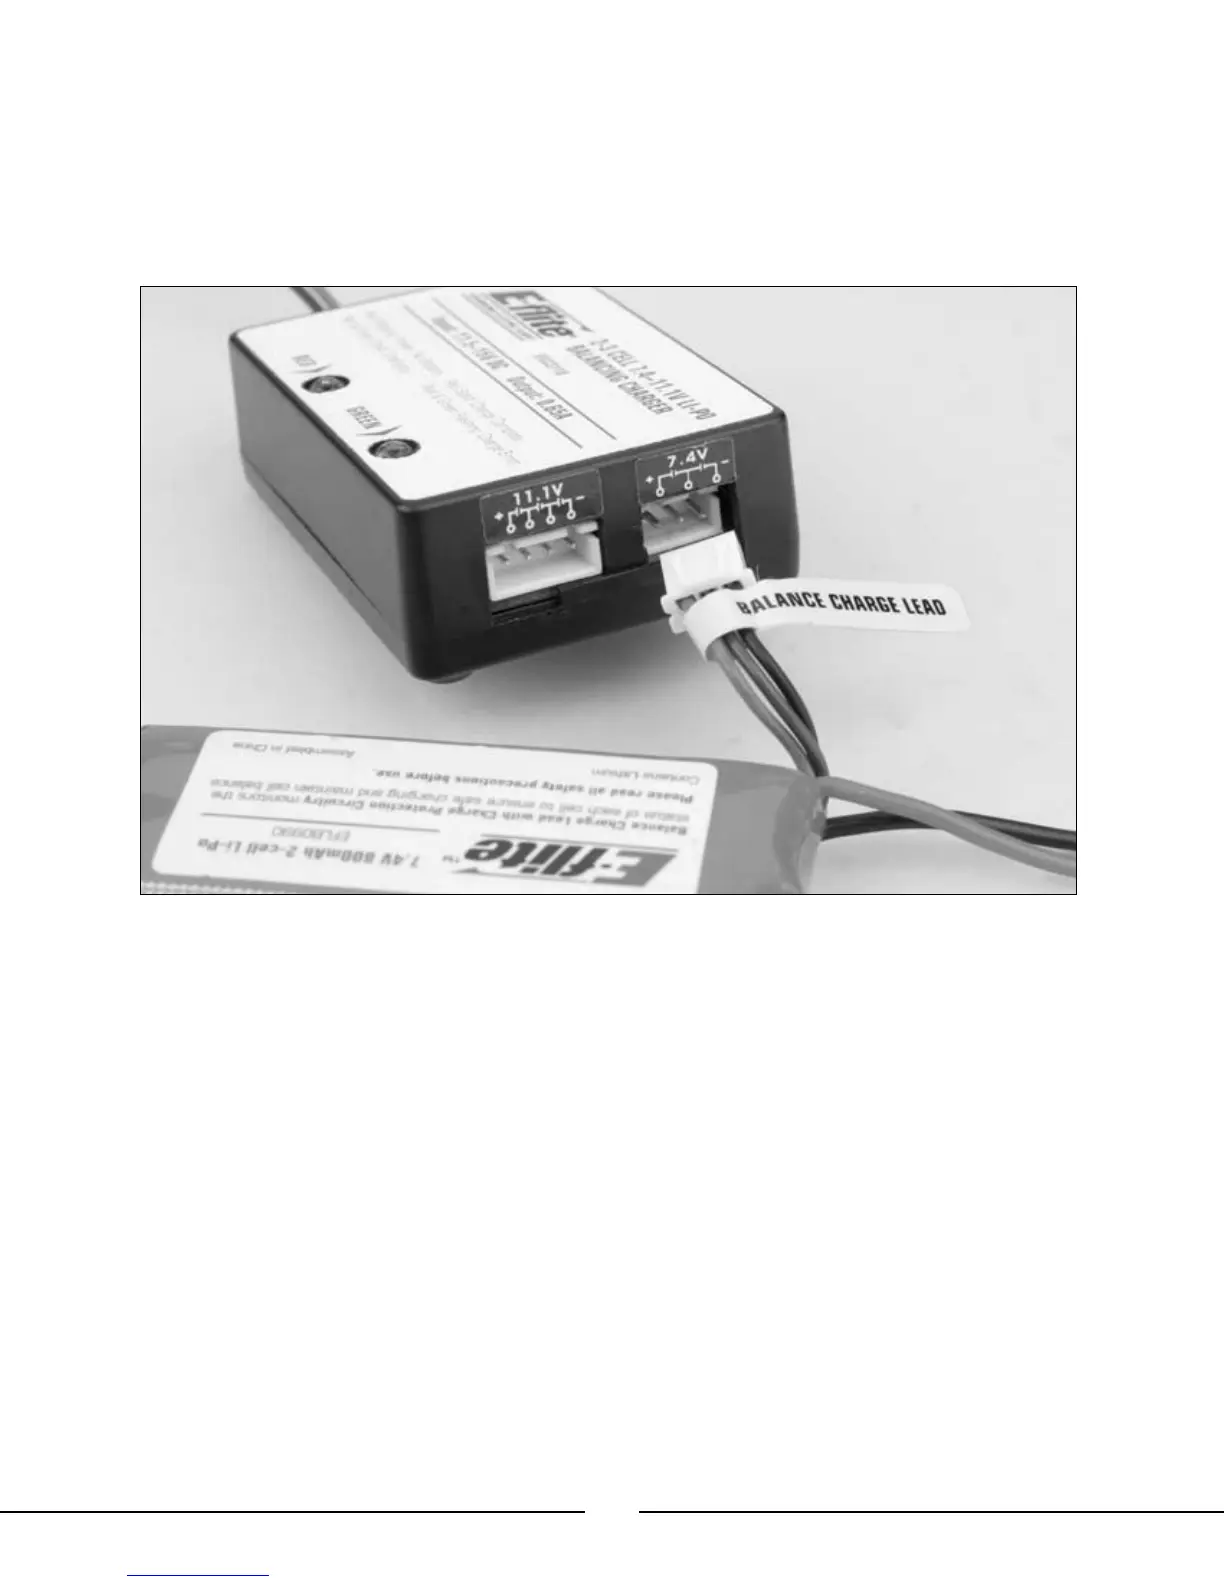
Once you have connected the charger to a power source (Use care to ensure proper polarity when connecting
the charger to the power source), its red LED will flash to indicate the charger has power and is ready to begin
charging. Connect the Li-Po battery pack to the charger using the specially marked Balance Charge Lead exiting
the battery pack and the connector labeled with 7.4V on the charger. The connector is keyed to prevent reverse
polarity connection.
Note: Do not force the connector on the Balance Charge Lead into the connector labeled 11.1V on the
charger. Doing so could result in damage to the battery pack and charger, and could result in a fire.
When the battery is properly connected and charging normally, the red and green LED indicators will glow solid.
Once the battery has been fully charged, the green LED will go out, leaving just the red LED glowing solid. The
battery can now be removed from the charger and installed into the Blade™ CX2 for flight.