40
Note: For safety, disconnect both main motor plugs from the 4-in-1 control unit (as shown on page 16)
before proceeding. Once the binding process is complete and the flight battery is unplugged from the
4-in-1 unit, reconnect the main motor plugs to 4-in-1 unit (as noted on page 19).
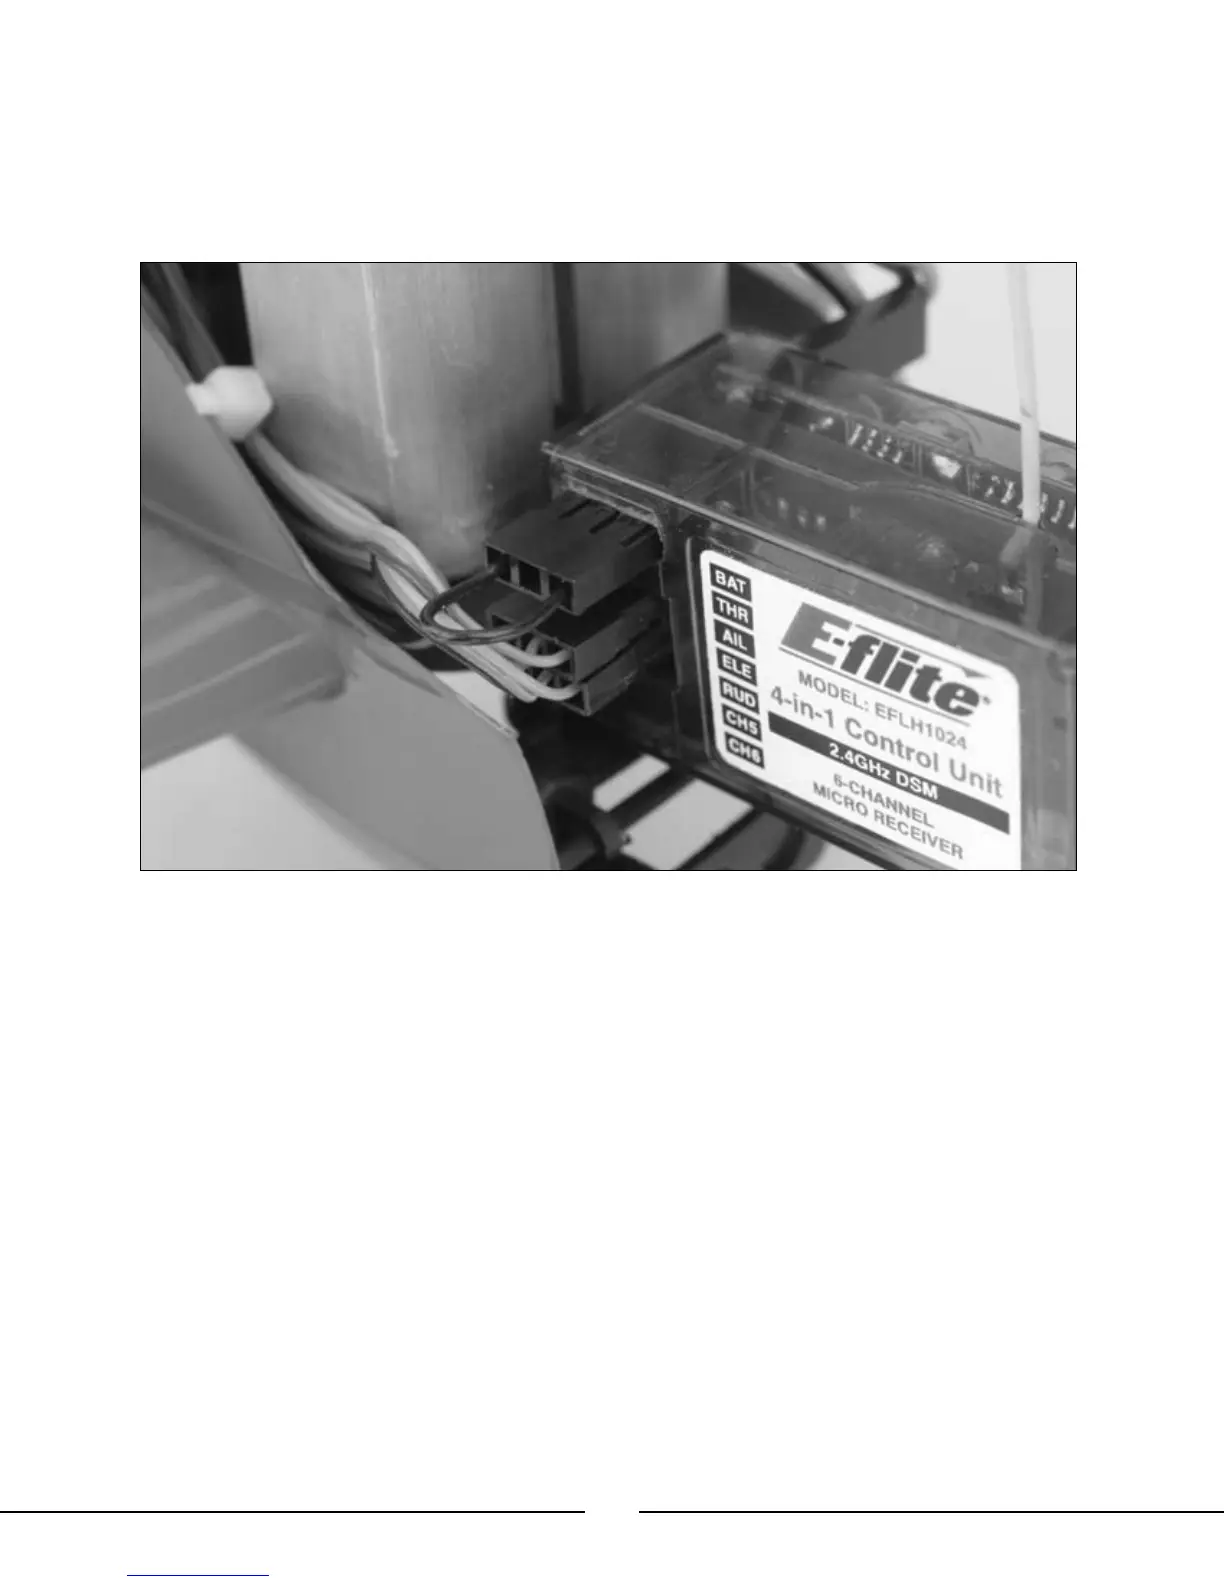
• In order to bind the 4-in-1 control unit’s receiver to the transmitter, you must first insert the Bind Plug (included
with your Blade™ CX2 and replacement 4-in-1 control units) into the “BAT” opening on the receiver. Then you will
need to power on the 4-in-1 control unit by connecting the flight battery BEFORE powering the transmitter on.
• When you connect the flight battery to the 4-in-1 unit with the bind plug inserted into the “BAT” opening on the
receiver, you will see an orange LED blink rapidly on the receiver itself.
• Once the orange LED on the receiver begins to blink, turn on the transmitter. The transmitter will immediately
enter bind mode. Then, once the orange LED on the receiver and the red LED on the transmitter turn solid, the
4-in-1 unit’s receiver is bound to the transmitter. Now you will need to power down the 4-in-1 control unit and
transmitter, and remove the bind plug from the receiver.
Note: It is extremely important that you remove the bind plug from the receiver once it has been bound
to the transmitter. If you do not remove the bind plug, the receiver will enter bind mode every time the
4-in-1 unit is powered on.