Installation i-on16
Page 16
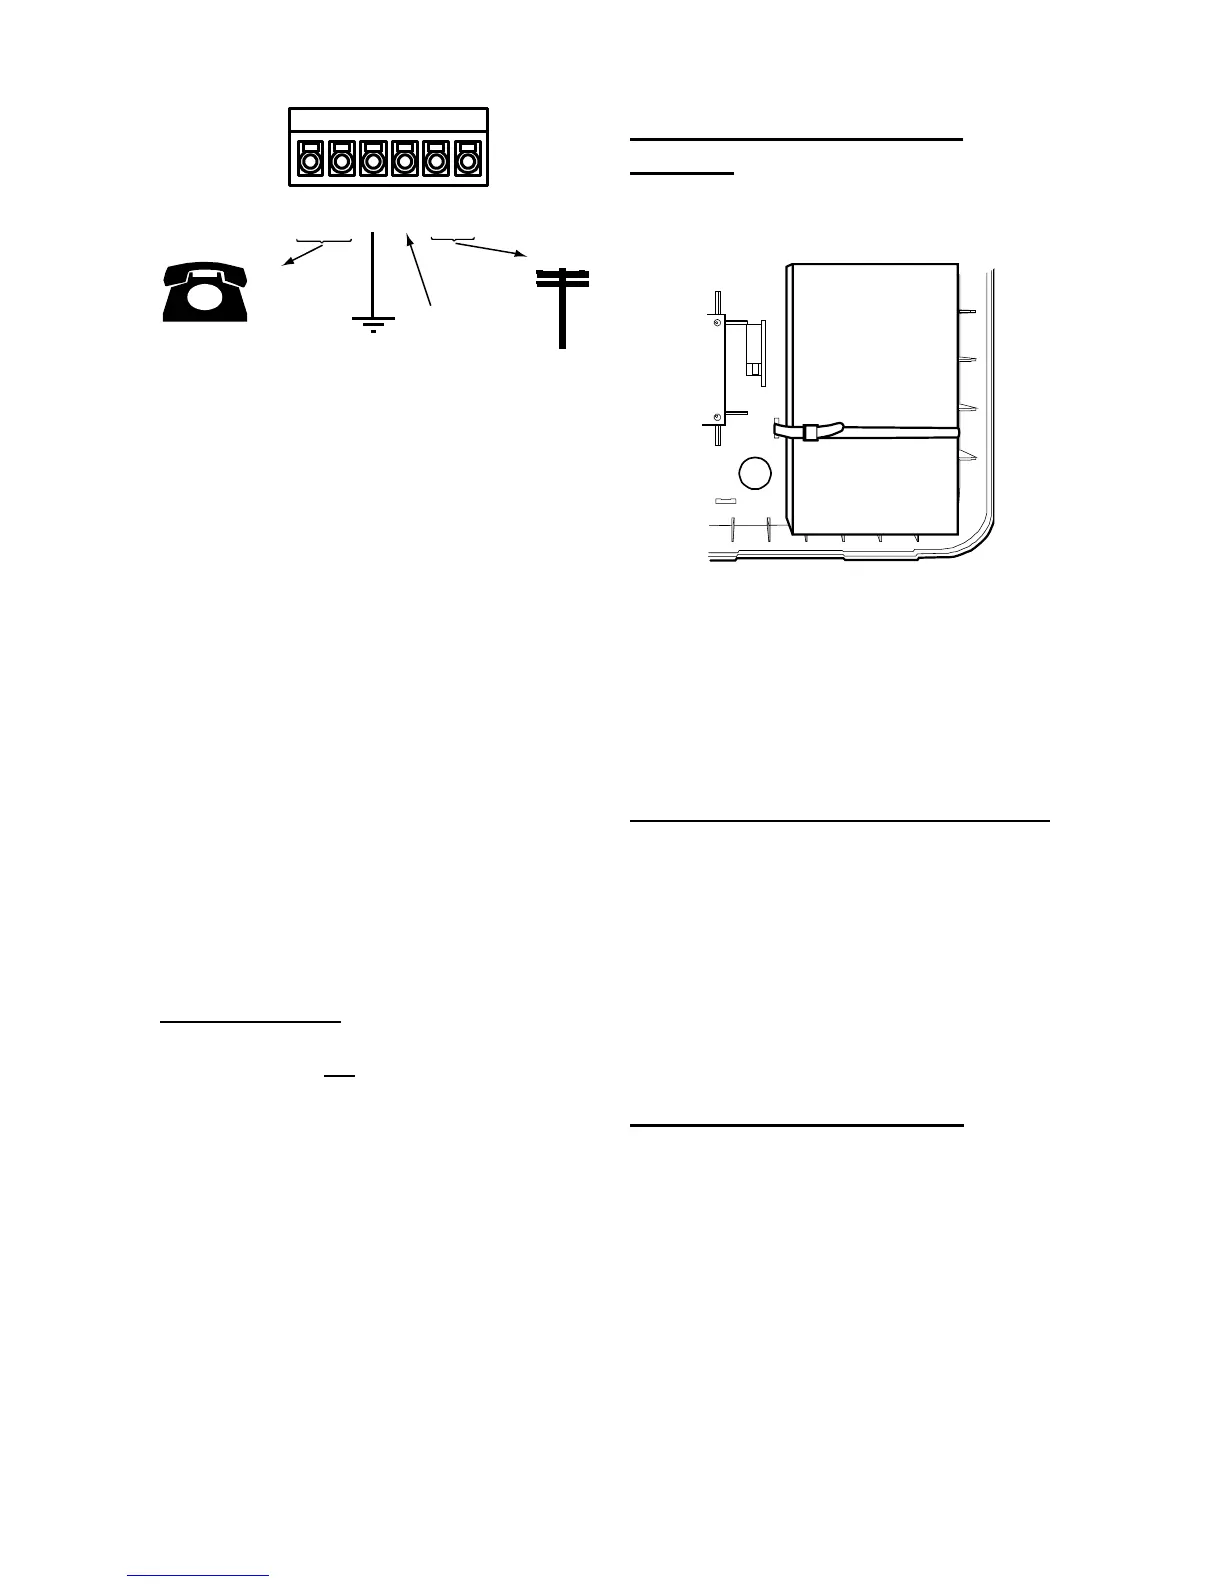
WARNING: Telecommunications Network
Voltage
A, B Connect to PSTN
A1, B1 Connect to local phone extension (if
required)
E For added surge protection connect to
a suitable protective earth.
C Note: On UK pulse dialling lines
connect to ringing wire from PSTN
and to ringing wire on extension
phone, if fitted. On DTMF lines do not
connect.
Figure
Telephone Connection
Note: The microphone for recording speech
messages is on the I-SD01 module, as well as a
small speaker that allows you to playback the
messages.
If you intend to record speech messages,
and the user’s keypad is already fixed at some
distance from the central station, you may wish to
temporarily connect a second keypad to the end
station. This will enable you to program the system
and easily record/playback any speech messages.
Alternatively, you can enable the end station tamper
switch to act as a start/stop/playback recording
button.
Removing an I-SD01
If you wish to remove an I-SD01 from a system then
make sure that you first disable calls in both the
Commuations – Alarms – Call mode menu and in the
Communications – Speech Dialler – Call mode menu. If
you do not do this then the end station will
continually report a PSTN line fault.
Step 6. Fit and Connect
Battery
Fit a 7Ah Lead Acid battery into the battery
compartment in the bottom of the control unit, see
Figure 36.
Figure
Fitting the Battery
Make sure that you secure the battery to the case
with the strap provided. Connect the battery leads,
red to the positive, black to the negative terminals of
the battery.
Note: Connecting the battery without mains power
will not start the system. (See “Programming A
Control Unit Before Installation” below if you wish to
start the system on battery power.)
Programming a Control Unit Before Installation
If you prefer, you can make the control unit learn
the detectors and other peripherals before installing
the system in its final location. You will need to
temporarily connect a keypad to the end station.
It is possible to temporarily operate the end station
from battery power (or a 12Vdc supply) in order to
program the system without connecting the control
unit to a mains supply. However, in order to start
the control unit processor running you must briefly
short the Kick Start pins together after connecting
the battery.
Step 7. Initial Power-Up
WARNING: During initial power-up all the keypad
sounders and any internal loudspeaker will give an
alarm tone. If you are working at the top of a ladder
make sure that the sudden noise does not startle
you and cause a fall.
1. Apply battery then mains power to the control
unit.
The keypads and internal sounder may give
an alarm tone. The heartbeat LED (see Fig 3)
starts flashing.
Note: If you are fitting an UK version of the i-on16
please go to step 6.
The display initially shows:

 Loading...


