Chapter 6
| Switch Management
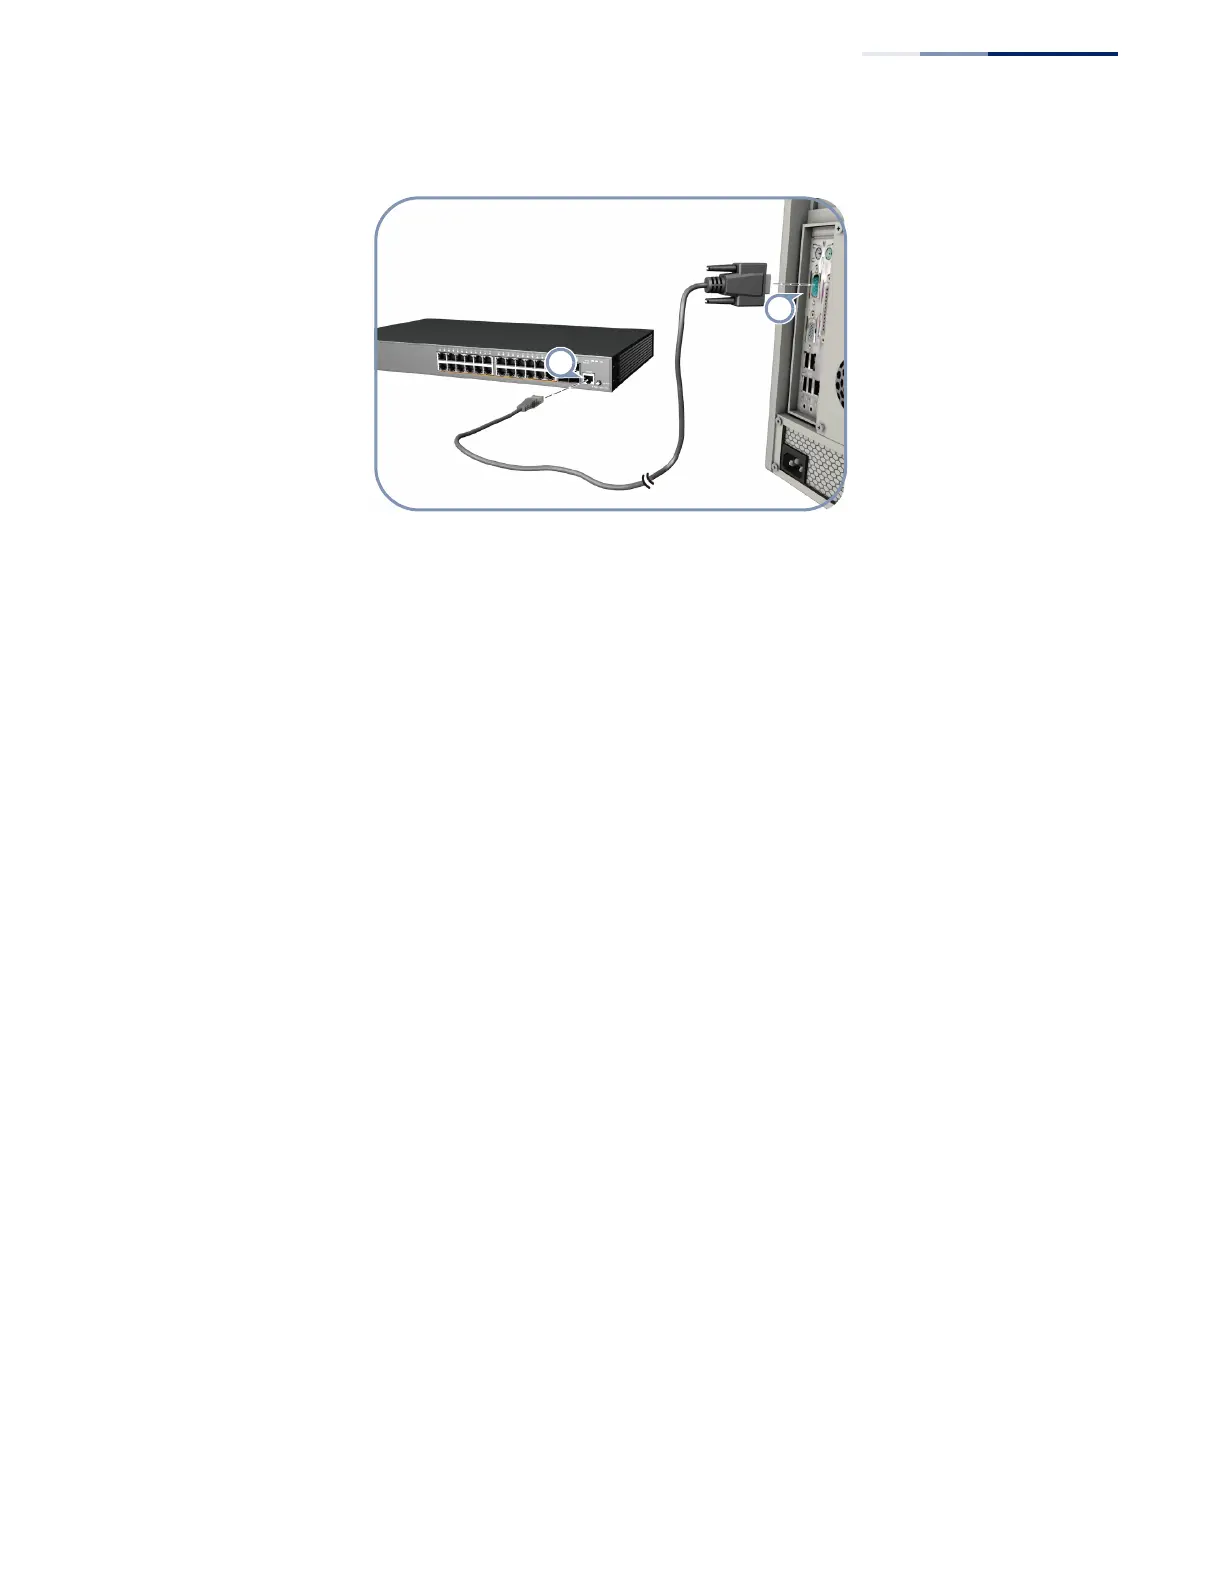
How to Connect to the Console Port
– 49 –
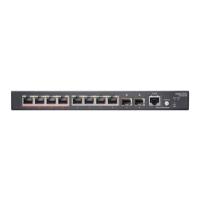
Figure 26: Console Port Connection
Follow these steps to connect to the Console port:
1. Connect one end of the included RJ-45 to DB-9 serial cable to a DB-9 COM port
connector on a management PC.
2. Plug in the RJ-45 end of the serial cable to the Console port on the switch.
3. Configure the PC’s COM port required settings using VT-100 terminal emulator
software (such as HyperTerminal) running on the management PC. The switch’s
default console port settings are:
■
115200 bps, 8 data bits, 1-stop bit and no parity
4. Log in to the command-line interface (CLI) using one of the default user login
settings:
■
User — admin,
■
Password — admin
or
■
User — guest
■
Password — guest
The switch also offers a user-friendly web-based management interface for the
configuration of all the unit’s features.
You can make initial configuration changes by connecting a PC directly to one of
the switch’s RJ-45 ports. The switch has a default management IP address of
192.168.2.10 and a subnet mask of 255.255.255.0. You must set your PC IP address
to be on the same subnet as the switch (that is, the PC and switch addresses must
both start 192.168.2.x).
 Loading...