© Edwards Limited 2007. All rights reserved. Page 37
Edwards and the Edwards logo are trademarks of Edwards Limited.
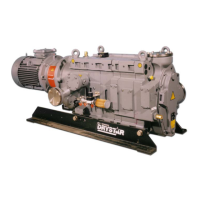
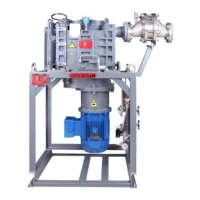
Maintenance
B344-21-880 Issue N
5.4 Inspect the pump fluid (and drain if necessary)
If the pump fails to give satisfactory performance on a leak tight system, inspect the condition of the pump fluid.
Use the following procedure.
1. Allow the Diffstak pump to cool and open it to atmospheric pressure.
2. Switch on the pump heater for a maximum time of two minutes to warm the pump fluid. Do not vaporise the
pump fluid.
3. Disconnect the Diffstak from the electrical supplies and detach it from your vacuum system.
4. Remove the drain-plug and allow the fluid to drain from the pump.
5. Visually check the interior of the pump.
z If it is badly discoloured or coated with charred fluid, the pump fluid has deteriorated and must be changed;
clean the pump as detailed in Section 5.5.
z If the fluid is in a satisfactory condition, refill the pump as detailed in Section 3.9 and refit it to the system.
5.5 Inspect and clean the pump
5.5.1 Preparation
Note: On M- and P-model pumps, the valve-plate projects above the inlet-flange of the Diffstak in its open
position. You may therefore have to close the valve before can you remove the pump from the system.
1. Allow the Diffstak to cool and open it to atmospheric pressure.
2. Drain the pump fluid as described in Section 5.4.
3. Disconnect the cooling-water supply and return pipelines, the electrical supply to the heater and the backing,
roughing and system connections.
5.5.2 Remove the high-vacuum isolation-valve (M-model pumps)
1. Move the valve to the fully open position.
2. Remove the screws which secure the valve-plate to the shaft and detach the valve-plate (see Figures 20 and 21).
3. Carefully withdraw the valve-shaft complete with its lever from the valve-body.