5. While in front of the unit, match the wire colors with the labels on the terminal block.
Connect each wire’s spade connector to its corresponding terminal, securely fastening
each screw. (see table)
6. After checking to make sure every connection is secure, use the cable clamp to fasten the
signal cable to the unit. Screw the cable clamp tightly.
7. Replace the wire cover on the front of the unit.
5.5 PREPARE PIPING
To prepare the piping for installation, the refrigerant line set must be straightened, and the
condensation hose must be moved to the same side as the refrigerant line set. Doing so will
support all lines being able to pass through the wall together as a single bundle.
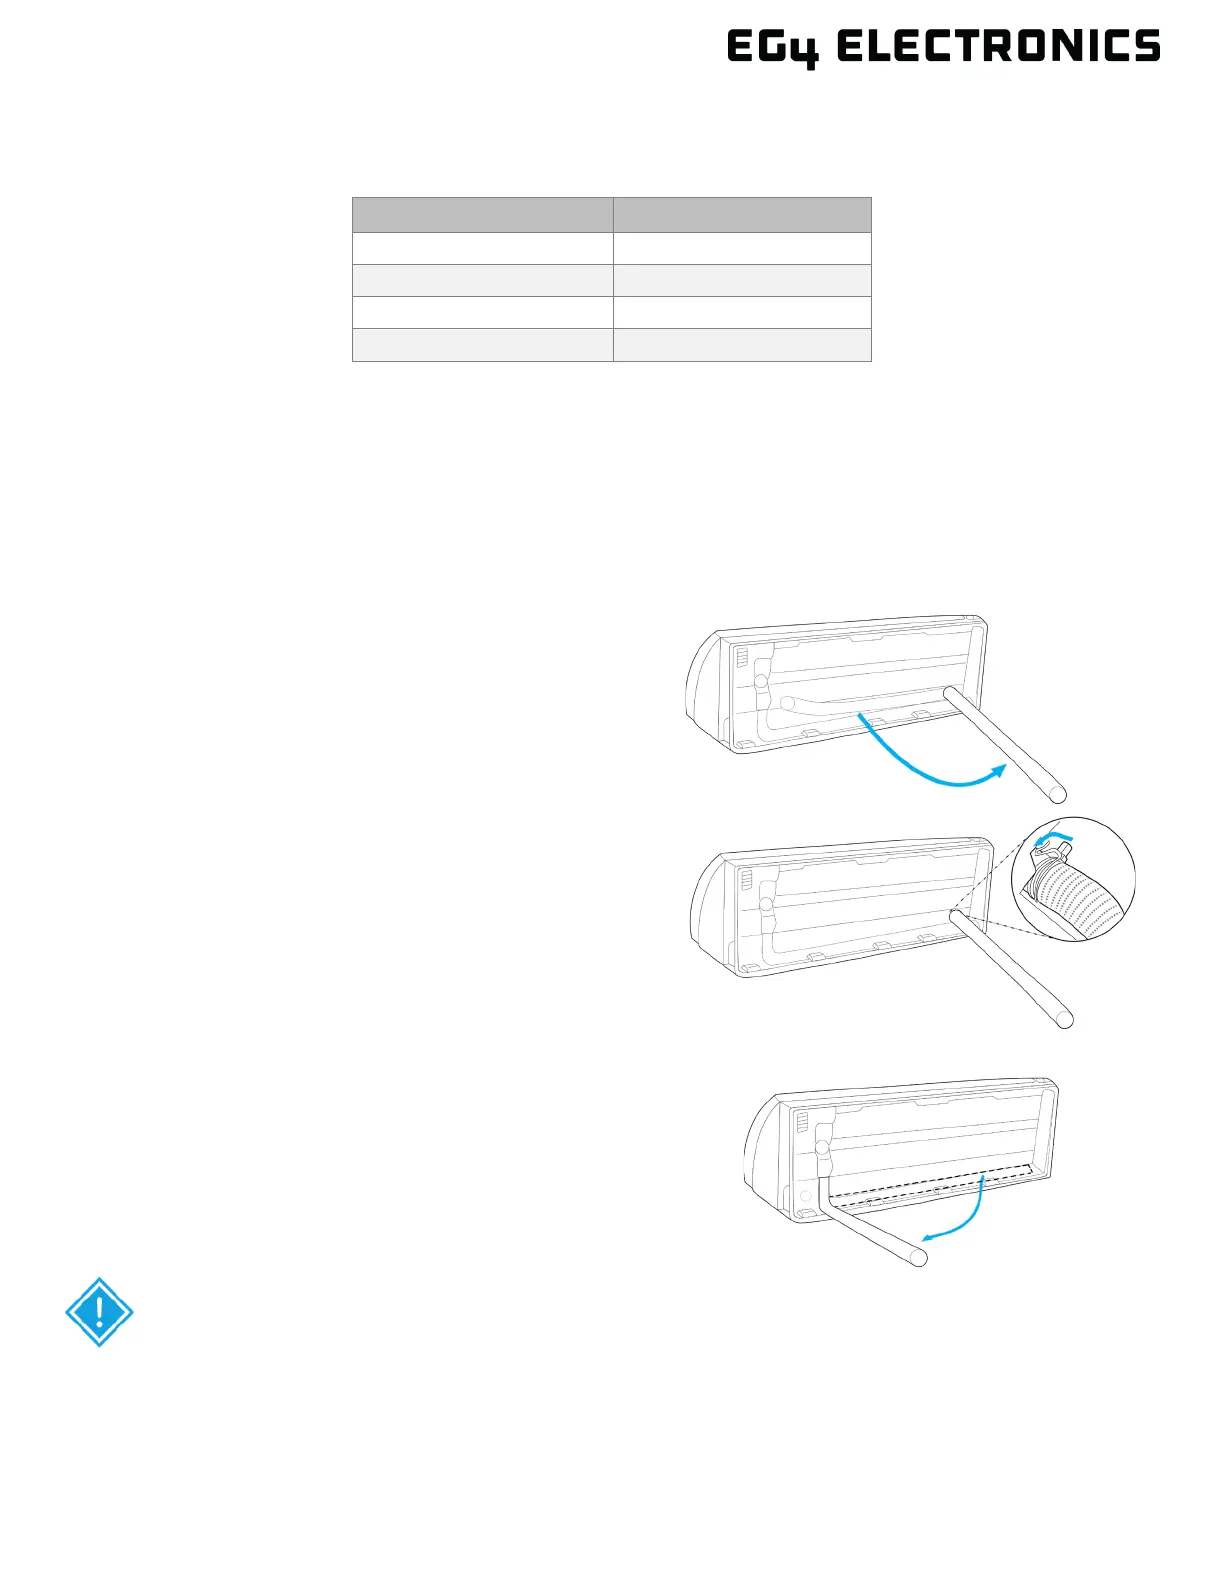
1. Safely set the indoor unit on a secure
table/platform to expose the back of the unit.
This will allow access to the condensation
drainpipe and refrigerant line set.
2. Pull the condensation drain hose away from
the back of the unit. This hose will be plastic
and is located on the right-hand side if
standing at the back side of the unit.
3. Locate the swivel clip where the condensation
hose attaches to the unit. Rotate the swivel clip
counterclockwise to unlock the clip. Remove the
condensation hose by gently moving side to side
in a twisting motion and pulling outwards.
Be extremely careful not to dent or damage the refrigerant line set while
bending it away from the unit
.