10. Using insulation tape, wrap the refrigerant pipes and drain hose tightly together.
11. Bundle the pipes and signal wiring together as one bundle before passing them through
the wall. Painter’s tape can be used here as it can be easily removed after the indoor unit
is installed, leaving no residue.
5.6 MOUNT INDOOR UNIT
Follow the steps below to mount the indoor unit to the wall bracket:
S:
• Use the team-lift technique when lifting the indoor unit to guide the hose and
wiring through the hole drilled in the wall.
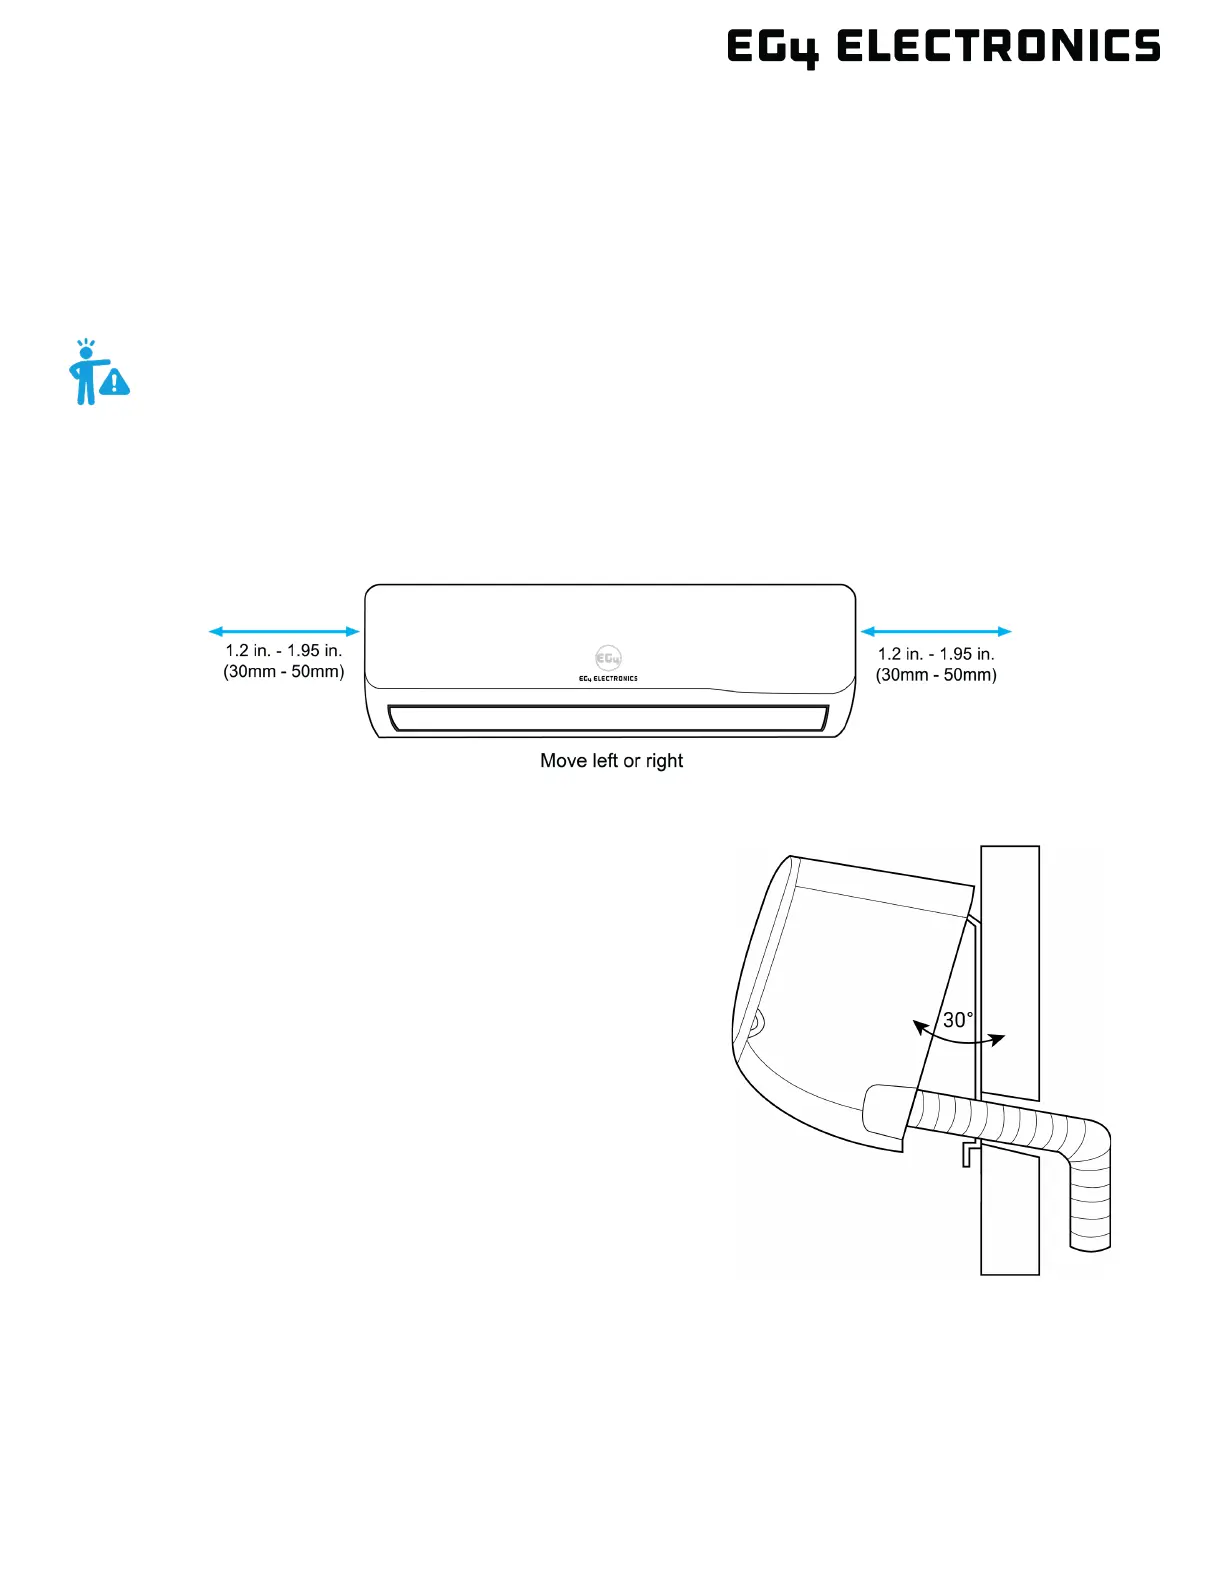
• Keep in mind that the hooks on the mounting plate are smaller than the holes on
the back of the unit. To line up and pass through the pipe and wiring bundle, the
unit can be adjusted left or right by about 1.25 in. - 1.95 in. (30mm - 50mm),
depending on the model.
1. Double-check that the ends of the refrigerant line
set are sealed with the factory installed caps to
prevent dirt or foreign material from contaminating
the pipes.
2. Slowly pass the wrapped bundle of refrigerant,
condensation hose, and wiring through the hole in
the wall.
3. Hook the top of the indoor unit on the upper hook
of the mounting plate.
4. Using even pressure, push down on the bottom
half of the unit. Keep pushing down until the unit
snaps onto the hooks along the bottom of the
mounting plate.
5. The communication wire and the refrigerant line
set will be connected to the outdoor unit after the
outdoor unit is securely fastened in place.