11
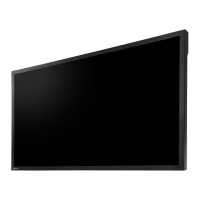
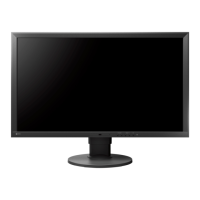
Controls and Functions
English
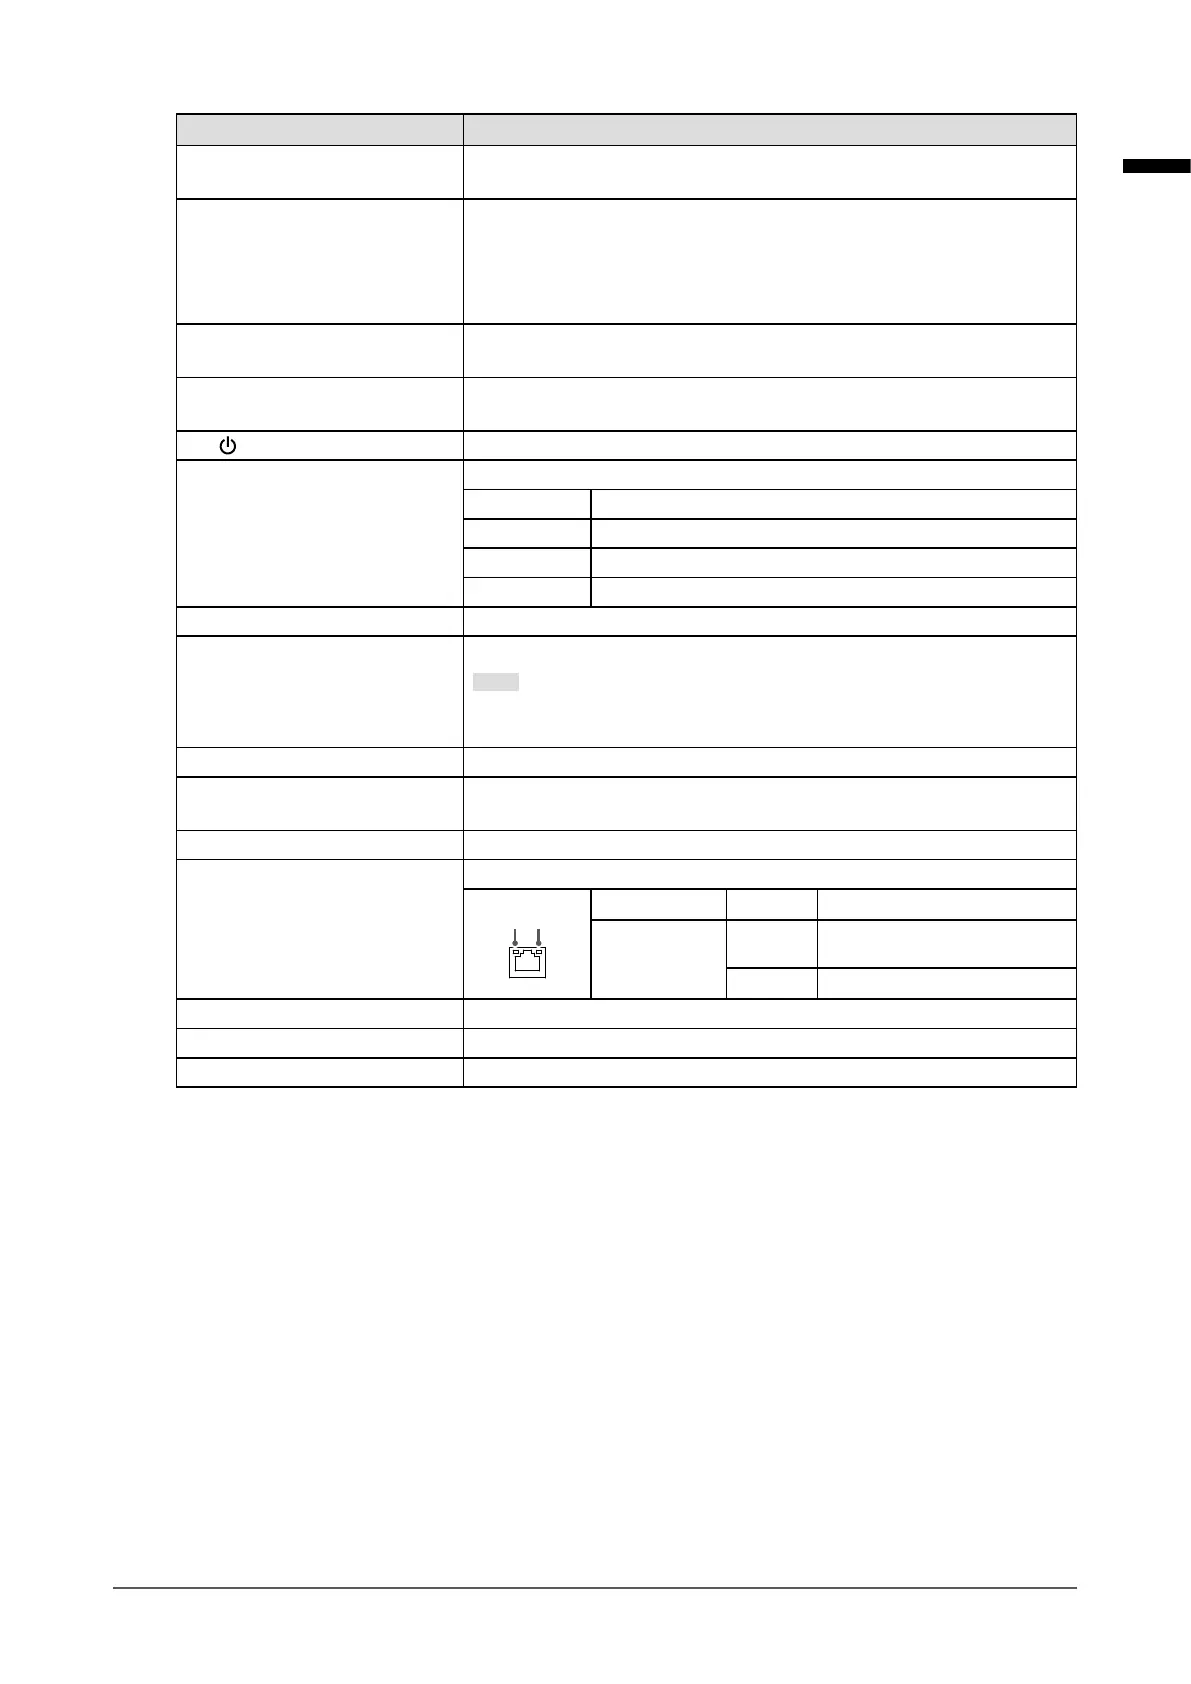
Names Details
1. Remote control light
reception section
Receives signals from the remote control. (A function for use with models
equipped with a remote control)
2. Reset button
Pressing and holding this button for 10 seconds will initialize the following
information:
• Camera information
• USB lock
• User account setting
3. VOLUME- / VOLUME+
buttons
Cannot be used.
*1
4. BRIGHT- / BRIGHT+
buttons
Adjusts the brightness of the monitor screen. By pressing and holding the
button, you can quickly change the brightness.
5.
button Turns the power on or o.
6. Power indicator
Displays the operating status of the monitor.
Blue The screen is displayed.
Flashing blue The system is starting up.
Red Power o
OFF Main power o
7. Speakers Cannot be used.
*1
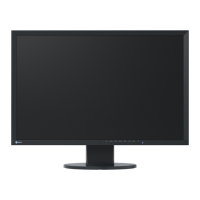
8. Stand
*2
Adjusts the viewing angle.
Note
• While the monitor can be rotated vertically, the live image screen menu
will not be rotated.
9. Security lock slot Supports Kensington MicroSaver security system.
10. Main power switch
Turns the main power on or o.
|: On ○: O
11. Power connector Connects the power cord.
12. LAN port
Connects the network cable.
a) Status LED OFF Not used
b) Link LED Flashing
green
Transmitting data
OFF No data transmission
13. USB downstream port Connects a USB mouse or USB keyboard.
*3
14. HDMI connector (output) Connects to an additional monitor that supports HDMI.
15. Stereo mini jack Cannot be used.
*1
*1 Will be supported with updated software.
*2 The stand of this product can be replaced by an optional arm (or optional stand). For details on how to
replace the stand, refer to “Installation of Optional Arm” (page 24).
*3 Other USB devices cannot be connected.
 Loading...