14
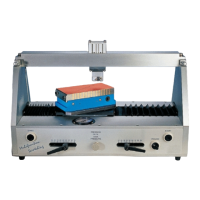
2. Place the specimen onto the table in contact with the two stop blocks if
necessary (Figure 8).
Figure 8. Mounting specimen on magnetic table
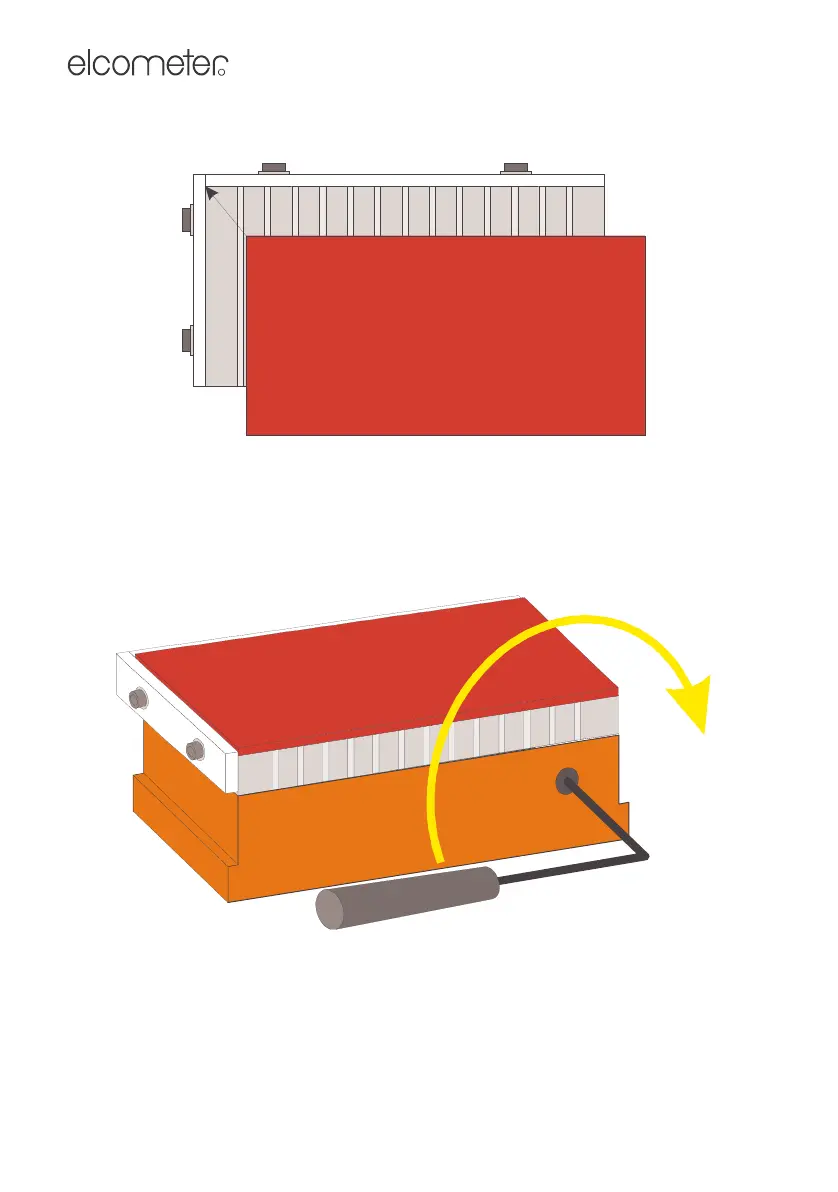
3. Insert the wrench supplied with your tester and rotate clockwise to switch
on the magnet and secure the specimen (Figure 9).
Always remove the wrench before pressing the start buttons.
Figure 9. Rotate the wrench clockwise to switch on the magnet
4. Now scratch (See Section 7)
5. When the scratches have been produced, insert and rotate the wrench
anticlockwise to remove the specimen.
Op_1535_01 A5.fm Page 14 Wednesday, August 8, 2007 3:59 PM