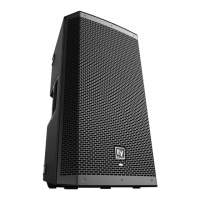
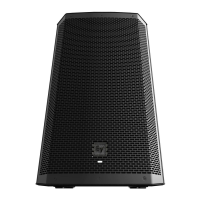
18 en | Tripod, pole mount and floor monitor operation ZLX-G2 Full-range loudspeaker
2023-10 | 01 |
User manual
Bosch Security Systems, LLC
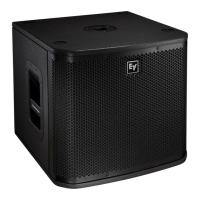
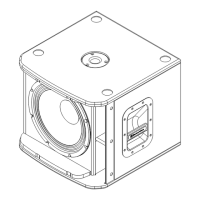
3. If you are using a threaded pole mount, turn the pole clockwise to secure the pole to
the subwoofer.
OR
If you are not using a threaded pole mount, continue to the next step.
4. Loosen the set screw.
5. Lift the loudspeaker using two hands.
6. Set the pole cup located on the bottom of the loudspeaker onto the pole.
7. Tighten the set screw to secure the loudspeaker to the pole.
Caution!
Do not stack additional loudspeakers.
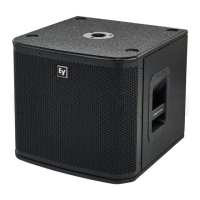
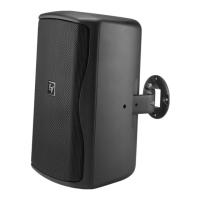
6.2 Floor monitor & kickback
ZLX-G2 loudspeakers may be used as a floor monitor or in kickback position by placing the
loudspeaker on one of the two integrated monitor angles.
Setting up a loudspeaker as a floor monitor
To set up a loudspeaker as a floor monitor:
1. Place the loudspeaker on a level and stable surface.
2. Safely route cables to prevent injury to performers, production crew, and audience
members.
3. Set the loudspeaker location to MONITOR in the DSP control menu.
60º
OPTIMAL
COVERAGE
90º
OPTIM
AL
COVERAGE
Figure6.3: Optimum coverage in MONITOR position (side view left and front view right)
 Loading...