ATS-5X User Manual Page 23 of 44
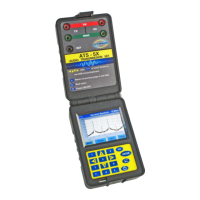
Figure 30 – Level/Freq/Noise Save Results Controls
Pressing the Time Record button will begin saving the results shown on the screen to the memory device at a constant
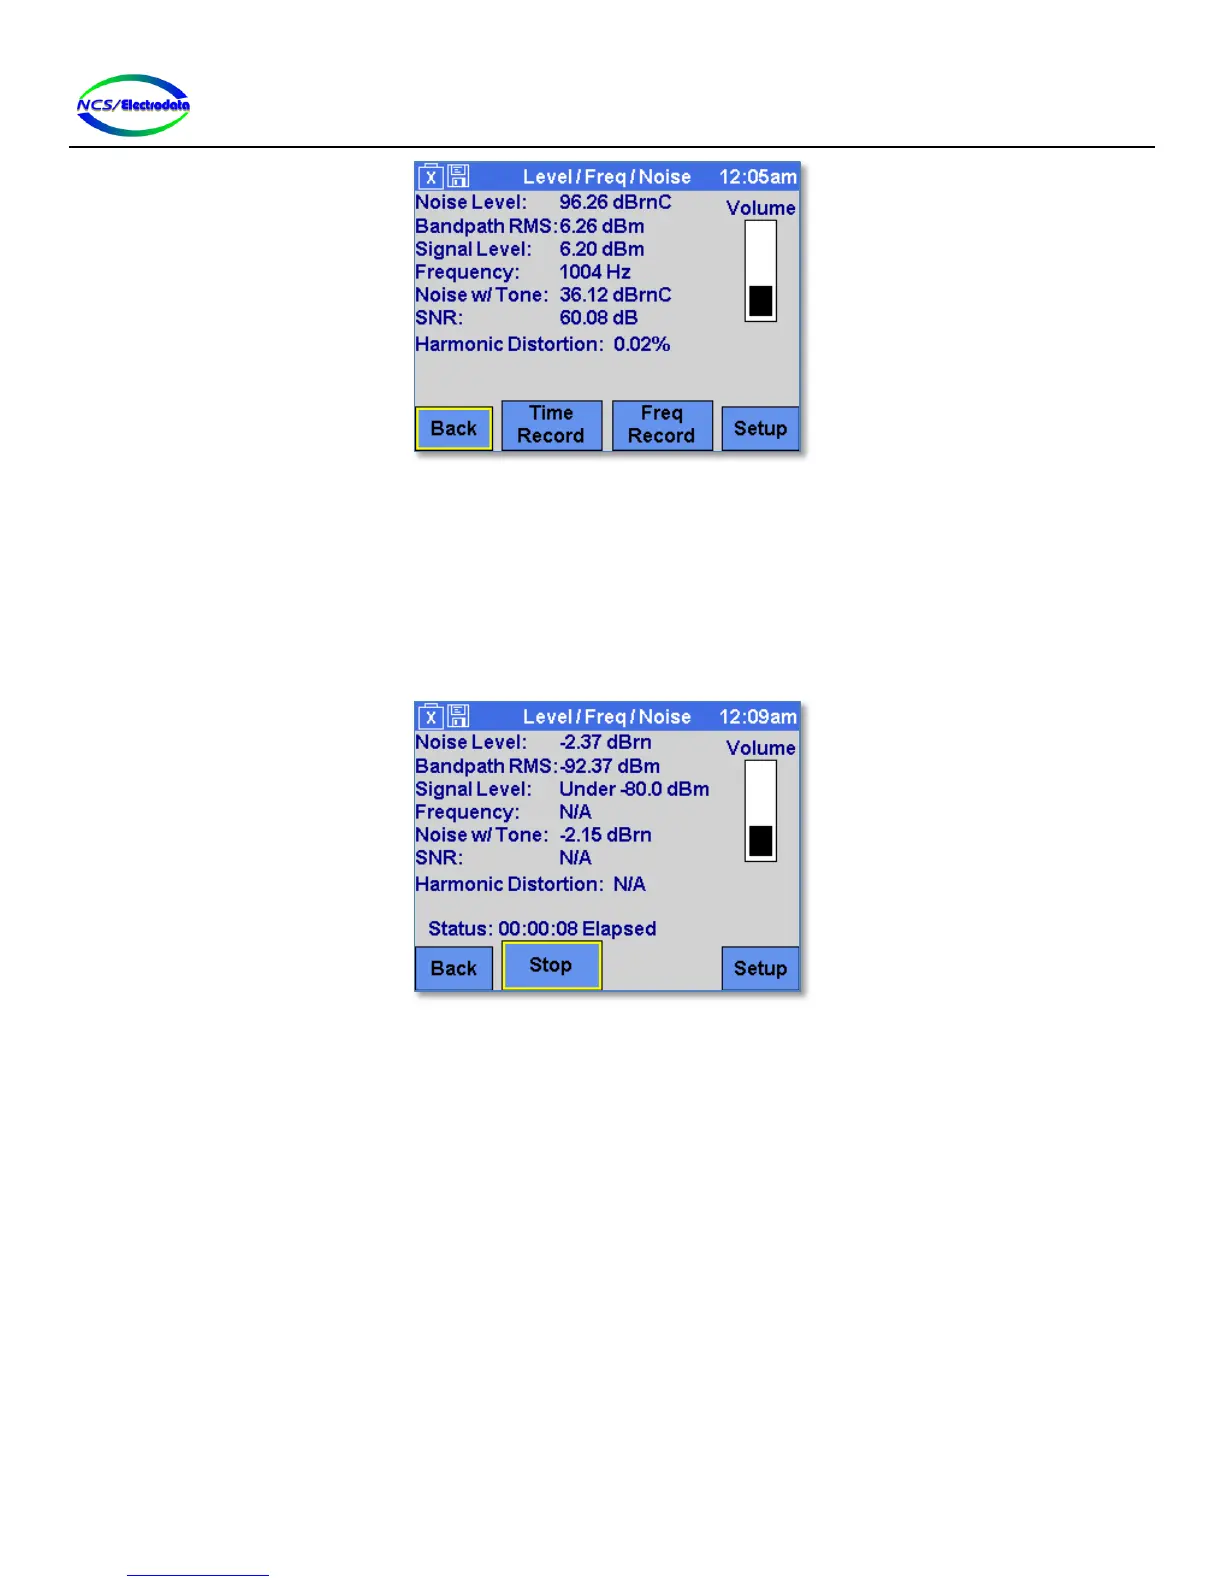
interval (see Figure 31). Once started, the results capture will continue until the Stop button is pressed. The Stop
button must be pressed before the memory device is removed from the ATS-5X USB port to ensure that the results are
properly saved. The status of the results capture is displayed just above the Stop button. Unless there is an error, the
status display shows the elapsed time of results capture in hours:minutes:seconds format. The results are saved to a
comma separated text file.
Figure 31 – Level/Freq/Noise Time Recording
The Freq Record button will initiate saving the results shown on the screen to the memory device for each different
receive frequency detected (see Figure 32). Once started, the results capture will continue until the Stop button is
pressed. The Stop button must be pressed before the memory device is removed from the ATS-5X USB port to ensure
that the results are properly saved. The status of the results capture is displayed just above the Stop button. Unless
there is an error, the status display shows the number of different input frequencies detected and therefore the number
of data points saved. Each time that the Frequency measurement settles out to a different frequency than previously
displayed, the ATS-5X begins monitoring all of the displayed measurements. Once the frequency changes again, the
minimum, maximum and average of each measurement (at the previous frequency) is recorded. In this way, the
frequency record mode will capture the results and order them according to the frequency at which they occurred. The
results are saved to a comma separated text file.