2.2 Review the "EDC Wiring Work Sheets:"
There are a number of probes and extension cables that will need to be installed. The key to keeping the installation
simple is to organize the work using the "EDC Wiring Work Sheets" supplied with this kit. Review the functions
assigned to each EDC input on the EDC Wiring Work Sheets. The work sheets are prepared at the factory with the
functions and probes already assigned.
2.3 Verify You Have all the Probes, Modules, Transducers and Cables:
The three EDC 37-pin D-sub connectors and the MVP 25-pin D-sub connector are pre-wired at the factory. The three
EDC connectors are marked Top, Middle and Bottom. The EDC Wiring Work Sheets provide a list of the probes
supplied with this kit.
A. Check that you have all the probes listed on the EDC Wiring Work Sheets provided with your kit.
B. Check that the three EDC 37 pin-D-sub wire harnesses are provided with the proper wires for each of the
probes shown on the EDC Wiring Work Sheets in your kit.
C. Check that the MVP 25-pin D-sub wire harness is provided.
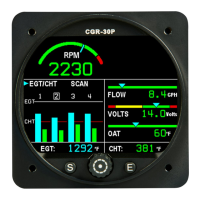
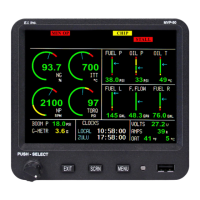
2.4 Installing the MVP Display:
Before starting the installation make sure the instrument will fit in the location you intend to install it without
obstructing the operation of any controls. The MVP display can be installed in one of two ways, depending on
convenience or the installer's preference. The first method is the traditional method of installing the MVP display
from behind the panel. An aircraft panel cutout drawing is provided at the back of this manual.
The second method is more suitable when an MVP display is to be mounted in
an existing aircraft panel. This method requires creating a sub-panel slightly
larger than the MVP display. The MVP display is mounted in the sub-panel and
the sub-panel is mounted on the front of the existing aircraft panel. This allows
the installer to rough-cut a hole in the aircraft panel to accommodate the MVP
display. The sub-panel covers any imperfections in the cut hole. Also, the MVP
display may easily be removed from the front of the aircraft panel.
The sub-panel should be made from .062" (or thicker) aluminum and can be
painted black or the same color as the aircraft panel. Four screws (6-32 or
larger) located at the top and bottom of the sub-panel should be used to mount
the sub-panel to the aircraft panel. If there is no room at the top and bottom for
mounting screws, they may be placed on the sides of the sub-panel.
CFR 23.1321(a) states, “Each flight, navigation, and power plant instrument for use by any required pilot during
takeoff, initial climb, final approach, and landing must be located so that any pilot seated at the controls can monitor
the airplane’s flight path and these instruments with minimum head and eye movement.” AC 23.1311-1B provides
one method (but not the only method) of complying with this CFR. AC 23.1311-1B recommends a power plant
instrument be installed within a distance of 21" from the pilot’s visual centerline to the middle of the instrument. The
pilot’s visual centerline is a perpendicular line from the pilot’s eye to the instrument panel. In most aircraft, installing
the MVP-50T/T to the right of the radio stack would be acceptable. In some aircraft, the visual centerline falls to the
right of the Attitude Indicator.
If the power plant instrument cannot be installed within 8" of the pilot’s visual centerline, AC 23.1311-1B
MVP
Sub-panel
10
 Loading...