EM Test dito
Instruction Manual V 2.30 14 / 36
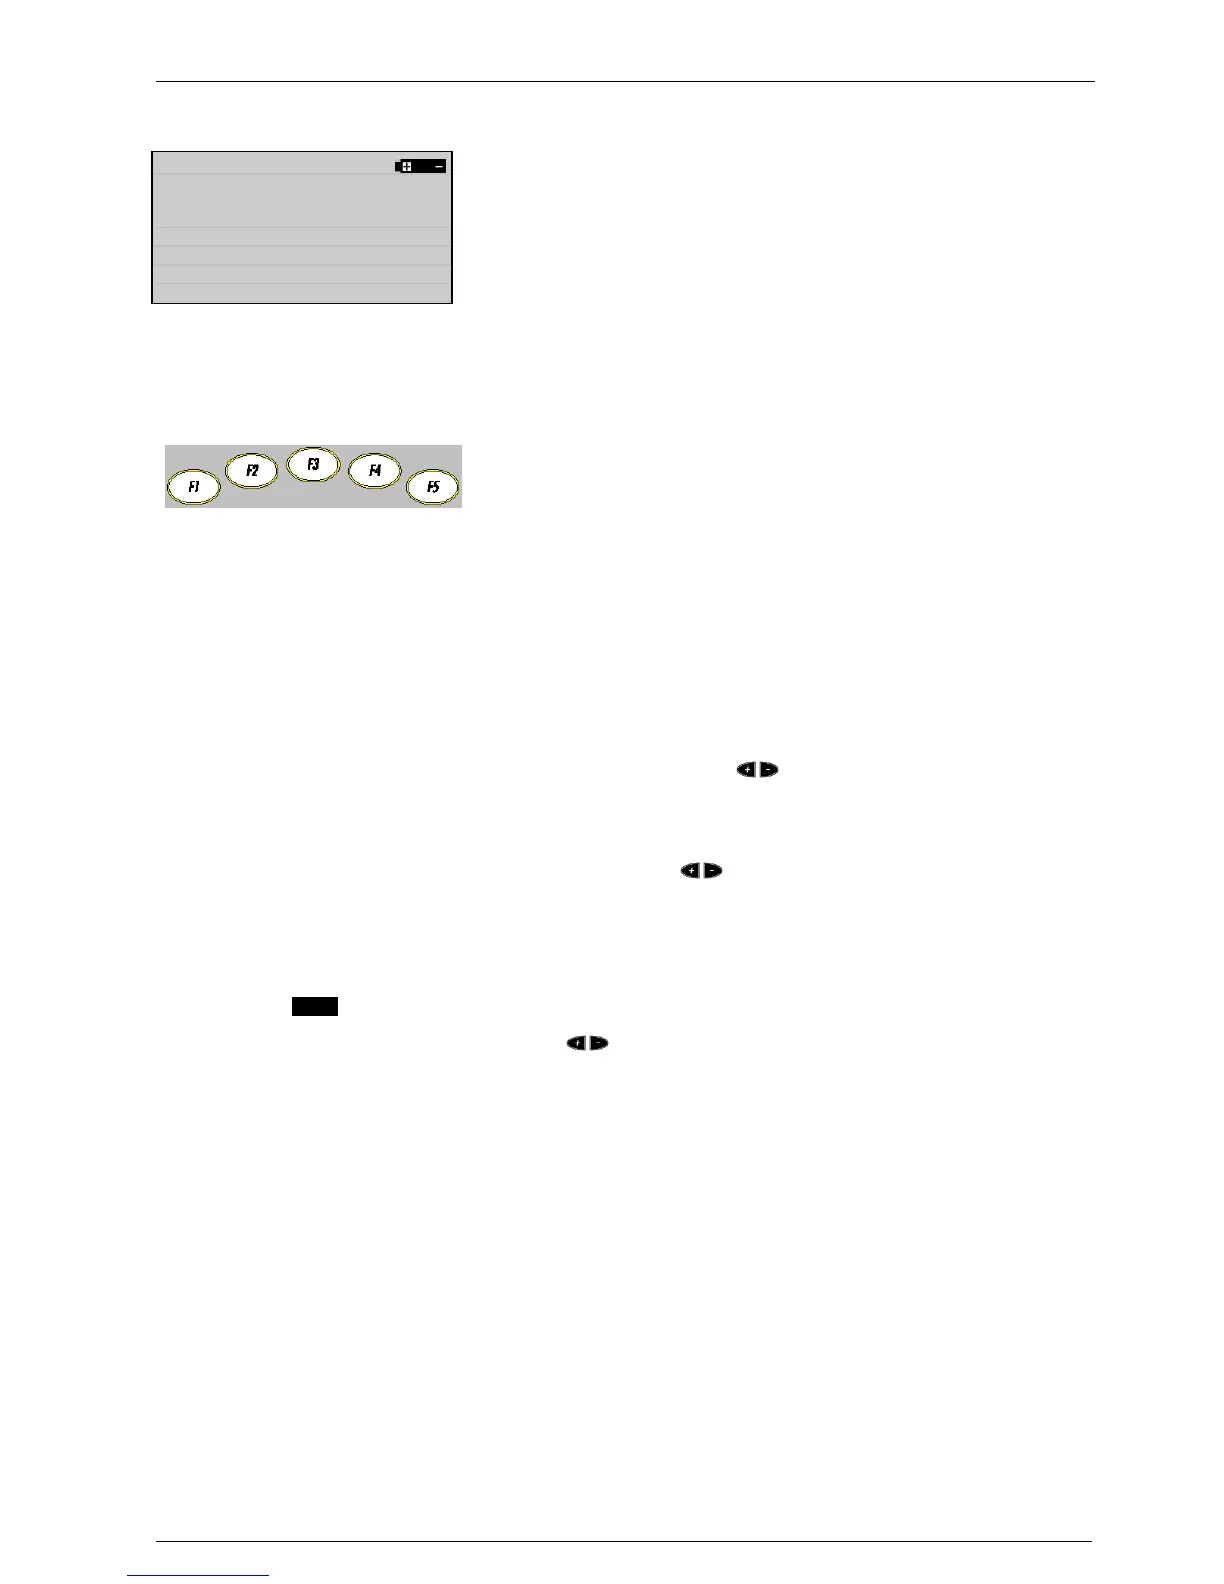
After switching ON, dito starts a self test routine to check the basic function of the unit including the high voltage power
supply. The R/C discharge parameters of the module are displayed in the lower line.
In case that there is no discharge module connected, dito will show the message No Discharge Module.
In case that there is any problem dito displays a failure message.
AD : Air Discharge
CD : Contact discharge
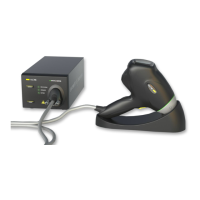
Change Mode by pressing the Mode button F2 more than once
Single : Single discharges after pressing the Trigger button.
Cont : Continuous discharges as long as the Trigger button is pressed
Auto : Automatic released discharges, Start/Stop by Trigger button
Change Trigger by pressing the Trigger button F3 more than once
The counter has two basic functions:
Count = 1...999’990 : dito counts the total number of discharges
Count = 1...30000 dito tests a preselected nbr of discharges
Change Count by pressing Count button F5 and select with
General : 0.5...20s in 0.5s steps
Evaluation : 1...20 Hz in 1Hz steps ( max. 10Hz for CD)
Change Rep by pressing Rep/ Freq and select with
Input of the test voltage
ULevel 500V ..16.5kV (depends on hardware in 100V steps)
Change Voltage by pressing Start and the Up / Down buttons
STOP in inverse letters indicate the running test. The high voltage is applied to the discharge module.
Change by pressing Start and using
Changing the polarity during a test, will take 1...5 seconds depending on the voltage level.
Number of test points at different discharge modes; AD and CD