FB1100 Flow Computer Instruction Manual
D301752X012
November 2023
Installation 19
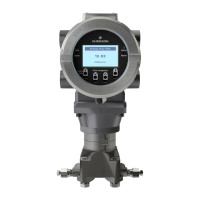
Figure 2-6. Front (left) and Rear (right) End caps
3.
Unscrew the end cap turning it counter-clockwise until it comes off. Set it aside in a
safe location.
Figure 2-7. Front (left) and Rear (right) End Caps Removal
2.6.3 Replacing the Front or Rear End Caps
EXPLOSION HAZARD: Ensure the area in which you perform this operation is non-
hazardous. Performing this operation in a hazardous area could result in an explosion.
1.
Grasp the end cap (front or rear).
2.
Carefully align the end cap threads with the threads of the enclosure.
Important
When replacing the rear end cap, ensure wires connecting to the terminal plate do
not get crimped or caught between the end cap threads and the enclosure.
3.
Screw the end cap clockwise (eight full turns) until it is tightly sealed to the
enclosure.
4.
Replace the retaining clamp (if required). (See Section 2.6.1.)
Note
If you need more leverage place a long screwdriver or other appropriate tool across
the two notches in the end cap to act as a pry bar (see Figure 2-5).