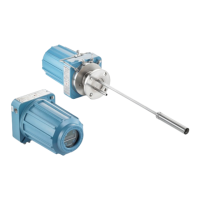
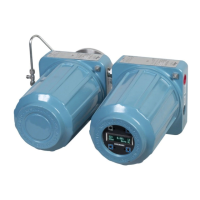
6.4.2 Calibrate O
2
manually using the Field
Communicator: HART
®
If necessary, refer to Figure 5-3 for the HART menu tree.
Note
To select a menu item, either use Up and Down to scroll to the menu item and
press Right or use the number keypad to select the menu item number.
To return to a preceding menu, press Left.
Procedure
1. From the DIAG/SERVICE menu, select CALIBRATION.
2. From the CALIBRATION menu, select PERFORM CAL.
3. From the PERFORM CAL menu, select CAL METHODS.
4. From the CAL METHODS menu, select the type of calibration desired: O2
Calibration.
In the first Calibration screen, a Loop should be removed from automatic
control warning appears.
5. Remove the transmitter from any automatic control loops to avoid a
potentially dangerous operating condition and press OK.
6. Set the Calibration screen to the following values. Press OK to continue.
• OCX: TAG NAME
• STATUS: Idle
• TIME REMAIN: 0s
• O2: 0.4 %, 85.95mV
• OK/NEXT to Select
• ABORT/CANCEL to Exit
7. From the SELECT ACTION screen, select START/NEXT CALSTEP to continue
calibration, select ABORT CAL to abort calibration, or select EXIT CAL to exit
calibration. Select one item from the list and press ENTER.
• OCX: TAG NAME
• SELECT ACTION
— 1. START/NEXT CALSTEP
— 2. ABORT CAL
— 3. EXIT CAL
8. When the Calibration Status is at the AppO2Low step, switch on O
2
low gas.
Verify the O
2
concentration measured matches the O2 LOW GAS parameter
in the Setup window. Press OK when ready.
9. Select START/NEXT CALSTEP to start applying the O
2
low gas.
The time to apply the test gas is specified by the Gas Time.
Manual
Calibration
00809-0500-4880 December 2022
Rosemount OCX8800A 97