2.0 Installing the camera
A few short and simple steps are necessary to connect and assign the camera, and to
enjoy the use of the camera. Use the following steps to connect the camera.
2.1 Connecting the camera to your network using a
network cable
We advise to connect the camera first with a network cable. Once the camera works
correctly, you can use your wireless network.
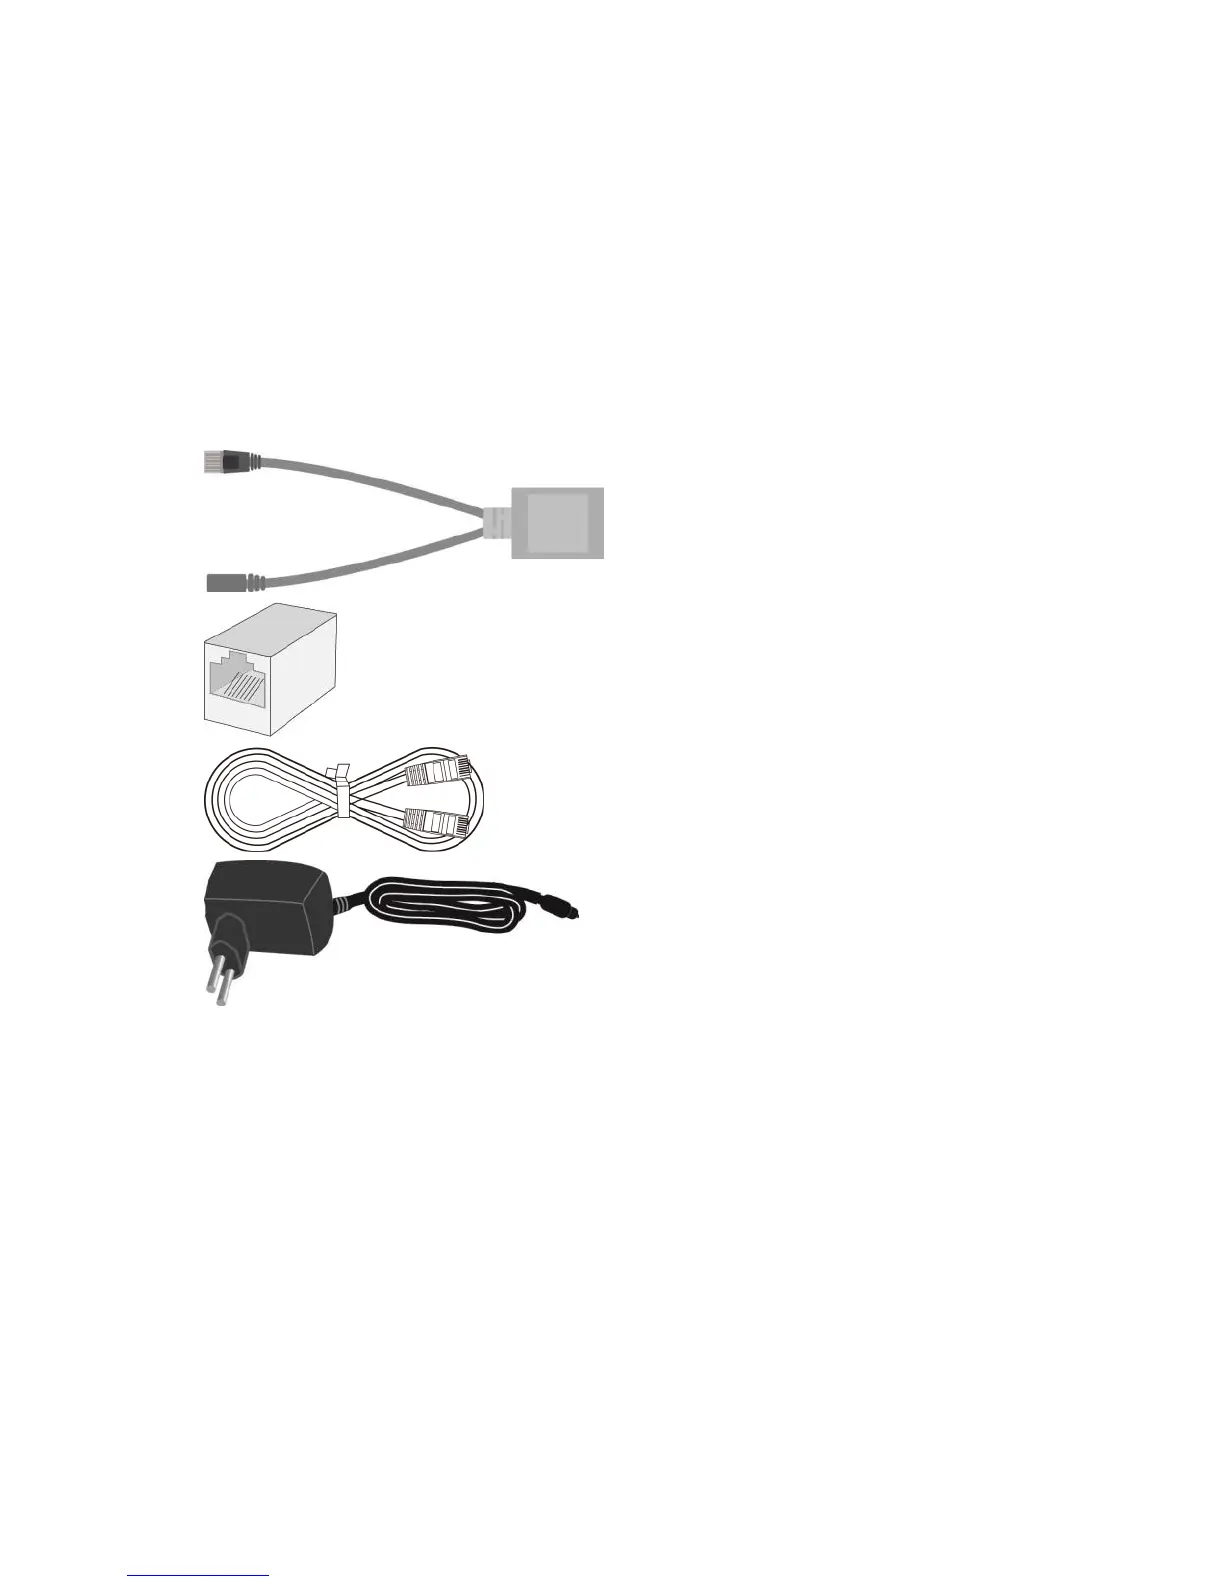
You will need the following components to connect your EM6350 to your network.
”Splitter cable”
”RJ45 Coupler”
”Ethernet cable”
”Power Adapter”
Please connect the accessories to the EM6350 correctly, including the power adapter
and Ethernet cable. And connect the other end of the Ethernet cable to your network.
Usually, this Ethernet cable is plugged into a router or an Ethernet switch. Since the
default settings of the EM6350 use DHCP the EM6350 should be connected to the
Internet immediately. The Internet status LED should be lit constantly.
There are two ways to connect the camera to your wired network.
Please choose the best option for your setup.