Sealed terminal
compartment
Before connection please note the following:
The power supply must be identical to the data on the
nameplate (1).
Switch off power supply before connecting up the device.
Connect Equipotential bonding to transmitter
ground terminal (7) before connecting up the device.
Tighten the locking screw (8):
It forms the connection between the probe and the housing
ground potential.
●
●
●
●
When you use the measuring system in hazardous areas, make sure you comply with
national standards and the specifications in the safety instructions (XA’s).
Make sure you use the specific cable gland.
On devices supplied with a certificate, the explosion protection
is designed as follows:
Housing F12/F23 - EEx ia:
Power supply must be intrinsically safe (not for dust-Ex).
The electronics and the current output are galvanically
separated from the probe circuit.
●
●
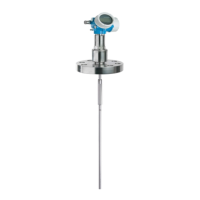
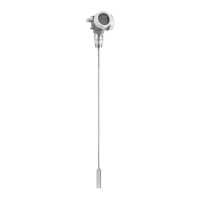
Connect up the Levelflex M as follows:
Unscrew housing cover (2).
Remove any display (3) if fitted.
Remove cover plate from terminal compartment (4).
Pull out terminal module slightly using "pulling loop" (only 2-wire).
Only ground screening of the line (7) on sensor side.
Make connection (see pin assignment).
Re-insert terminal module.
Tighten cable gland (6). Max. torque 10...12 Nm!
Tighten screws on cover plate (4).
Insert display if fitted.
Screw on housing cover (2).
(on dust-Ex torque 40 Nm).
Switch on power supply.
●
●
●
●
●
●
●
●
●
●
●
●
≈
Insert cable (5) through gland (6).
A standard installation cable is sufficient if only the analogue signal is
used. Use a screened cable when working with a superimposed
communications signal (HART).
Unplug display connector!
Caution!
Note!
plant
ground
test sockets
(output current)
power power
display unit,
recorder, PCS
2-wire-version 4-wire-version
If 4-wire for dust-Ex-applications is used,
the current output is .intrinsically save
AC / DCDC
plant
ground
0...20mA

 Loading...

