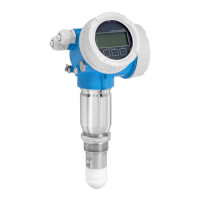
Micropilot FMR62 Commissioning (installation and configuration)
Endress+Hauser 15
5. Setting: "Commissioning = Expert mode". The device checks the parameter settings
according to the following table and forces the switching of parameters if necessary.
Once testing is finished, "SIL/WHG preparation: Finished" is displayed, and the
commissioning sequence can continue. Press "Next" to confirm.
The commissioning mode must not be changed during the SIL confirmation sequence.
If the wrong mode has been selected, the sequence must be canceled and started
again.
6. Carry out function test. For MIN and MAX monitoring, at least one level below (MIN
monitoring) or above (MAX monitoring) the switch point must be approached. For
range monitoring, 5 levels should be approached which cover the entire measuring
range. Verify in each case that the response of the current output is correct. If it is not
possible to approach the required level values, a test in accordance with test sequence
D (proof test) can be performed prior to locking. However, this does not detect all
possible errors (e.g. insufficient adjustment). For this reason, we recommend that the
measured values be checked and documented in accordance with test sequence A
(proof test) at a time when the required point levels/levels have been reached.
7. Confirm that the function test has been successful. To do so, select the "Yes" entry for
"Confirm function test".
8. Enter the locking code again under "Set write protection" (WHG: 7450; SIL: 7452; SIL
and WHG: 7454). The locking status must be checked after SIL locking: The
parameter "Setup → Advanced setup → Locking status → SIL Locking" must be
confirmed with an "".
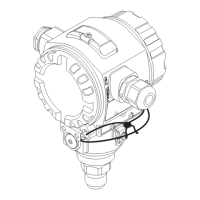
9. As an option, hardware locking can also be activated (via the dip switch marked "WP"
on the main electronics).
For Step 6:
In accordance with IEC 61508-1 : 2010, Section 7.14, this test is part of the "Overall
safety validation" and is the responsibility of the operator.
4.5.5 Unlocking a SIL device
When SIL locking is active on a device, the device is protected against unauthorized
operation by means of a locking code and, as an additional option, by means of a hardware
write protection switch. The device must be unlocked in order to change the configuration,
for proof tests according to test sequence B, test sequence C or test sequence D, and to
reset self-holding diagnostic messages.
L
CAUTION
Unlocking the device deactivates diagnostic functions, and the device may not be able
to carry out its safety function when unlocked.
‣
Therefore, independent measures must be taken to ensure that there is no risk of
danger while the device is unlocked.
To unlock, proceed as follows:
1. Check the position of the hardware write protection switch (dip switch marked "WP"
on main electronics), and set this switch to "Off".
2. Select the sequence "Setup → Advanced setup → Deactivate SIL/WHG" and enter the
appropriate unlocking code in the "Reset write protection" parameter (WHG: 7450;
SIL: 7452; SIL and WHG: 7454).
The "End of sequence" message indicates that the device was successfully unlocked.
 Loading...