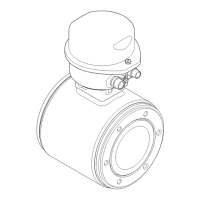
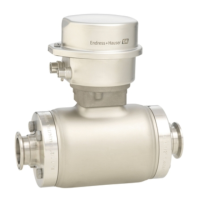
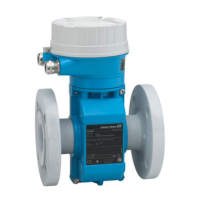
Proline Promag P 100 Electrical connection
Endress+Hauser 33
5. Insert dummy plugs into unused cable entries.
7.5
Post-connection check
Are cables or the device undamaged (visual inspection)?
Do the cables comply with the requirements (→ 21)?
Do the cables have adequate strain relief?
Are all the cable glands installed, firmly tightened and leak-tight? Cable run with "water trap"
(→ 32
) ?
Depending on the device version: are all the device plugs firmly tightened (→ 25)?
• Does the supply voltage match the specifications on the transmitter nameplate ?
• For device version with Modbus RS485 intrinsically safe: does the supply voltage match the
specifications on the nameplate of the Safety Barrier Promass 100 ?
Is the terminal assignment or the pin assignment of the device plug (→ 23) correct?
• If supply voltage is present, is the power LED on the electronics module of the transmitter lit green
(→ 8)?
• For device version with Modbus RS485 intrinsically safe, if supply voltage is present, is the power LED
on the Safety Barrier Promass 100 lit (→ 8)?
Is the potential equalization established correctly (→ 26)?
Depending on the device version, is the securing clamp or fixing screw firmly tightened?
 Loading...