25
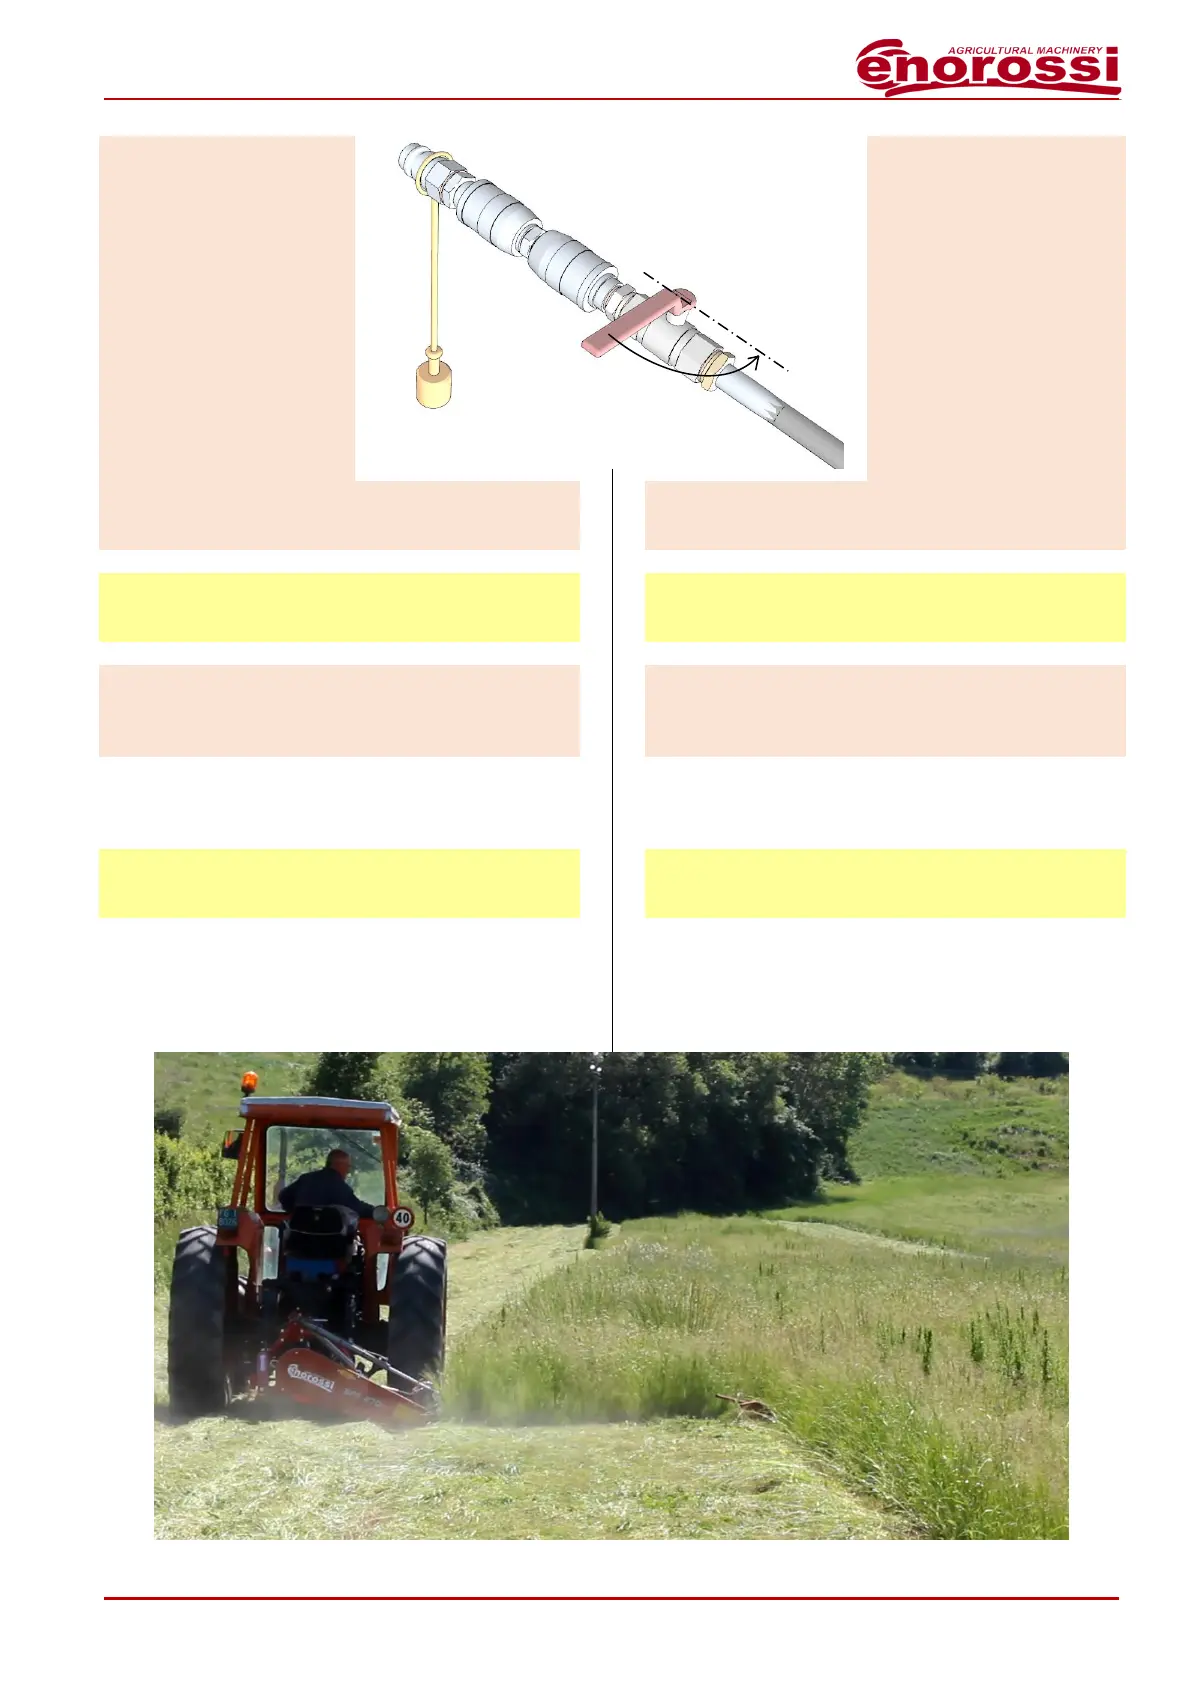
- Modelli idraulici:
liberare la barra di
taglio dall’apposita asta
(rimuovendo la
coppiglia a R e svitando
la boccola a maniglia -
fig.D1) e fissare l’asta al
supporto previsto sul
telaio (fig.D2);
- Aprire il rubinetto posto
sulla tubazione idraulica
(fig.D3);
- in cabina, agendo sulla
rispettiva leva, estendere il martinetto, per
abbassare la barra di taglio nella posizione di
lavoro;
IMPORTANTE
Provvedere a tendere le cinghie di trasmissione
(vedi procedura nel relativo paragrafo).
Modelli idraulici: SOLO LA PRIMA VOLTA - tarare
entrambe le valvole di regolazione di flusso per la
discesa e la salita della barra di taglio (vedi
procedura nel relativo paragrafo).
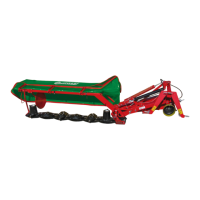
Uso
Avviare il trattore ed inserire la presa di forza.
IMPORTANTE
NON INSERIRE MAI la presa di forza a motore
spento.
- Per avere un taglio di buona qualità si racco-
manda di tenere la presa di forza tra 400 e 450
giri/min. compatibilmente con la condizioni del
terreno. NON SUPERARE MAI I 540 giri/min.
- Hydraulical models:
free the cutting bar from
the special rod (by
removing the R cotter
pin and unscrewing the
handle bushing - fig.D1)
and fix the rod to the
support foreseen on the
chassis (fig.D2);
- Open the tap installed
on the hydraulic piping
(fig.D3);
- in cabin, by handling the
respective lever, extend the cylinder to low the
bar mower in the working position;
IMPORTANT
Provide tensioning of the transmission belts (see
the procedure in the relevant paragraph;
Hydraulic models: ONLY THE FIRST TIME -
calibrate both flow control valves for lowering and
rising of the cutting bar (see the procedure in the
relevant paragraph.
Use
Start the tractor and engage the P.T.O.
IMPORTANT
DO NOT NEVER ENGAGE the power take-off while
the engine is off.
- For a good quality cut we recommend to keep
the P.T.O. speed between 400 to 450 rpm. DO
NOT OPERATE OVER 540 rpm.