TS-12 Musician’s Manual Section 4 — Understanding Presets
3
Editing a Preset
In addition to the presets stored in memory, there is one more preset that you are using most of
the time whether you know it or not. Whenever you are selecting or layering sounds in Sounds
mode, you are also creating a preset. The TS-12 automatically “remembers” the last three sounds
you selected and stores them in a special memory buffer called the Preset Edit Buffer. Try this:
• Press Sounds and select a sound by pressing its soft button.
• Layer another sound with the first by double-clicking its soft button.
• Layer a third sound by double-clicking on it.
You have created a preset with three sounds playing simultaneously. Suppose you wanted to
adjust their relative volumes, or shorten the release time, or change the pan location of one of the
sounds without losing the combination. You can do all of these things and a lot more with
presets.
In Preset mode, whenever you are hearing the Preset Edit Buffer, the preset name is shown as
*-EDITED--* . You can always toggle between the edited and currently selected preset by
pressing the soft button closest to the preset name.
As we have already discussed, a preset consists of three tracks, each of which has a sound and a
set of track parameters. The track parameters are found in the Track Parameters section of the
front panel. Presets can be saved, so that you can call them up at any time, or you can use the
Preset Edit Buffer in real-time as a powerful performance tool.
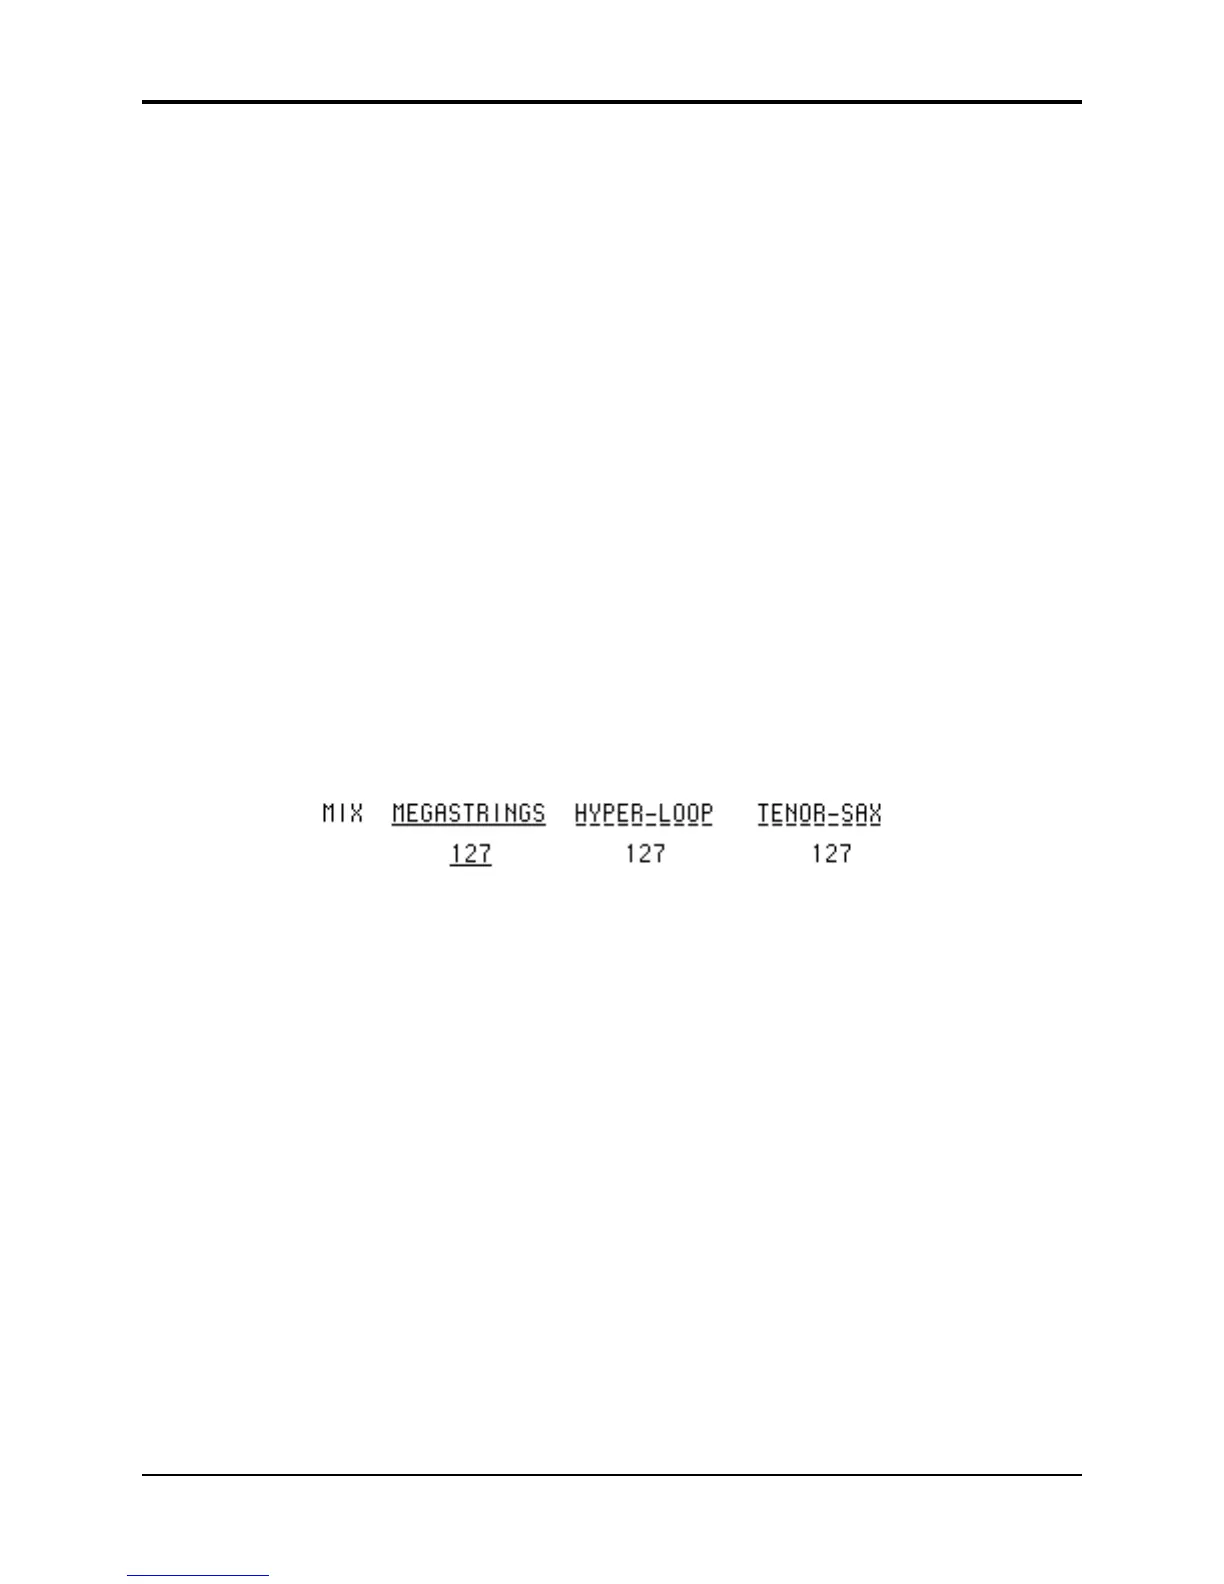
While you still have three programs layered, press the Mix/Pan button in the Track Parameter
section. The display shows:
• Across the top line you see the name of the last three sounds you selected, one with a solid
underline and the other two with flashing underlines, just as they appeared on the sound bank
pages. A flashing line means that it is a layered sound.
• On the lower line you see the mix levels for each sound. You can select which one you want to
adjust by pressing the soft button beneath the value, then adjust the value with the data entry
controls.
• Note that you can select a track for editing (using the lower three soft buttons) independent of
what is selected or layered on the upper line of the display. This means that you can adjust
the volume of any of the three sounds in the layer without having to un-layer them.
On this and all Track Parameter pages, selecting or layering sounds from the upper line
determines what sound(s) you hear, and selecting parameters on the lower line determines which
track will be modified if you move the Data Entry Slider or the Up/Down Arrow buttons. Try
pressing some of the other Track Parameter buttons — Tuning, Brightness, Key Zone, etc. —
and adjusting the track parameters on those pages. You will soon see that within a preset, it’s
easy to create splits and layers, transpose a sound, change the pan and many other useful things.
You can even assign one or more tracks in a preset to play only over MIDI, making presets a great
tool for controlling remote MIDI instruments in combination with TS-12 sounds.
 Loading...