18
18"
(457mm)
18"
(457mm)
Trim flashing
as required.
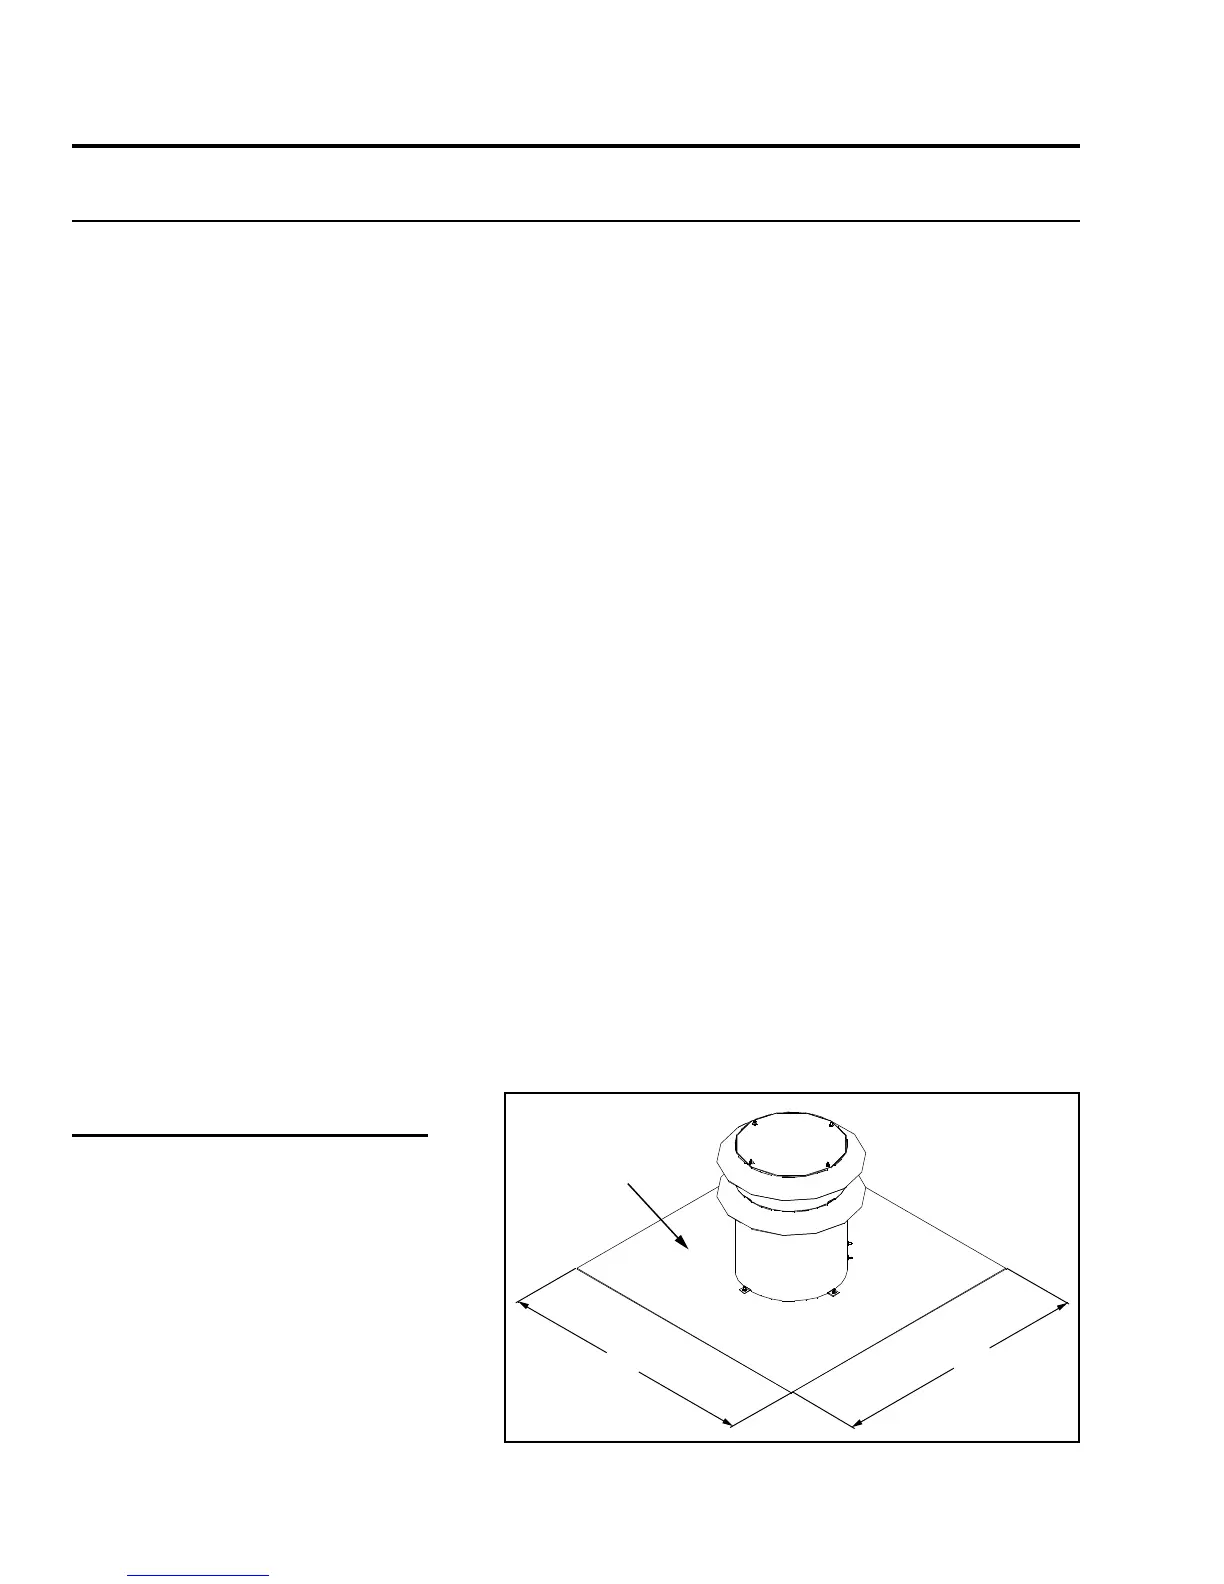
Figure 20: Generic Vent Cap Dimensions.
Initial Installation
QUALIFIED INSTALLERS ONLY
DiRect Vent VeRticaL Vent teRmination:
instaLLation instRuctions:
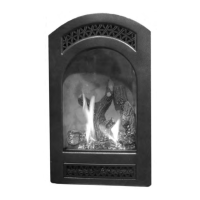
1. Plan your installation and clearances to combustibles. The E33 may be installed and vented into
any solid fuel replace that has been installed in accordance with the National, Provincial/State and
local building codes and has been constructed of non-combustible materials. Also refer to the
InItIal
InstallatIon - preparIng your e33 For InstallatIon and clearances to combustIbles sections. Refer to
Figure 19 throughout installation.
2. Stretch the Ø3” (76mm) ex vent liners to the length needed to ensure they can be easily connected
to the vent terminals.
3. Install the ex pipe assembly up through the chimney, ensure that the pipe slides through far enough
to connect onto the vent cap.
4. Most vent caps can be installed onto chimneys with ue openings up to 16” (406mm) x 16” (406mm)
and the actual ashing is 18”x18” (refer to Figure 20). If the chimney is smaller the cap should be
trimmed down and folded over.
5. Apply a bead of stove cement sealant to the top section of the Ø3” (76mm) exhaust vent collar plate.
Slide the Ø3” (76mm) ex vent over the ue collar and secure with three (3) sheet metal screws
evenly spaced.
6. Place a bead of high temperature silicone on the intake collar of the replace, slide the Ø3” (76mm)
ex intake liner over the collar, secure the ex liner with three (3) sheet metal screws evenly spaced.
7. At the top of the chimney, apply a bead of stove cement sealant to the Ø3” (76mm) pipe of the
exhaust vent terminal (refer to Figure 18). Slide the ex liner onto the vent terminal and secure with
three (3) sheet metal screws evenly spaced.
8. Place a bead of high temperature silicone on the intake collar of the vent terminal (refer to Figure 18).
Slide the Ø3” (76mm) ex intake liner over the collar, secure the ex liner with three (3) sheet metal
screws evenly spaced.
9. Make a tight connection between the gas replace insert ue collar and the replace chimney at the
top of the chimney. Secure the vent terminal to the chimney using adequate sealant, and according
to local building codes.
APPROVED TERMINATIONS:
-Simpson Dura-Vent
46DVA-VCH cap with 46DVA-GK
termination adapter
or
46DVA-CL33 termination kit
-
ICC
TM-4SVT cap with TM-CTA
termination adapter