20
to the practical application, the PV array's negative terminals, battery, and load can also be
ungrounded. Simultaneously, the grounding terminal on the shell must be grounded, which
effectively shields the electromagnetic interference from the outside and prevents some
electric shock to the human body due to the electrification of the shell.
For common-negative systems, such as the RV system, it is recommended to use
a common-negative controller. If a common-positive controller is used and the
positive electrode is grounded in the common-negative system, the controller may
be damaged.
Step 5:Connect accessories
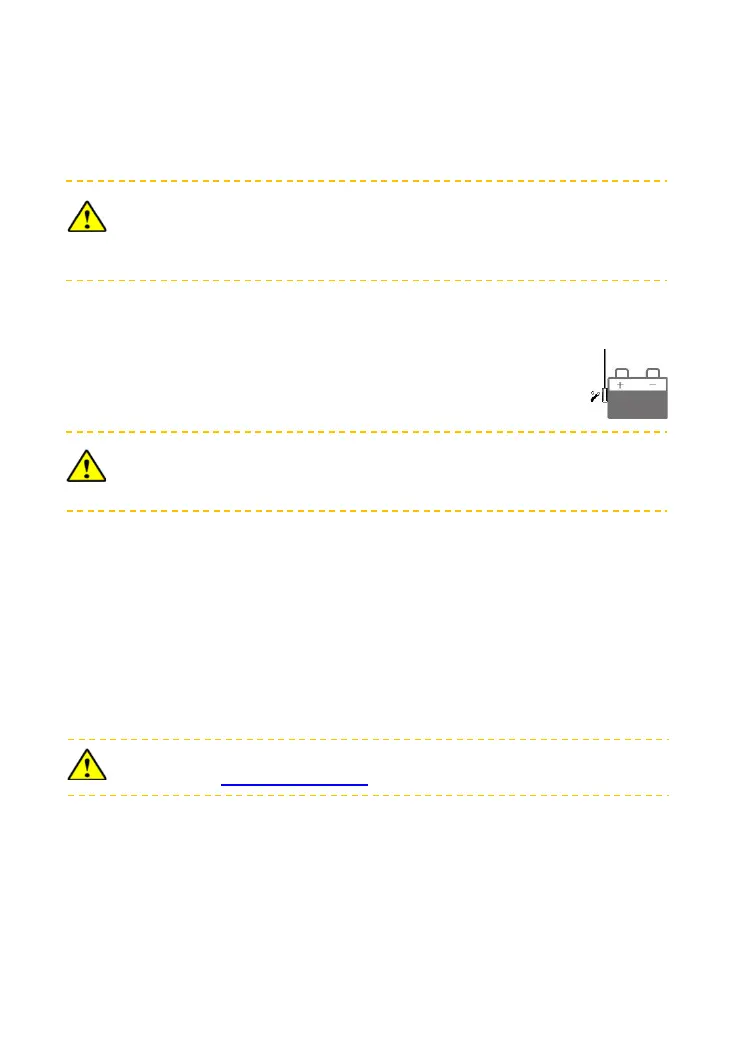
Connect the remote temperature sensor cable (Model: RTS300R47K3.81A)
Connect the remote temperature sensor cable to the interface ❽ and place
the other end close to the battery.
Suppose the remote temperature sensor is not connected to the controller. In that
case, the controller can charge or discharge the battery at the default 25 ºC(no
temperature compensation).
Connect the remote battery voltage sensor cable (Model: RVBS300B3.81)
Connect the remote battery voltage sensor cable to the interface⓫ and connect the other
end to the battery terminals.
Connect the accessories for RS485 communication; refer to the accessories list.
Step 6:Power on the controller
Close the battery's fuse to power on the controller. After the LCD normally displays, close
the PV array's circuit breaker. The charging indicator is slow flashing during the PV
charging process.
If the controller can not work properly or the fault indicator shows an abnormality,
please refer to4.2 "Troubleshooting."
 Loading...