Setup & Operation 5. Motion Range
54 LS20 Rev.4
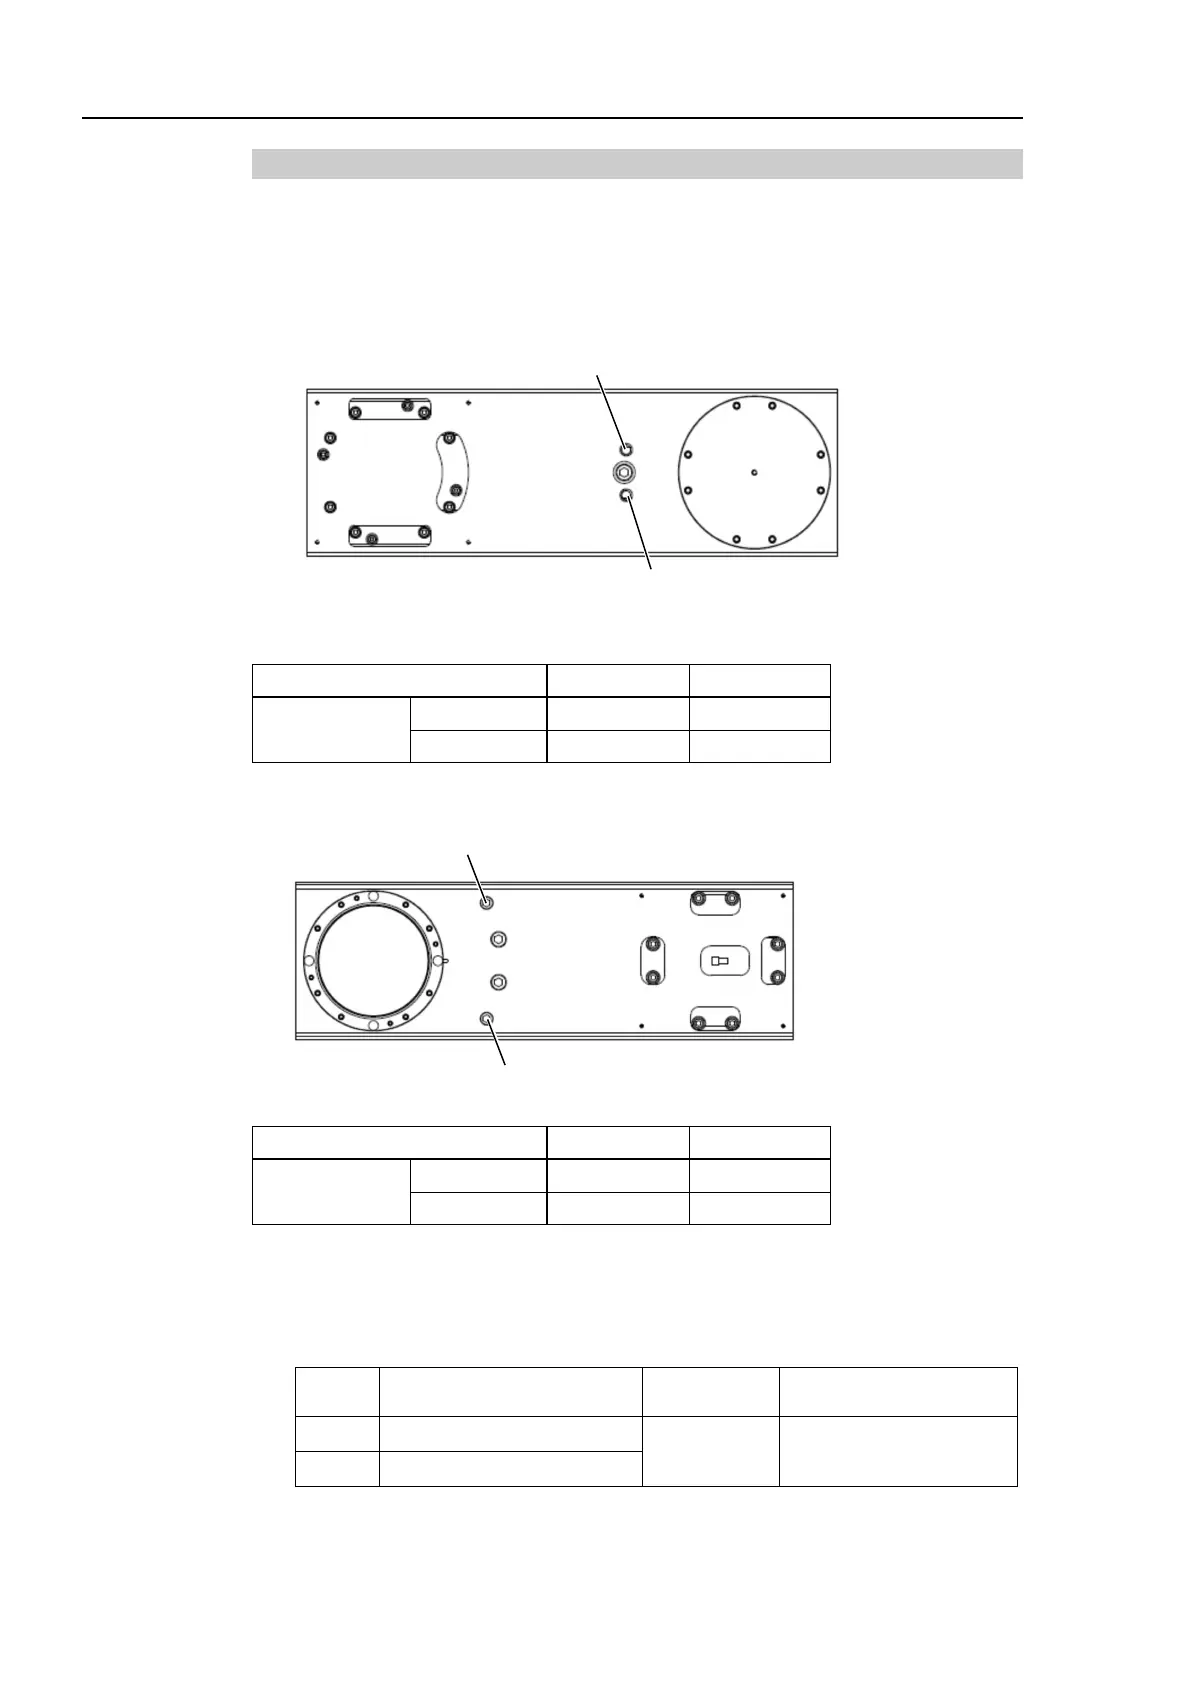
5.2.1 Setting the Mechanical Stops of Joints #1 and #2
Both Joints #1 and #2 have threaded holes in the positions corresponding to the angle for
the mechanical stop settings. Install the bolts in the holes corresponding to the angle that
you want to set.
Install the bolts for the mechanical stop to the following position.
Views from the bottom of Arm #1
Joint #1 Mechanical Stops
LS20-804*
-
444188 pulse -444188 pulse
Views from the top of Arm #1
Joint #2 Mechanical Stops
LS20-804*
135 deg -135 deg
307200 pulse -307200 pulse
Controller.
a hexagon socket head cap bolt into the hole corresponding to the setting angle,
and
tighten it.
Joint
Hexagon socket head cap
bolt (fully threaded)
Recommended
tightening torque
1
M10 × 65
1 bolt /
one side
13.0 N⋅m (132.7 kgf⋅cm)
2
M10 × 50

 Loading...


