QX5
QXFXO4/QXISDN4/QXE1T1/QXFXS24; (SW Version 6.0.x) 26
QXFXO4/QXISDN4/QXE1T1/QXFXS24 Manual II: Administrator’s Guide
Choose File opens the file chooser window to browse for a new welcome message file.
The Download Welcome Message and Remove Welcome Message links appear only if a file has been uploaded previously. The Download
Welcome Message link is used to download the message file to the PC and opens the file-chooser window where the saving location may be
specified. The Remove Welcome Message link is used to restore the default welcome message.
• Recurring Attendant Prompt - this group allows updating the active recurring Auto Attendant message (played after the Attendant Welcome
Message and then periodically repeated while being in the Auto Attendant), downloading it to the PC, or restoring the default one. The group
offers the following components:
Upload new Recurring Attendant Prompt indicates the file name used to upload a new recurring auto attendant prompt. The uploaded file
needs to be in PCMU (CCITT u-law, 8 kHz, 8 bit Mono) wave format, otherwise the system will prevent uploading and the “Invalid audio file, or
format is not supported” warning message will appear. The system also prevents uploading if there is not enough memory available for the
corresponding extension. This will cause the “You do not have enough space” warning message to appear.
Choose File opens the file chooser window to browse for a new Recurring Attendant Prompt file.
The Download Recurring Attendant Prompt and Remove Recurring Attendant Prompt links appear only if a file has been uploaded
previously. The Download Recurring Attendant Prompt link is used to download the Recurring Attendant Prompt file to the PC and opens the
file-chooser window where the saving location may be specified. The Remove Recurring Attendant Prompt link is used to restore the default
Recurring Attendant Prompt.
• Friendly Phones - the Edit Authorized Phones Database link refers to the Authorized Phones Database page where a list of trusted external
phones can be created. If external SIP or PSTN users are added to the QX Authorized Phones database, they are free to access the Auto Attendant
Services without passing the authentication or to use the Call Back services.
The VXML Scenario manipulation radio button selection allows you to upload Attendant’s custom scenario file and voice messages. The selections are:
• The Upload VXML Scenario File indicates the file name used to upload a new scenario file. The uploaded file needs to be in EpygiXML format
(the coding standard can be found at
Epygi Technical Support) and is restricted to a 20KB file size. Choose File opens the file chooser window
to browse for a custom scenario file.
Please Note: You may upload an attendant scenario file along with the voice prompt recordings as a single file. To do this, create an archive file
of the “tar.gz” type containing all the necessary files and upload it from the Upload VXML Scenario Voice Messages page.
• The View/Download VXML Scenario link appears only when a custom scenario file has been previously uploaded and is used to view or
download the scenario file. The Remove Scenario link is used to remove a custom scenario file and return to the default Auto Attendant
scenario.
• The Upload VXML Scenario Voice Messages link refers to the page where voice messages used in the uploaded custom scenario should be
managed.
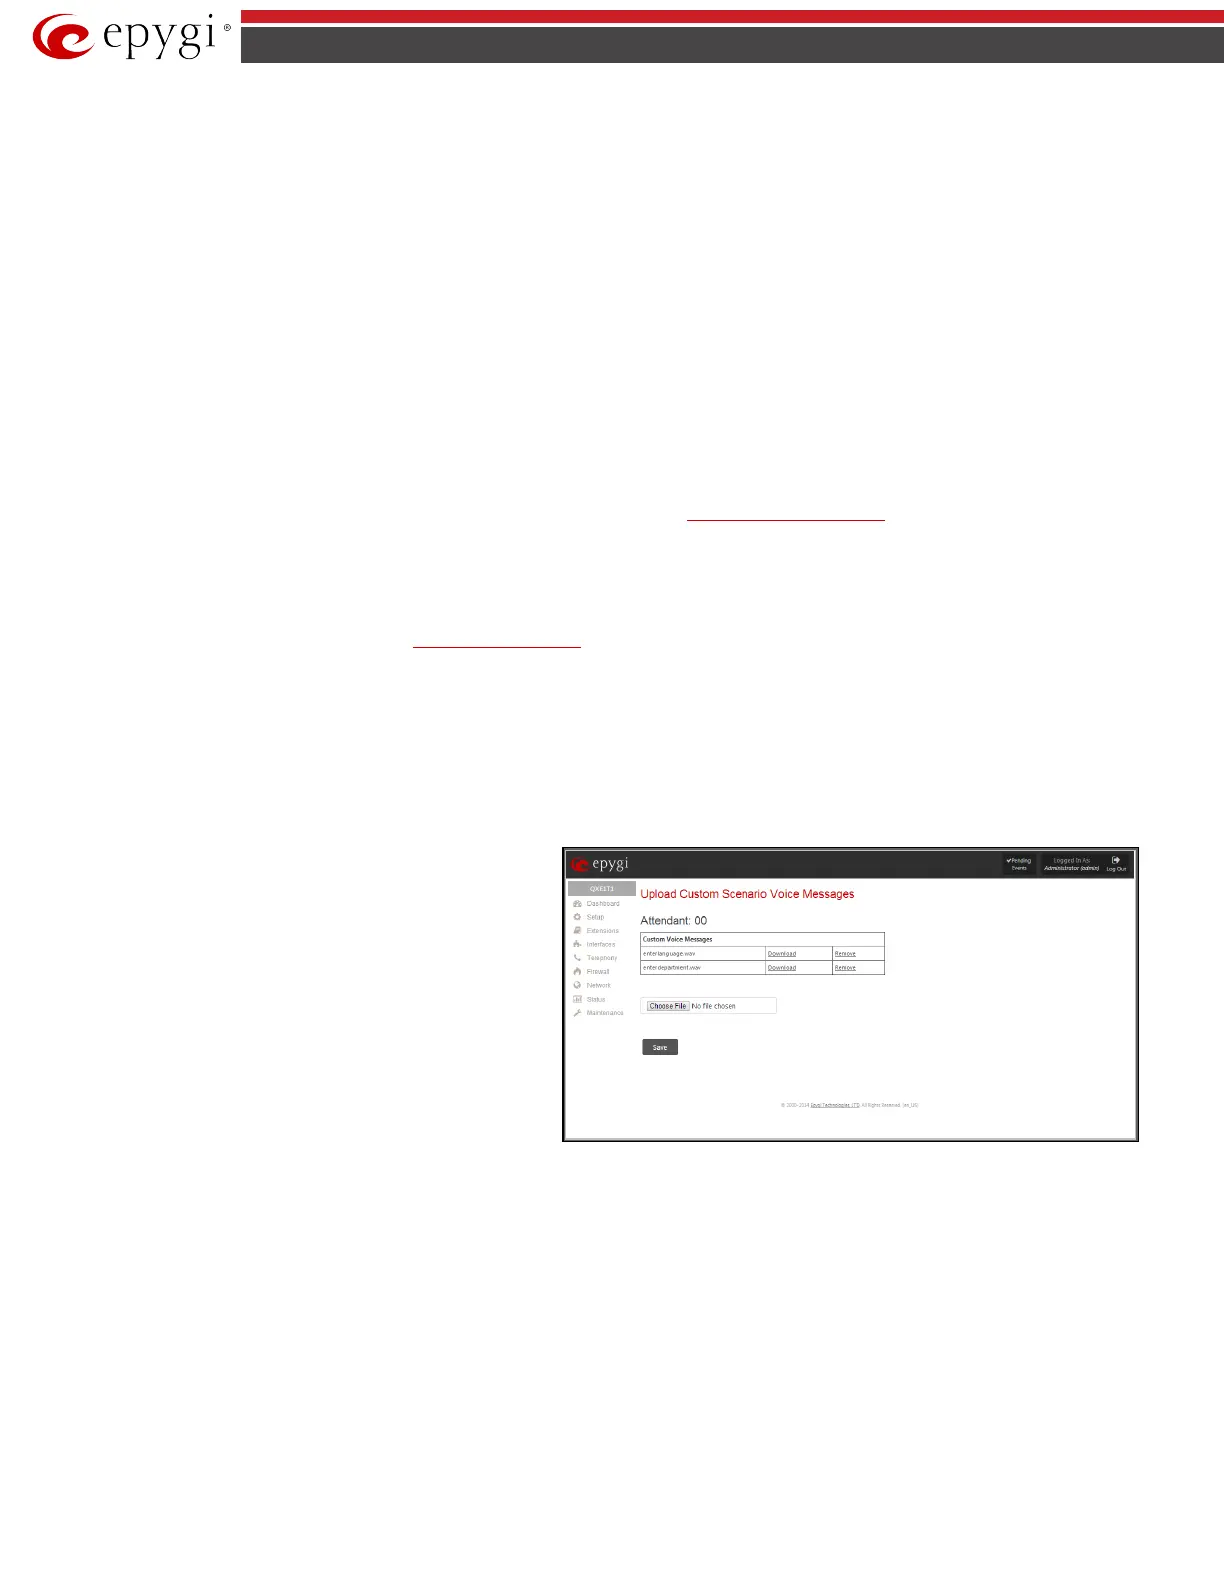
This page provides the possibility of uploading voice messages to
be played in the custom Auto Attendant scenario. It also removes
and downloads the uploaded files to a PC.
The Upload Custom Scenario Voice Messages page contains a
table where uploaded custom voice messages are listed. Use the
Download functional button to download and use Remove to
delete the corresponding custom voice message.
Choose File opens a file chooser window to browse for a custom
voice message for an archive file with the “tar.gz” extension
containing the custom attendant scenario and the voice prompt
recordings.
Fig.II- 27: Upload Custom Voice Messages page
The Attendant Ringing Announcement group allows uploading an optional voice message that is played to callers instead of ring-back tones when
making calls through an auto attendant. The Ringing Announcement can be enabled for both custom and default attendants.
Please Note: The Attendant Ringing Announcement is played to SIP-to-extension and PSTN-to-extension calls only. The announcement can also be
played to SIP-attendant-SIP and PSTN-attendant-SIP calls if they are made by a call routing rule for which the RTP proxy is enabled.
The group offers the following components:
The Enable Ringing Announcement checkbox enables/disables the Auto Attendant optional announcement message. When this checkbox is selected but
no custom announcement message is uploaded, the default message will be played to callers.
• File selection is used to upload the ringing announcement file. The following option is available under this selection:
Upload new ringing announcement indicates the file name used to upload an announcement. The uploaded file needs to be in PCMU (CCITT
u-law, 8 kHz, 8 bit Mono) wave format, otherwise the system will prevent uploading and the “Invalid audio file, or format is not supported”

 Loading...

