QX50/QX200/QX2000; (SW Version 6.0.x) 48
QX50/QX200/QX2000 Manual II: Administrator’s Guide
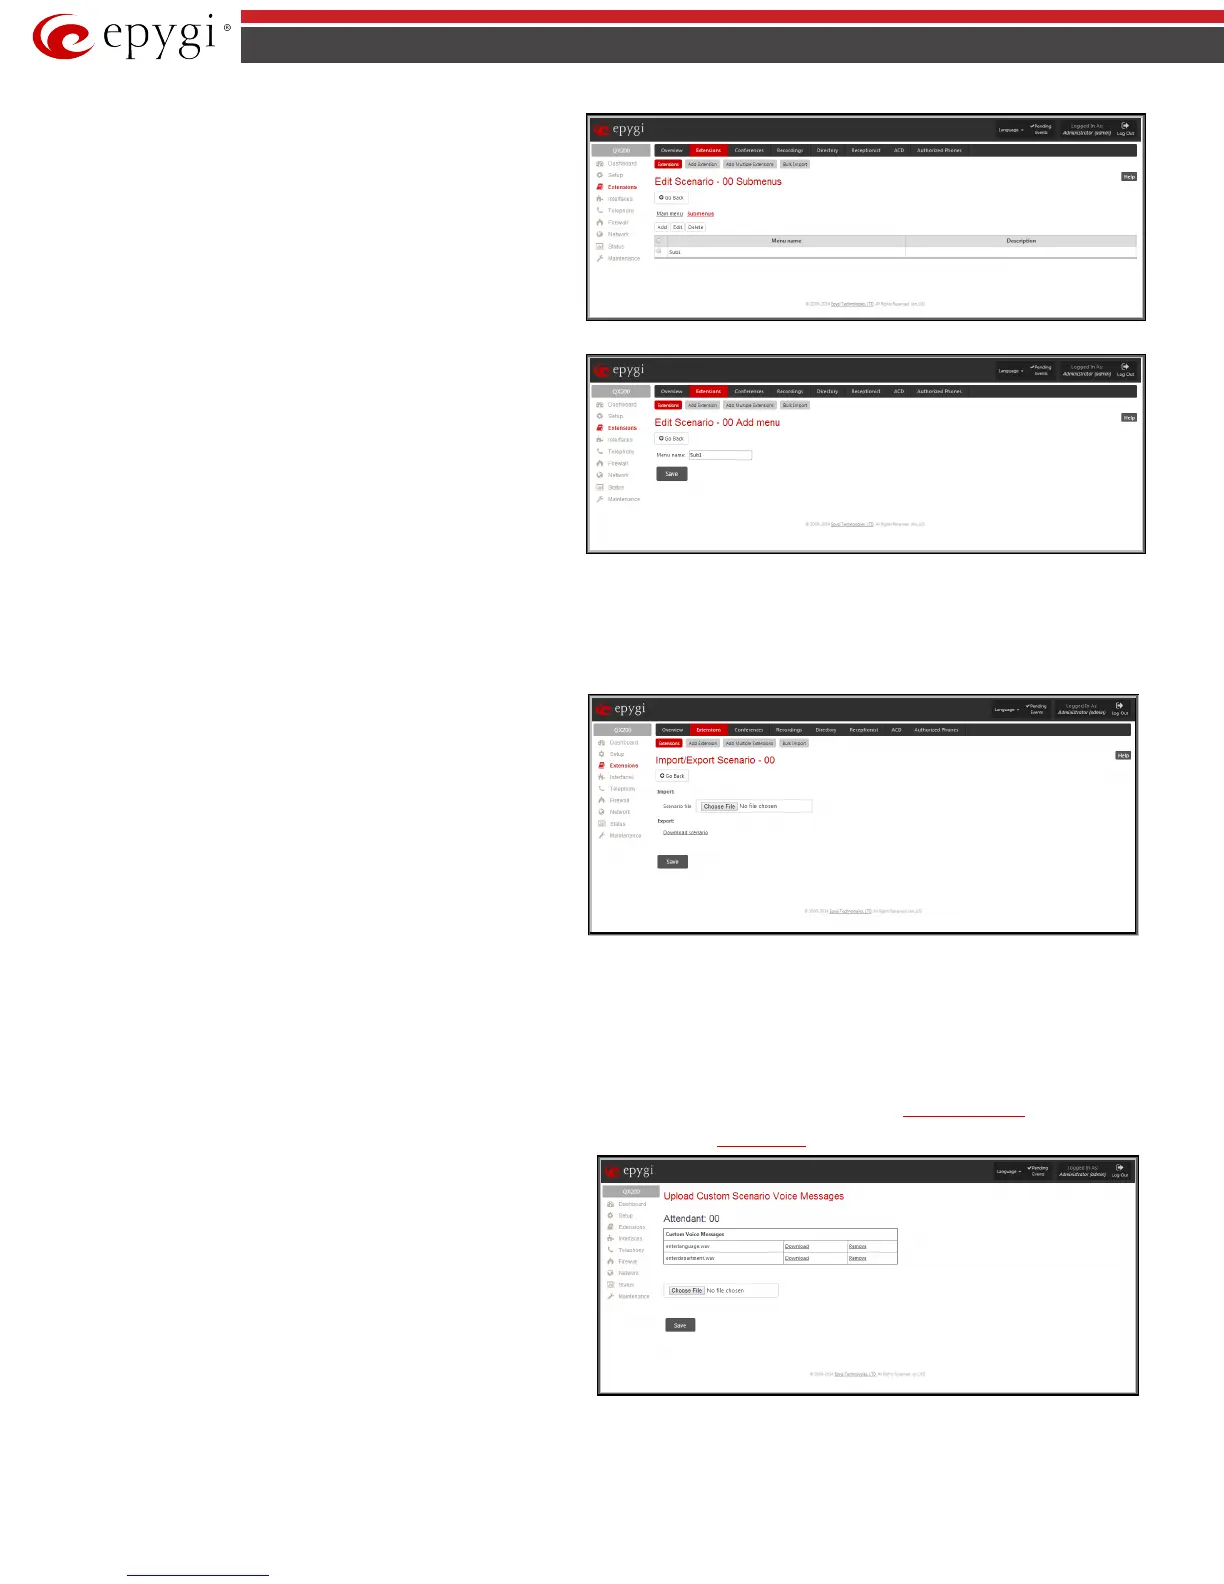
Submenus
page consists of the following functional buttons:
Add opens the Edit Scenario - Add menu page where a new Menu
name may be defined.
Edit opens the Edit Scenario page where a newly created submenu
scenario settings might be adjusted.
Fig.II- 65: Create scenario-Submenus page
Fig.II- 66: Submenus – Add Entry – Edit Scenario page
• The Edit Scenario link appears only if a new scenario has been created previously. The Edit Scenario link opens the Edit Scenario page, where
a previously created scenario can be changed.
• The Import/Export scenario link leads to the page where a new scenario file can be imported or exported.
Import/Export Scenario
page offers the following components:
Import scenario is used for uploading the previously downloaded
scenario and custom messages file.
Export scenario appears when the Customized Scenario was
previously configured for the current Auto Attendant. The Download
scenario link is used to download the scenario and voice message
files to the PC and opens the file-chooser window where the saving
location may be specified.
Fig.II- 67: Import/Export Scenario page
• The Remove Scenario link removes the current Customized Scenario. After pressing the Remove scenario link all configurations and
uploaded voice messages will be deleted from the system.
• The View/Download VXML Scenario link appears only when a customized scenario has been created and is used to view or download the
generated script in a VXML file format.
The Predefined manipulation radio button selection allows you to switch the Attendant to the ACD Agent Scenario (see
ACD Management).
Attention: This selection is only available if the ACD feature is previously activated from the
Feature Keys page.
This page provides the possibility of uploading voice messages to be
played in the custom Auto Attendant scenario. It also removes and
downloads the uploaded files to a PC.
The Upload Custom Scenario Voice Messages page contains a table
where uploaded custom voice messages are listed. Use the Download
functional button to download and use Remove to delete the
corresponding custom voice message.
Browse opens a file chooser window to browse for a custom voice
message for an archive file with the “tar.gz” extension containing the
custom attendant scenario and the voice prompt recordings.
Fig.II- 68: Upload Custom Voice Messages page
The Attendant Ringing Announcement group allows uploading an optional voice message that is played to callers instead of ring-back tones when
making calls through an auto attendant. The Ringing Announcement can be enabled for both custom and default attendants.
 Loading...

