4 OPERATION
0449 165 160
- 17 -
© ESAB AB 2020
4 OPERATION
4.1 General
CAUTION!
Read and understand the instruction manual before
installing or operating.
General safety regulations for handling the equipment can be found in the "SAFETY"
chapter of this manual. Read it through before you start using the equipment!
Return cable
Before starting the welding, check that the return cable is connected. See section
"Connections".
4.2 Loading the welding wire (A2TFJ1/A2TFJ1Twin, A2TGJ1)
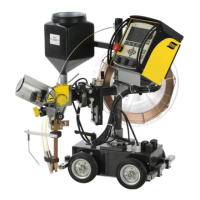
A2TFJ1(SAW) A2TFJ1Twin(SAW) A2TGJ1(MIG/MAG)
1. Mount the wire drum according to the instructions in the "Installation" chapter.
2. Check that feed roller (1) and contact jaw or contact tip (3) has the correct dimension
for the selected wire size.
3. For A2TF J1 Twin and A2TG J1:
○ Feed the wire through the wire guide (8).
4. When welding with fine wire:
○ Feed the wire through the fine wire feed unit (6).
Ensure that the straightener is correctly adjusted so that the wire emerges
straight out through the contact jaws or contact tip (3).
5. Pull the end of the wire through the straightener (2).
○ For a wire diameter greater than 2 mm, straighten out 0.5 m of wire and feed it
by hand down through the straightener.
6. Locate the end of the wire in the feed roller (1) groove.
7. Set the wire tension on the feed roller with the knob (4).
NOTE!
Do not tension more than is required to achieve an even feed.

 Loading...
