4 OPERATION
0449 165 160
- 19 -
© ESAB AB 2020
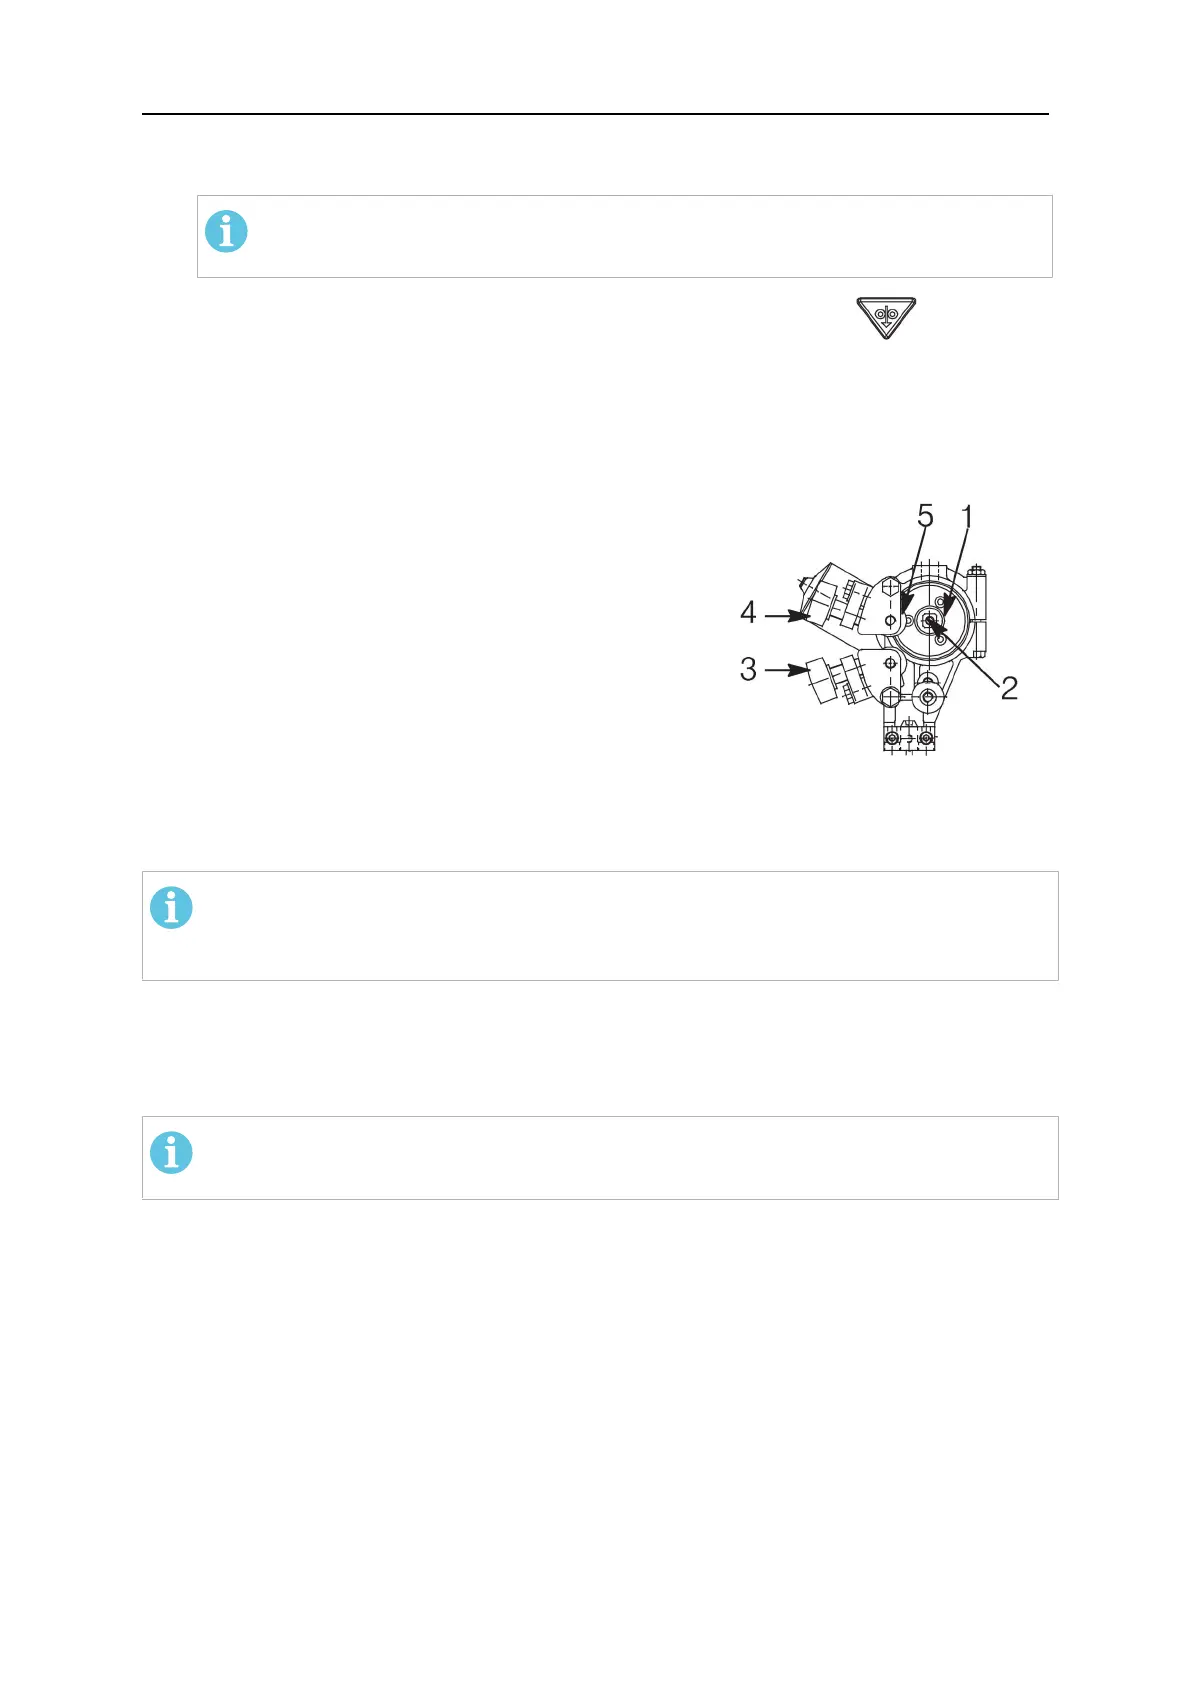
7. Put down the pressure arms (11) and adjust the wire tension on the feed rollers (1, 4)
by way of the pressure devices (10).
NOTE!
Do not tighten down too hard.
8.
Feed the wire forward 30mm below the contact nozzle by pressing on the PEK.
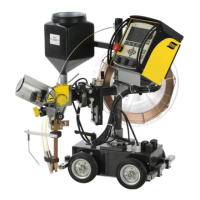
4.4 Changing the feed roller (A2TFJ1/ A2TFJ1Twin, A2TGJ1)
4.4.1 Single wire
• Release the knobs (3) and (4).
• Release the hand wheel (2).
• Change the feed roller (1).
The feed rollers are marked with their respective
wire sizes.
4.4.1.1 Twin wire (Twin-arc)
• Change the feed roller (1) with twin grooves in the same way as for single wire.
NOTE!
The pressure roller (5) must also be changed. A special curved pressure roller for
twin wire replaces the standard pressure roller for single wire.
• Assemble the pressure roller with special stub shaft (order no. 0146253001).
4.4.1.2 Flux-cored wire for knurled rollers (Accessories)
• Change the feed roller (1) and pressure roller (5) as a pair for the wire size to be used.
NOTE!
A special stub shaft is required for the pressure roller (order no. 0212 901 101).
• Tighten the pressure screw (4) with moderate pressure to ensure that the flux-cored
wire does not deform.