S0740 800 152/E061012/P36
-- 1 5 --
ci01i_m2
INSTRUCTIONS M2
This chapter is an extract from the instruction manual for the M2 control panel.
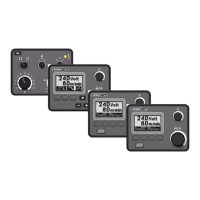
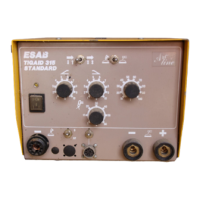
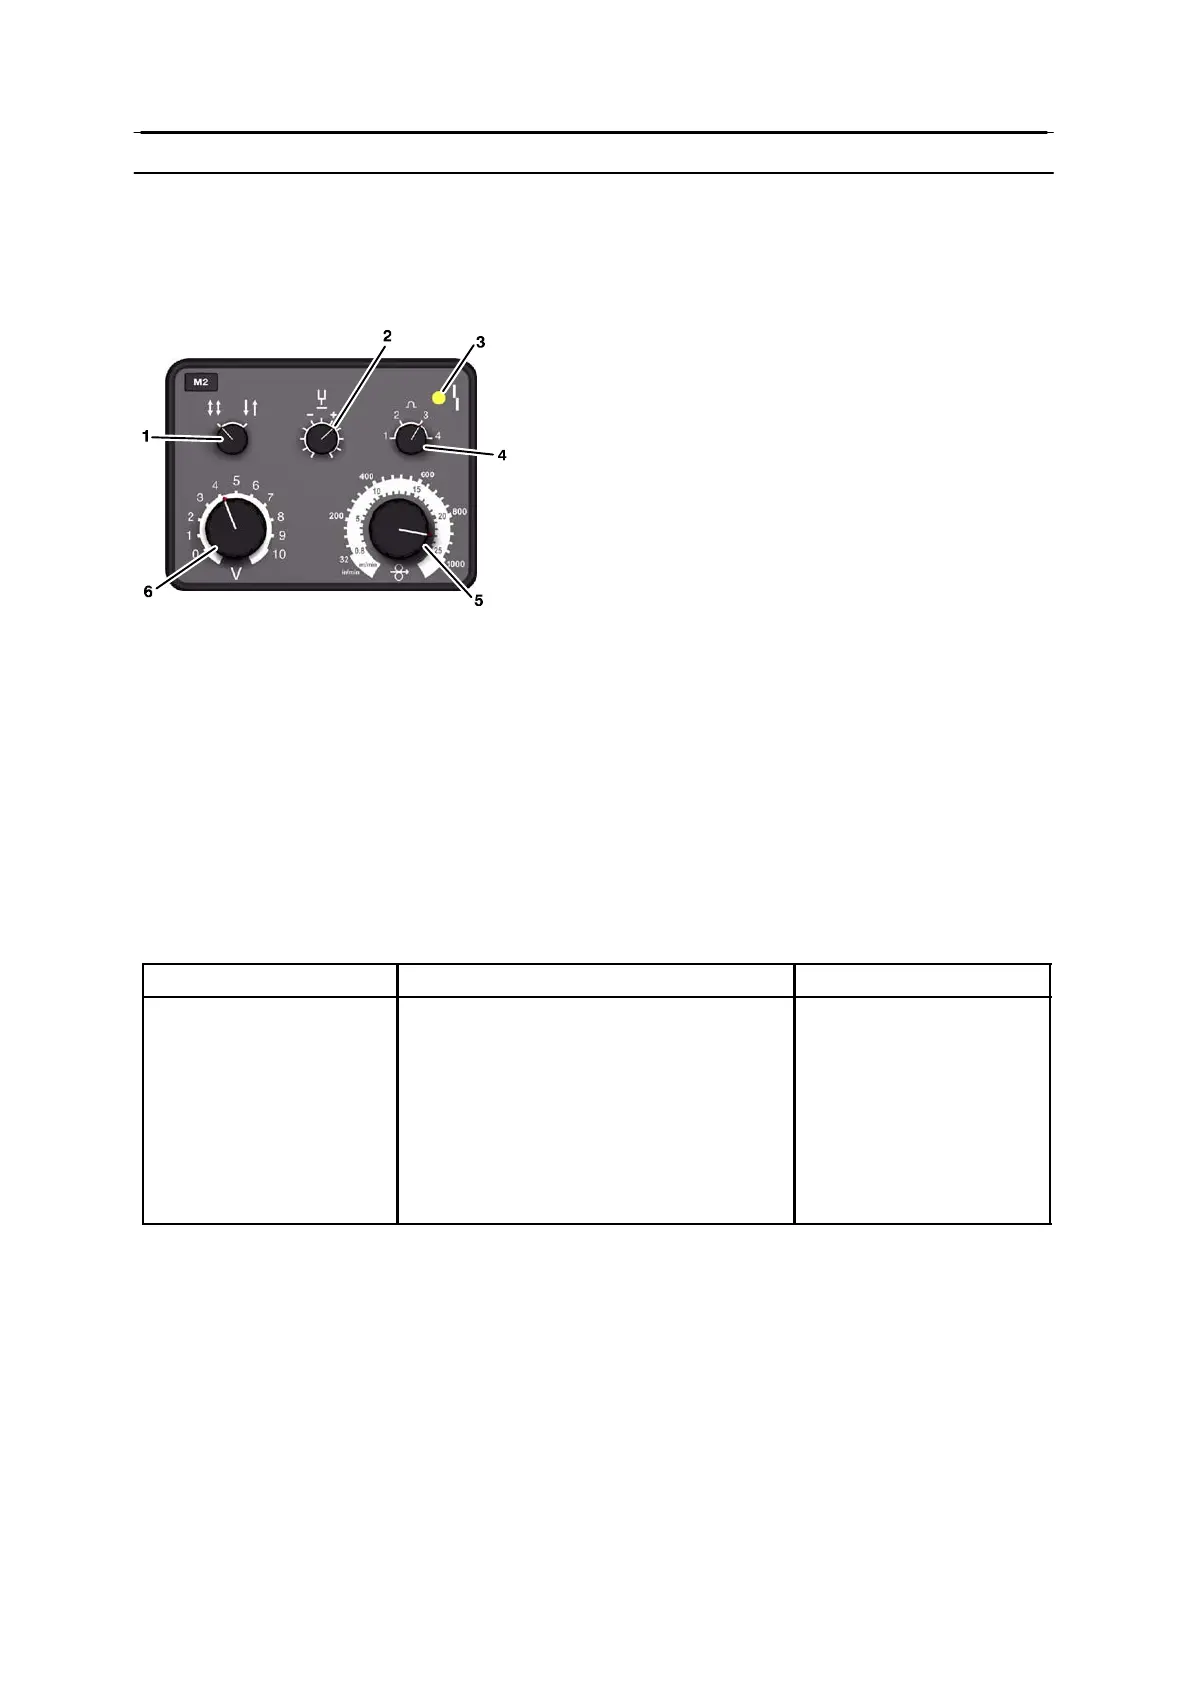
The control panel
1 Knob for selecting 2 / 4--stroke control mode
2 Knob for setting the burn--back time
3 Yellow indicating lamp -- non--specific fault indication
4 Knob for setting the inductance
5 Knob for setting the wire feed speed
6 Knob for setting the arc voltage
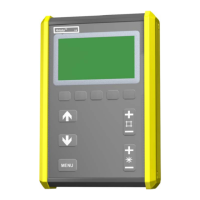
Remote control unit
Using a remote control unit, the primary parameters of the welding process can be
controlled from a device other than the control panel.
The remote control unit must be connected via a remote control adapter.
When the remote control adapter is connected, everything is controlled from the remote
control unit, and the knobs on the control panel are out of operation.
Setting ranges
Welding parameter Setting range Adjustment steps
2/4--stroke 2--stroke or 4--stroke --
Gas pre-- flow preset on 0.1 s not adjustable
Gas post--flow preset on < 0.1 s not adjustable
Burn--back time 0.01 -- 0.35 s stepless
Inductance 30, 50, 70 and 90% of max inductance 4 positions
Wire feed speed 0.8 -- 25.0 m/min stepless
Arc voltage 8--42V stepless
2--stroke
With 2--stroke, the gas pre-- flow begins when the welding gun trigger switch is pressed.
The welding process begins after this. When the trigger switch is released, welding is
stopped and gas post--flow starts.
4--stroke
With 4--stroke, the gas pre-- flow begins when the welding gun trigger switch is pressed.
When the welding gun trigger switch is released, the welding process starts. When the
trigger switch is pressed again, the welding data is reduced to a lower value. When the gun
trigger switch is released, welding is stopped and gas post-- flow starts.
 Loading...