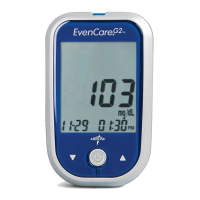
Step 4:
Squeeze a drop of control solution onto a clean, dry, non-
absorbent surface. Do not apply control solution to the test
strip directly from the bottle. Replace the bottle cap on the
control solution bottle immediately after use.
DO NOT touch the Sampling End of the test strip with the bottle of
control solution. See illustration of Sampling End below.
Step 5:
Gently touch the drop of the control solution to the tip of the
test strip. The meter will beep indicating it has received the
control solution.
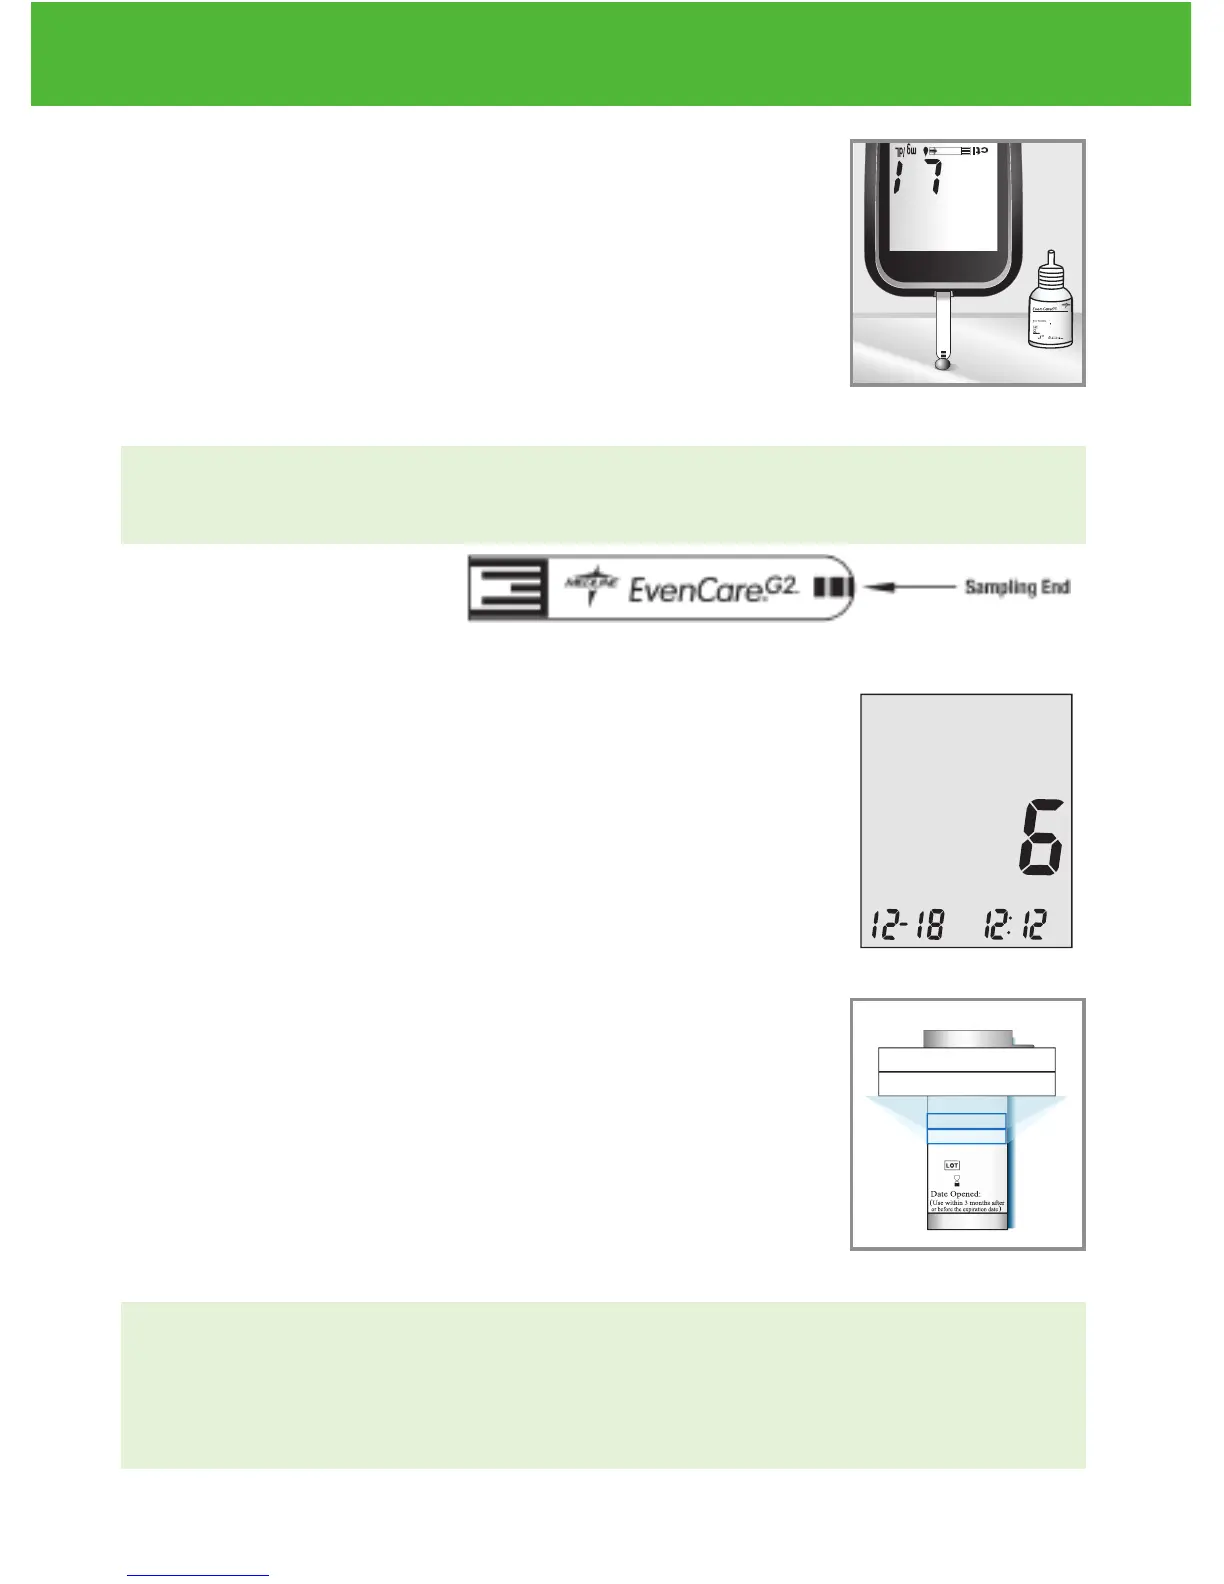
Step 6:
The screen will start to count down. After 6 seconds, the
control test result will appear on the meter’s display screen.
Step 7:
Compare the reading on the screen to the Low range
printed on the test strip bottle or its package. If the reading
falls outside the Low range printed on the test strip bottle
or its package, see Control Solution Trouble Shooting, on
page 29.
NOTE:
• Control solution testing results will be stored into the meter memory and
indicated by ctl icon.
• Control solution testing results will not be used for calculating averages.
EvenCareG2
Control Solution Testing
27
DVI
e
g
a
r
otS
e
ru
tarep
m
e
T
51
e
t
a
d
n
oi
t
a
ri
px
e
e
h
t
e
rofe
b
r
o
gn
i
n
e
p
o
t
sr
if r
et
f
a
sht
n
om 3
ni
htiw
esU
Low
Control Soluon
Suitable for Self-tesng
www.medline.com
©2010 Medline Industries, Inc.
Manufactured for Medline Industries, Inc.,
Mundelein, IL 60060 USA Made in Taiwan
1-800-MEDLINE RK10APB
Patent# 7655128
DVI
e
g
a
r
otS
erutarepmeT
51
e
t
ad
n
oit
a
ri
px
e eht e
r
ofe
b
r
o
gninepo tsrif retfa shtnom 3 nihtiw esU
Low
Control Soluon
Suitable for Self-tesng