DTP CrossPoint 4K Series Matrix Switchers • Operation 27
I/O Buttons
NOTE: See Front Panel Operations, beginning on page 29 for detailed descriptions of
the following operations.
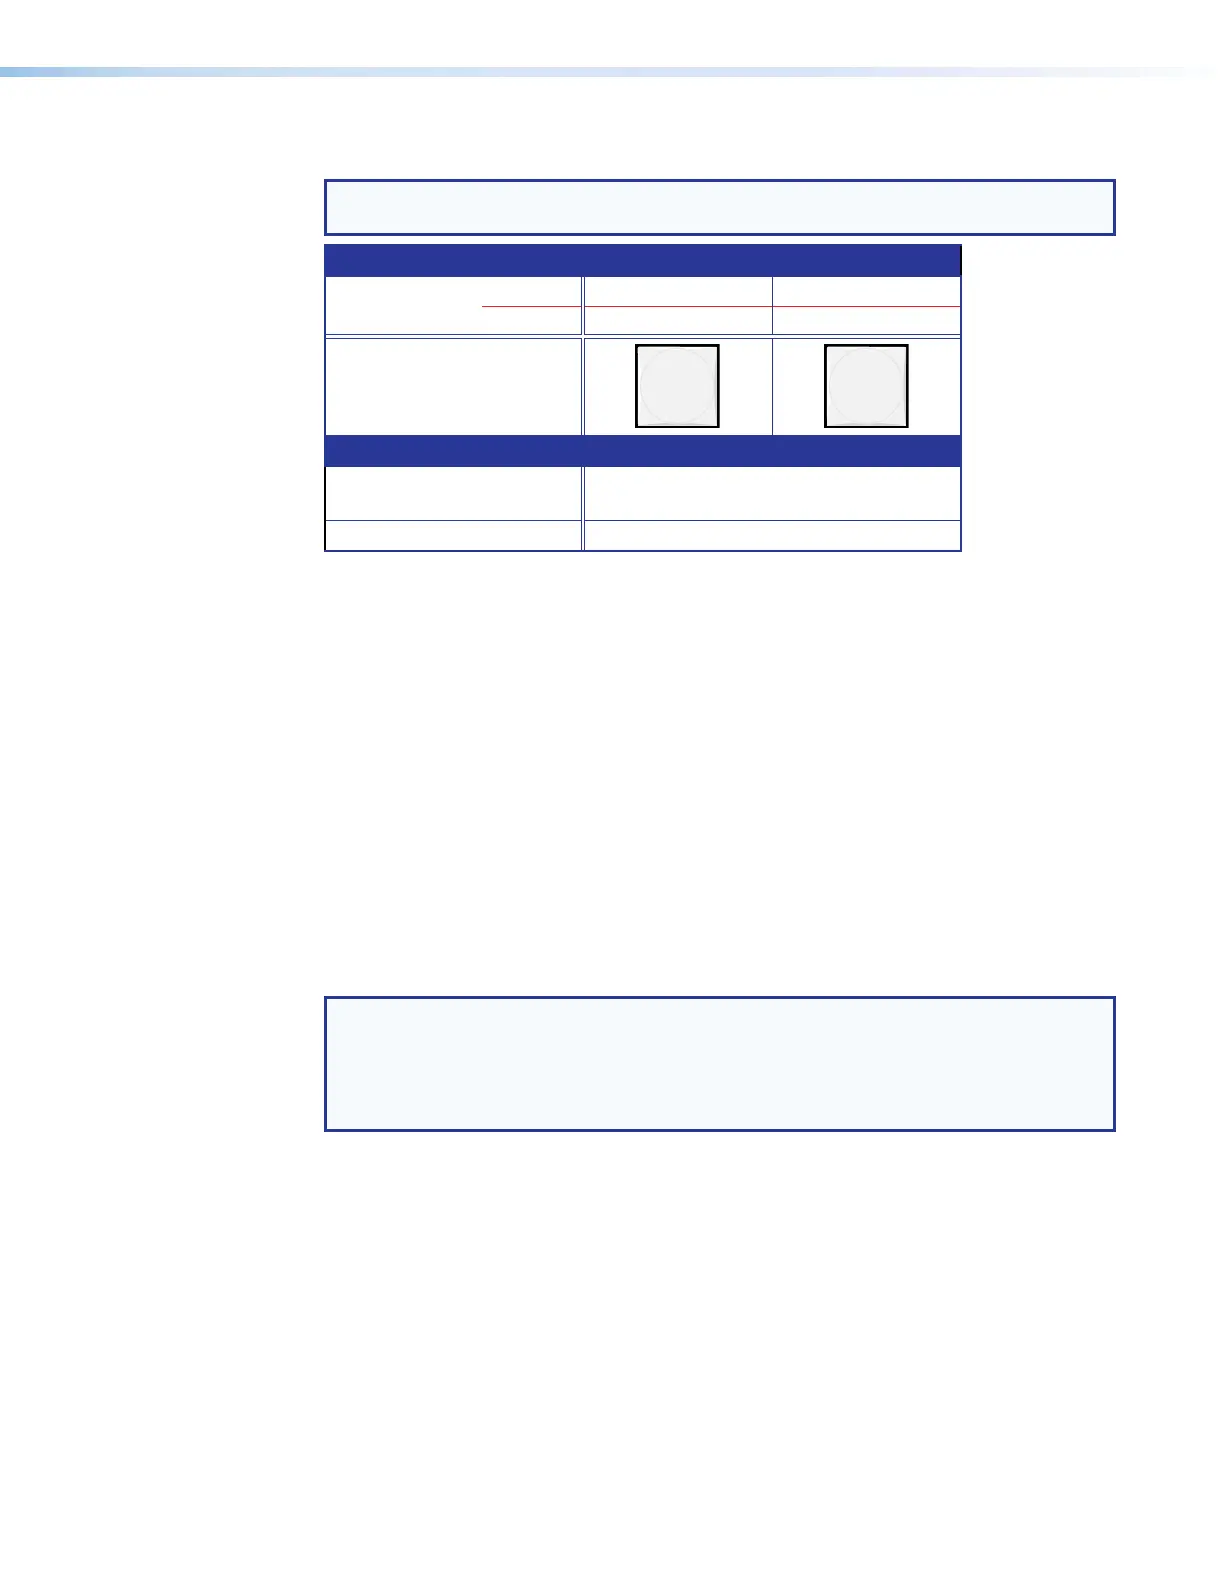
Primary functions
Action Select video Select audio
Indication Green: selected Red: selected
VIDEO AUDIO
Secondary functions
Control insert
configuration
Indication Blink: Control Insert Configuration Mode.
Resets Action: Perform a system reset.
H
Video button (see figure 18 on page 22)— The Video button has one primary
function (❏) and two secondary function (•):
❏ Selects and deselects video for a configuration that is being created or viewed and
lights green to indicate that video is available for configuring or for viewing.
• With the Audio button, indicates Control Insert Configuration mode.
• With the Audio button, commands the front panel system reset.
I
Audio button (see figure 18)— The Audio button has one primary function (❏) and two
secondary functions (•):
❏ Selects and deselects audio for a configuration that is being created or viewed and
lights to indicate that audio is available for configuration or viewing.
• With the Video button, indicates Control Insert Configuration mode.
• With the Video button, commands the front panel system reset.
Volume Controls
NOTE: The following volume functions are in the default group masters configuration.
Operation of these controls can be changed using the DSP Configurator software (see
Group masters on page 106).
If you change the group master configuration, the front panel controls adjust the new
group masters that you create.
J
Mic Volume (gain) knob and LEDs (see figure 18) — Rotate the knob clockwise to
increase the pre-mixer gain for all four microphone inputs. By default, this knob controls
DSP group master 2.
K
Volume knob and LEDs (see figure 18) — Rotate the knob clockwise to increase the
output 1 amplified volume. By default, this knob controls DSP group master 1.
For both volume controls, the range is from -100 dB to +12 dB. The default setting
is 0 dB. As the volume increases or decreases, the LED bar ramps up and down to
indicate the current volume range, as shown in table 1 on the next page.
The sensitivity of the encoder (the amount [dB] of volume adjustment per step of
rotation) varies depending on the current volume setting (see the last column in table 1).


 To Next Page