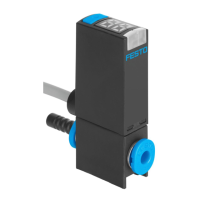
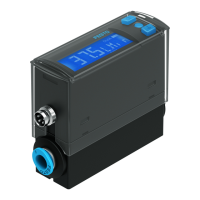
Setting the switching function
1. Press the operating key once.
Ä
The display alternates between the designation and the symbol of the currently set switching
function.
2. Press and hold the operating key to switch to EDIT mode.
Ä
The LEDs flash alternately.
3.
Press the operating key repeatedly until the desired switching function appears in the display.
4.
Press and hold the operating key.
Ä
The setting is saved.
Ä
The RUN mode is active.
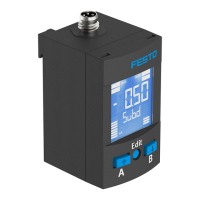
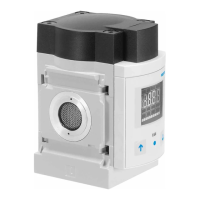
Setting switching points and hysteresis
–
The hysteresis display value corresponds to 10 times the actual value, e.g.the value of the value 10
corresponds to a hysteresis of1.0%FS.
–
Parameters ‘P2’ and ‘HY’ are only displayed if they are intended for the set switching function
è
4.2.2 Switching functions.
– The values can be set in two stages with a rough adjustment in steps of ten and a precision
adjustment in steps of one.
1.
Press the control button repeatedly until the required parameter appears on the display.
Ä
The display alternately shows the designation and the value of the currently set switching
function.
2.
Press and hold the operating button to switch to the EDIT mode and make the rough adjustment.
Ä
The LEDs flash alternately.
3. Press the operating key repeatedly until a value is displayed that is equal to, or slightly less than,
the desired value.
4.
Press and hold the operating key to make the precision adjustment.
Ä
The LEDs flash simultaneously.
5.
Press the operating key repeatedly until the desired value is displayed.
6. Press and hold the operating key to save the setting.
Ä
The RUN mode is active.
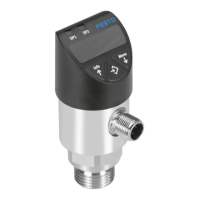
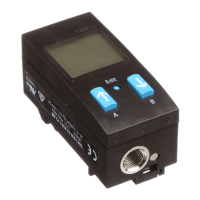
7.3 Teaching switching point in TEACH mode
Requirement: the sensor is ready for operation and is in RUN mode.
Entering security code
The teach function is blocked when the security code is activated.
•
Enable parameter entry
è
Entering security code.
Setting switching point with a teach pressure at F0
1. Apply the teach pressure to the sensor.