| Start-up
24
|
50152755 Fisherbrand
Chapter 5
Levelling the Incubator
1. Position a bubble level onto the center shelf.
2. Manually adjust the leveling feet until the shelf is horizontally aligned in all directions. Perform
the adjustment of the leveling feet from left to right and from rear to front.
Connecting Power
The incubator has a class I, protection-earthed enclosure. To minimize the risk of electrical shock,
use the AC power cord supplied to connect the incubator to a correctly installed and
protection-earthed power supply source, with the following features in place for each incubator:
T 16 A slow-blow fusing
B 16 circuit breaker
FI circuit breaker
Connecting to the Power Supply Source
1. Before connecting the incubator to the power source, check to see if the power supply
voltage corresponds with the specifications on the nameplate on the front of the incubator. If
the voltage (V) and current (A) ratings given are not as required, do not connect the incubator
to the power source!
2. Connect the IEC connector to the socket at the rear of the incubator.
3. Route the power cord along a path that does not cross exhaust air piping or passageways
and aisles.
With stacked devices, keep the power cord away from hot spots on the other incubator in the
stack.
4. Connect the protection-earthed plug of the power cord to a correctly protection-earthed and
earth leakage circuit breaker fused power socket.
5. Make sure the power cord is not subjected to tensile or compressive force.
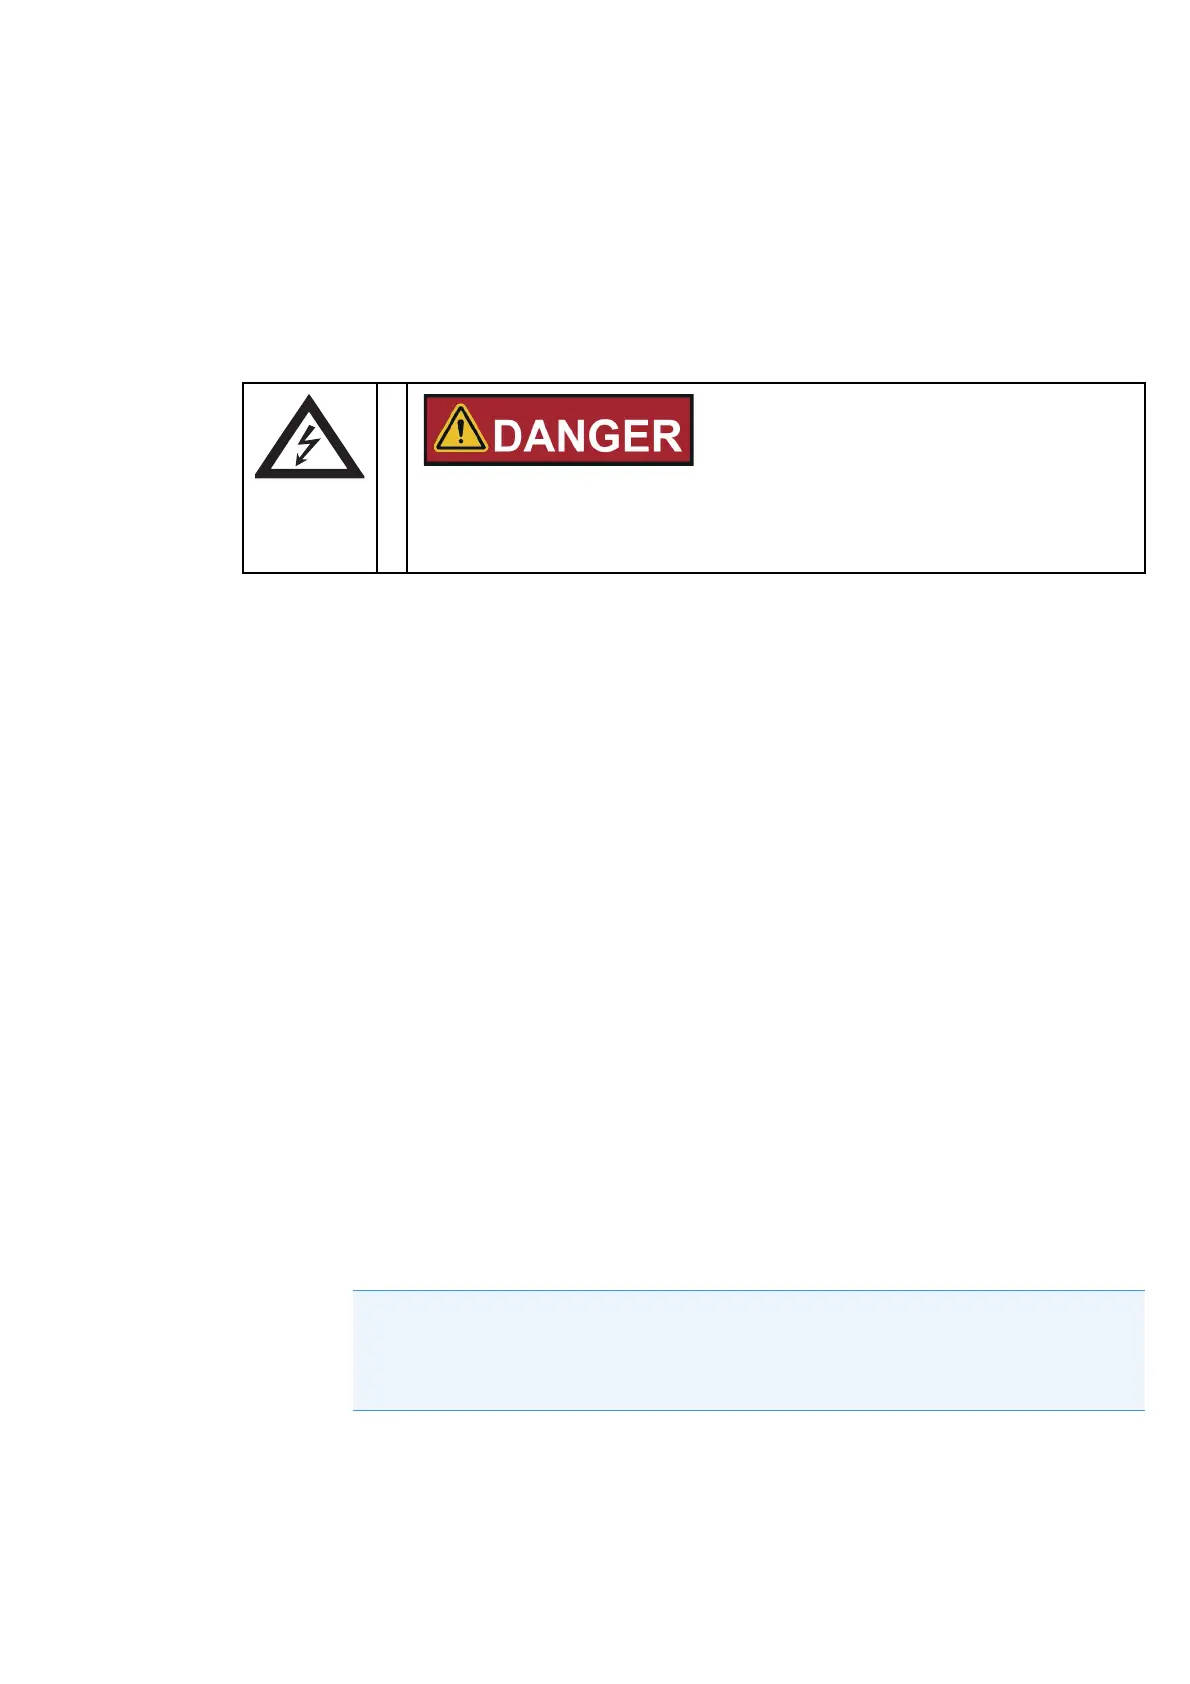
Electric shock
Contact with live electrical components may cause a lethal electric shock. Before
connecting the incubator to the power supply, check the power cord and the plug for
damage. Do not use damaged cables for connecting the incubator to the power supply!
NOTE
Keep the power outlet accessible!
To allow a rapid disconnection of power in case of an emergency, make sure that power
outlets remain freely accessible at all times!