Tire Repair Kit
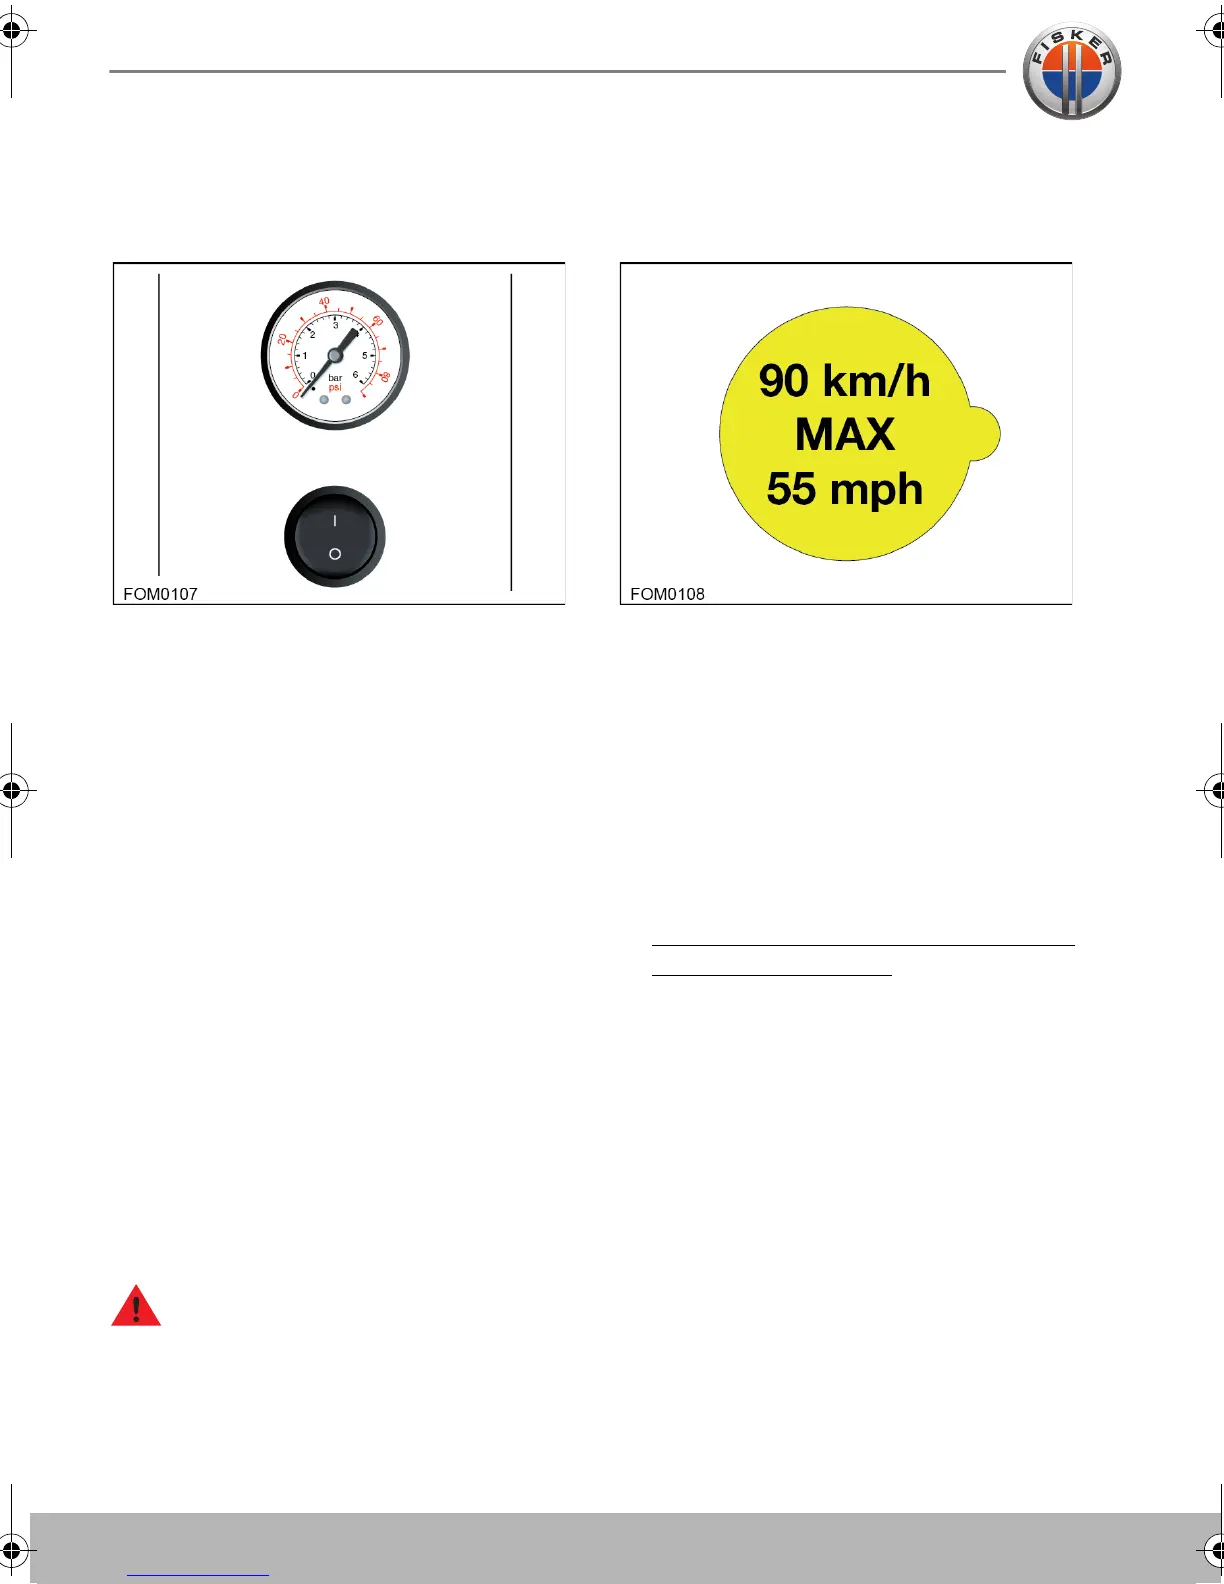
5. Ensure the compressor is standing
upright with the pressure gauge facing
up.
6. Turn on the compressor to inject sealant
and air into the tire.
Note: The pressure gauge will initially
show a high pressure while the
compressor pushes the sealant into the
tire. Once the sealant is completely
dispersed into the tire, the pressure will
quickly drop and start to rise again as
the tire inflates with air only.
7. Monitor the tire pressure gauge and
inflate the tire to the recommended tire
pressure.
8. Turn off the compressor and remove the
hose from the tire valve.
9. Wipe of any excess sealant from the tire
valve and wheel rim.
10.If the wheel rim has lifted from the
ground, drive immediately for 5 miles
(8 km) to distribute the sealant around
the tire. Do not exceed 25 mph
(40 km/h).
WARNING: If the required pressure
cannot be reached after
approximately 25 minutes, or the wheel rim
has not risen from the ground, then the tire
is too severely damaged for a safe repair.
Call Roadside Assistance to have the
vehicle transported. Do not drive!
11.Check the tire pressure once again and
inflate if necessary using the black hose
located in the bottom of the compressor.
12.Apply the warning label supplied with
the tire repair kit to a prominent area in
the vehicle to remind you not to exceed
55 mph (90 km/h) until the tire has been
professionally repaired or replaced.
13.Dispose of the used sealant canister and
sealant/air hose assembly at a local
Fisker Automotive Retailer.
14.Replace the tire sealant canister and
sealant/air hose assembly. See
REPLACING THE CANISTER/AIR HOSE
ASSEMBLY, page 8.13.
Owner's Handbook - US English.book Page 12 Friday, June 22, 2012 11:28 AM