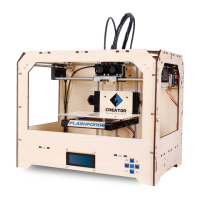
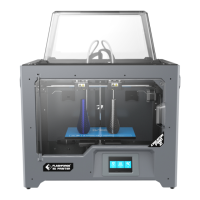
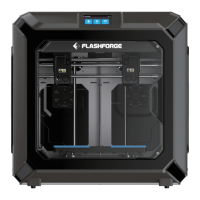
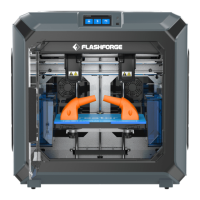
FLASHFORGE 3D PRINTER
You have now finished un-boxing! The next task is to set up the hardware.
Initial Hardware Installation
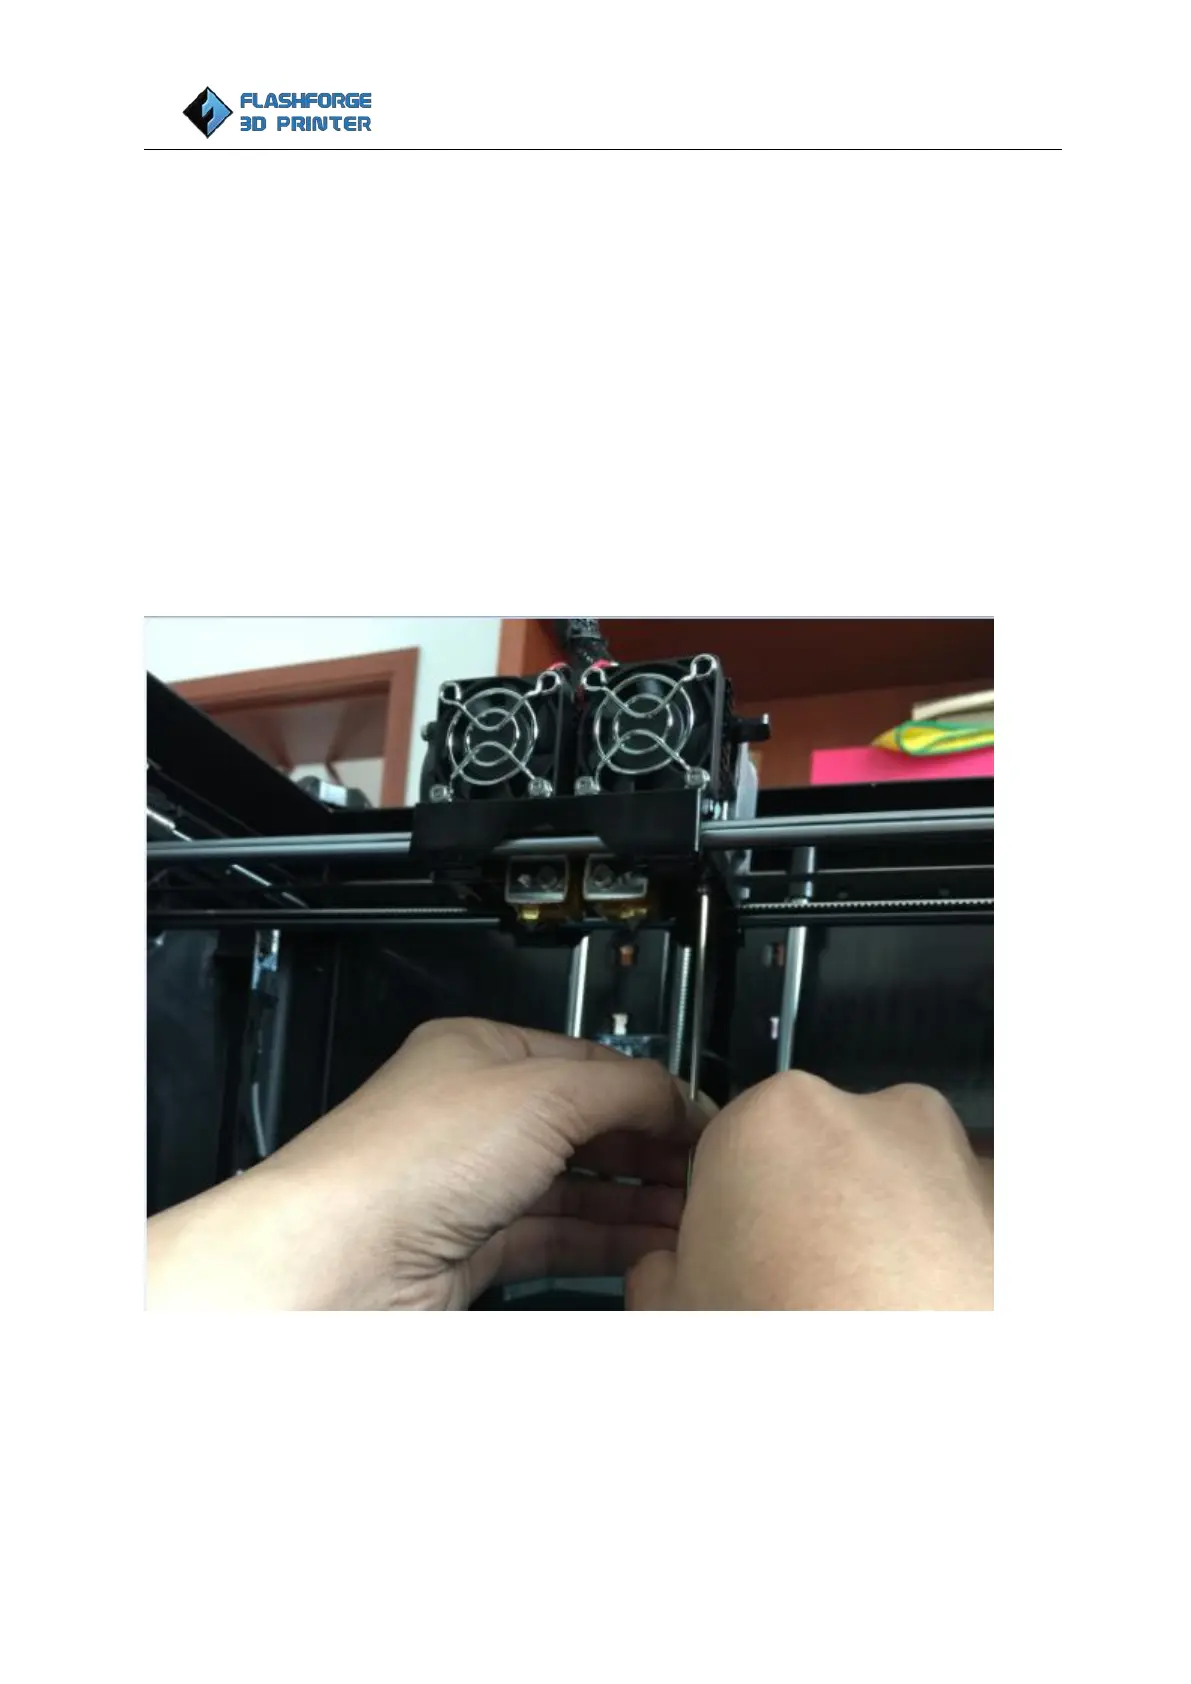
Start by installing the extruder. You'll need two screws in M3×8 from Extruder’s accessory kit and the
appropriate hex wrench from Tool bag found in the Foam B.
First, lower the build platform using one of the methods described in the previous section. Holding the
extruder by both sides and positions it on the extruder carriage with the fans facing forward. Align the
screw holes and fasten with the two screws.
Take the fan duct and M3×6 screw (the shorter one) out from Extruder accessory kit in Foam B, install the
duct onto the side cooling fan and use the M3×6 screw to fasten it.