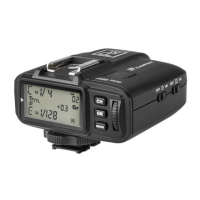
11
• Modeling Lamp Control
Double-click the <CH/OK> Button to power ON/OFF the linked unit’s
modeling lamp.
• Power Saving Mode
1 The ash trigger will go into standby mode after an inactive period of time.
The LCD panel will turn o.
2 Pressing any of the buttons (<TEST> fully pressed/<CH>/<GR>/<MODE>)
can wake up the ash trigger. If the transmitter is attached to the camera,
half pressing the shutter can also wake up the system.
3 If the transmitter is set to single contact mode ( is displayed), the system
will not enter the power saving mode.
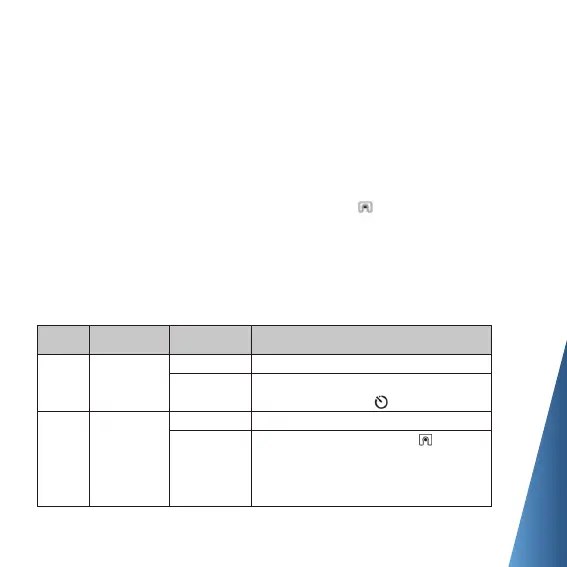
• C.Fn: Setting Custom Functions
The following table lists the available and unavailable custom functions of this
ash. Note: Some icons will be displayed when setting the relevant custom
functions for clarity.
Functions
Synchronization
delay setting
Single contact
mode
Custom
Functions No.
C.Fn-00
C.Fn-01
Settings and Description
OFF
Master flash synchronization delay N*100 us
(synchronization delay icon i s displayed.)
OFF
ON (The single contact mode set icon is displayed.)
It is advisable to set the transmitter to single contact
mode when using it to trigger the flash by PC cord or
through camera's single contact.
Setting Signs
00
1~100
--
on