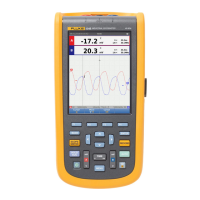
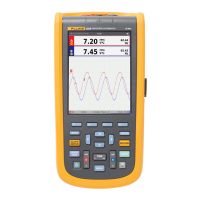
Fluke 123/124
Users Manual
18
Selecting Auto/Manual Ranges
Press to automatically adjust the position, range,
time base, and triggering (Connect-and-View). This
assures a stable display on nearly all waveforms. The
bottom line shows the range, the time base for both inputs,
and the trigger information. AUTO appears at the bottom
of the reading area.
Press
a second time to select the manual range.
MANUAL appears at the bottom of the reading area.
Changing the Graphic Representation
on the Screen
From Auto range, you can use the light-gray rocker keys to
change the graphic representation on the screen
manually. This will turn off the Connect-and-View function!
Observe that AUTO at the bottom of the reading area
disappears.
Changing the Amplitude
c
Enlarge the waveform.
d
Reduce the waveform.
Available settings are from 5 mV/div to 500 V/div when
using the test leads.
Observe that AUTO at the bottom of the reading area
disappears to indicate that the continuous Auto Set
function is not valid anymore.
Changing the Time Base
c
Increase the number of periods.
d
Decrease the number of periods.
Available settings are from 20 ns/div (Fluke 123) or 10
ns/div (Fluke 124) to 5 s/div in normal mode.