393/393 FC
Calibration Manual
8
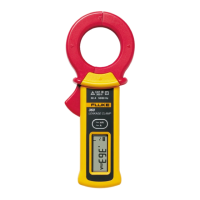
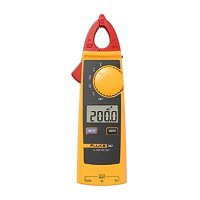
AC Current (Jaw with Amplifier and 25-Turn Coil)
To verify ac current measurement with the jaw:
1. Connect the calibrator:
a. For test points below 20 A, use a single-wire short between the 20 A and AUX LO
jacks on the calibrator.
b. For test points from 20 A to 120 A, use the single wire short on 52120A Hi Current
HI and LO jacks.
c. For test points above 120 A, connect the 52120A and 52120A/COIL3KA. On the
52120A, set LCOMP to ON.
2. Place the DUT around the shorting wire or inside the center of the coil. Calibration
accuracy to specifications is guaranteed only when proper alignment is made. The
DUT should be as centered as possible on the base during verification.
3. Set the DUT to O (AC current measurement mode).
4. Set the calibrator to the current and frequency for the first test point.
5. Set the calibrator and the 52120A to OPER:
a. Verify that the DUT reads within the display limits.
b. Verify the DUT reading for the remaining steps for ac current.
AC Current (iFlex Current Probe with Simulation)
Note
If the iFlex Current Probe is not available with the DUT during calibration, mV
simulation for AC current up to 2500 A is available using the input terminal. If the
iFlex current probe is available, proceed to AC Current (iFlex Current Probe with
Amplifier and 25-Turn Coil or 50-Turn Coil).
To verify ac current measurement without the iFlex, use ac voltage simulation from the
calibrator:
1. Connect the NORMAL HI terminal on to the iFlex 2 mm jack on the DUT .
2. Connect the NORMAL LO terminal on the calibrator to the black COM jack on the
DUT . See Figure 1.

 Loading...