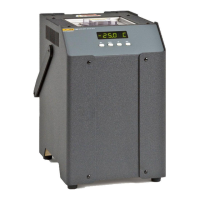
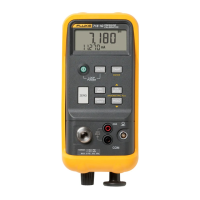
Pressure Calibrator with Electric Pump
Using the Internal Pump
11
To use the Calibrator’s internal pump, refer to Figure 3
and perform the following steps:
1. Depressurize and drain the line before connecting the
Calibrator.
2. Connect the pressure transmitter to the Calibrator
internal sensor as shown in Figure 4 (for internal
pressure sensor measurements) or Figure 5 (for
pressure module measurements).
Note
To avoid leaks, use Teflon tape or similar sealant
on all pressure connections.
3. Make sure the pressure/vacuum switch is in the
desired position. Forward (clockwise) is for pressure;
backward (counter-clockwise) is for vacuum.
4. Turn the pressure/vacuum release control backward
(counter-clockwise) to vent pressure/vacuum from the
pump.
5. Press Zto zero the pressure display.
6. Turn the fine adjustment knob to mid-range.
7. Turn the pressure/vacuum release control forward
(clockwise) to close the release valve.
8. Press
P to apply pressure/vacuum.
Note
This knob adjusts a small internal reservoir to
vary the total volume. With larger external
pressure/vacuum volumes, this control will adjust
pressure or vacuum within a smaller range.
9. Depressurize the system before disconnecting the
pressure line.

 Loading...