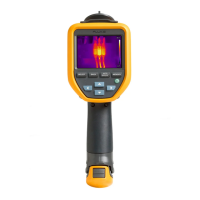
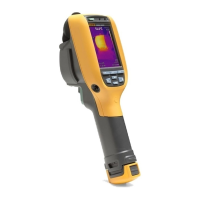
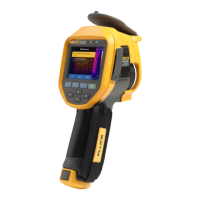
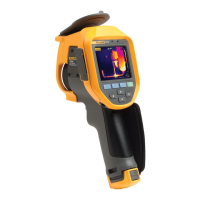
Thermal Imager
Menu Controls
7
3. To assign an asset ID tag to the image, tap Scan Asset ID, or tap Remove Asset ID to
remove an asset ID tag from the image. See Asset Identification (Asset ID).
4. To add a flag to the image, tap Edit > Flag Image, or tap Edit > Unflag Image to remove
the flag from the image. See Flag an Image. Tap Edit again to return to the image preview
screen.
5. To add a note to the image, tap Edit > Add Note. See Notes. Tap Edit again to return to
the image preview screen.
6. Tap Save.
Save Images to PC
To save images to a PC with the USB cord:
1. Turn on the Product.
2. Connect one end of the USB cord into the USB port on the Product and the other end into
a USB port on a PC.
The PC recognizes the Product as an external memory storage device.
3. On the PC:
a. Browse to the directory on the Product.
b. Copy and paste or drag the images to a directory on the PC.
4. Remove the USB cord from the PC and the Product.
Menu Controls
To use the menus to change and view settings:
1. Tap the display to open the main menu.
2. Tap an icon on the main menu to open a submenu. See Table 6.
The background of the selected icon changes to yellow.
3. Tap a menu control to set and change options. See Table 5.
4. To close a submenu and return to live camera mode, tap the submenu icon again.