21
Maintenance
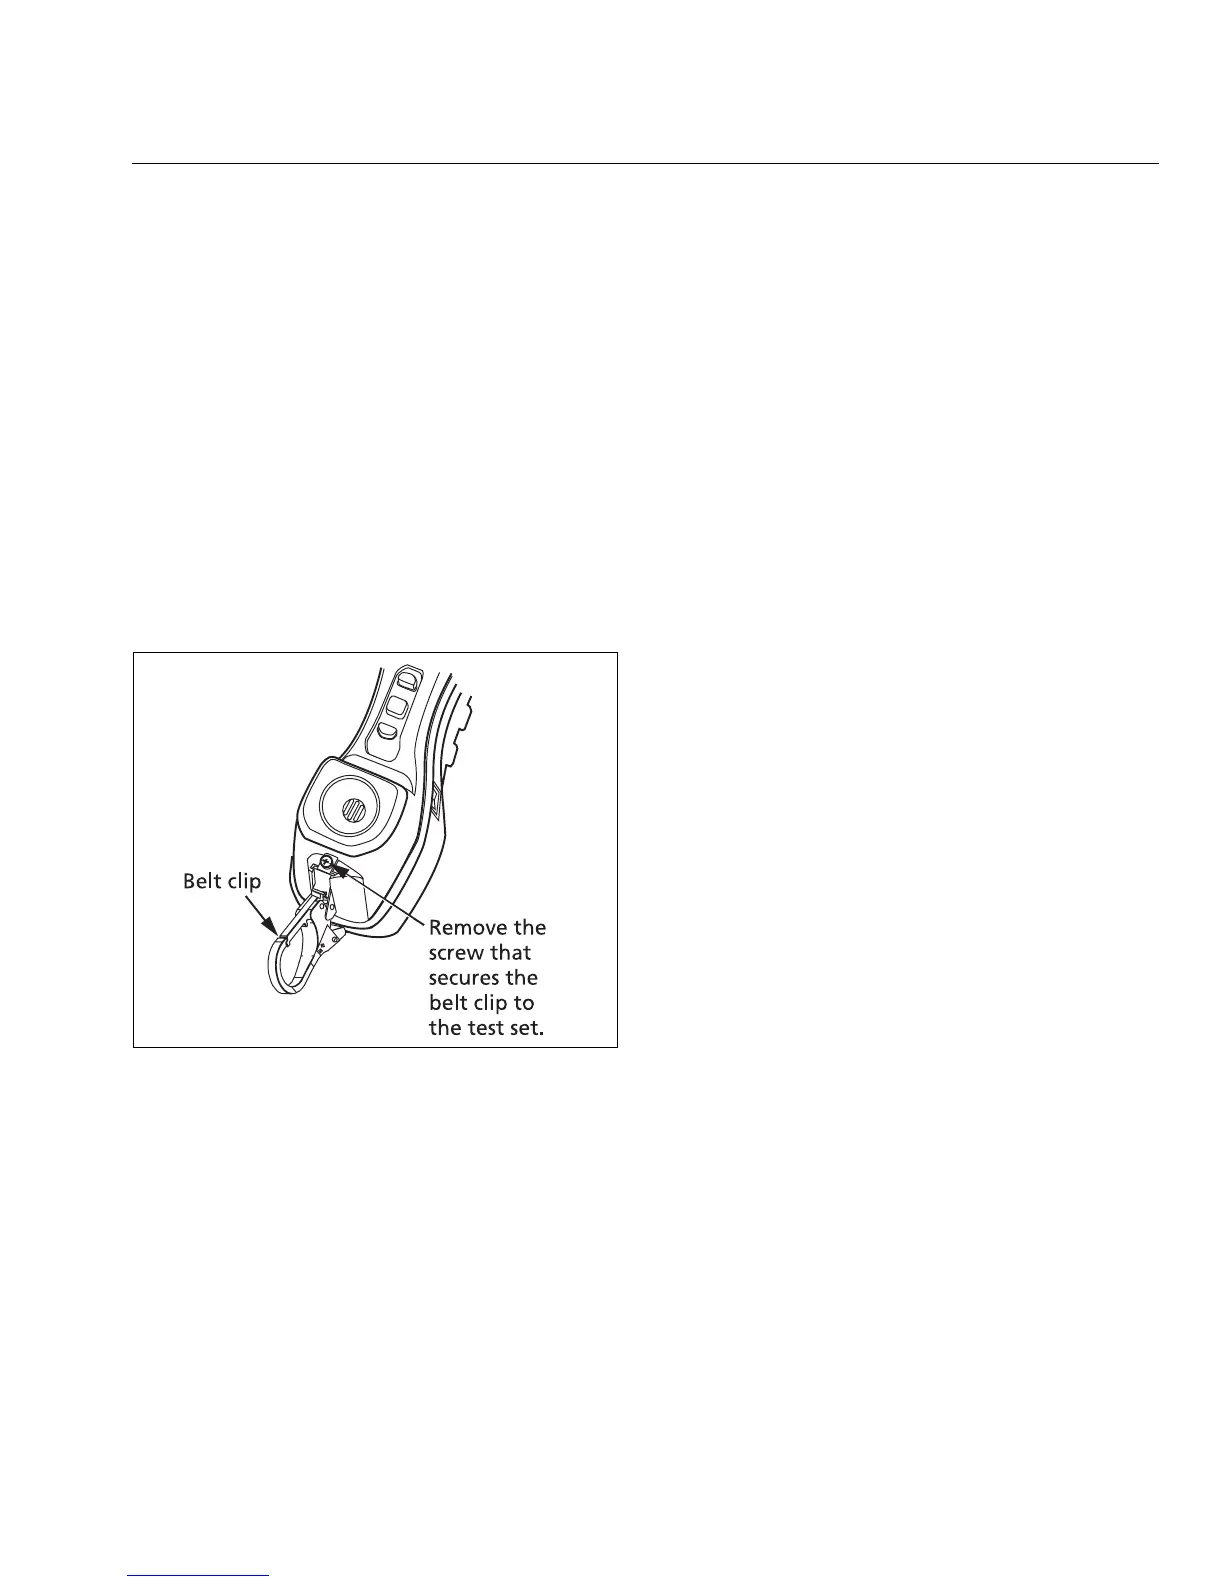
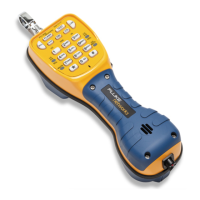
Replacing or Relocating the Belt Clip
See Figure 5.
The belt clip assembly is field replaceable in the event
of damage or prolonged wear. It also can be relocated
to one of two locations. To order a replacement belt
clip, contact your local Fluke Networks authorized
distributor.
To replace the belt clip assembly:
1
Use a Phillips screwdriver to remove the screw that
secures the belt clip to the test set housing.
2
Remove the old belt clip and replace with a new
one. Secure the belt clip assembly to the test set
housing with the original screw.
bfp05.eps
Figure 5. Belt Clip Replacement
To relocate the belt clip:
1
At the unused belt clip slot, use a Phillips
screwdriver to remove the screw holding the
plastic insert to the case, then remove the plastic
insert.
2
Use a Phillips screwdriver to remove the screw that
secures the belt clip to the test set housing and
remove the belt clip.
3
Slide the belt clip into the slot at the previously
unused location, and secure it to the case with one
of the Phillips head screws.
4
Slide the plastic insert into the belt clip slot that is
not being used and secure it with the remaining
Phillips head screw.
Replacing the Line Cord
A worn out or damaged line cord can be replaced by
the user. To obtain a replacement line cord, contact
your local Fluke Networks authorized distributor.
WWarning
Read all instructions completely and
understand possible hazards to end user if
repairs are not performed properly.
Disconnect test set clips from any metallic
connections before performing this
maintenance.
Removing the Old Line Cord
To remove the old line cord:
WWarningX
Be sure to account for all hardware
removed. Loose or missing hardware could
create a hazard for the end user.
Note
Battery cover screws are retained in the cover
and will not come all the way out of the battery
cover.
Be careful not to damage or pinch the speaker
wires, printed circuit faces or insulating
materials.
1
Use a Phillips screwdriver to loosen only the four
screws attaching the battery door cover to the
back of the test set (Figure 4).
2
Remove the battery door cover (Figure 4) and
battery from the test set.
-continued-