144 145
If the e-bike remains stationary for approximately
10 minutes and no buttons are pressed on the on-
board computer, the e-bike system switches off
automatically in order to save energy.
Always switch off the e-bike system
when you park the e-bike.
If the on-board computer batteries are
empty, you can still switch on your e-bike
using the bicycle battery. However, it is
recommended that you change the inter-
nal batteries as soon as possible in or-
der to avoid damage.
Indicators and settings on the on-board com-
puter
Symbols and their meanings
Power supply for the on-board computer
The on-board computer is supplied with power by
two CR2016 button cell batteries.
Changing the batteries (see gure A)
If the on-board computer is showing «LOW BAT»
on the display, remove it from the handlebars by
unscrewing the fastening screw 3 on the on-board
computer. Open the battery compartment lid 10
using a coin, remove the used batteries and insert
new CR2016 batteries. You can obtain the bat-
teries recommended by Bosch from your bicycle
dealer.
Make sure that the polarity is correct when insert-
ing the batteries.
Close the battery compartment and reattach the
on-board computer to the handlebars of your e-
bike using the fastening screw 3.
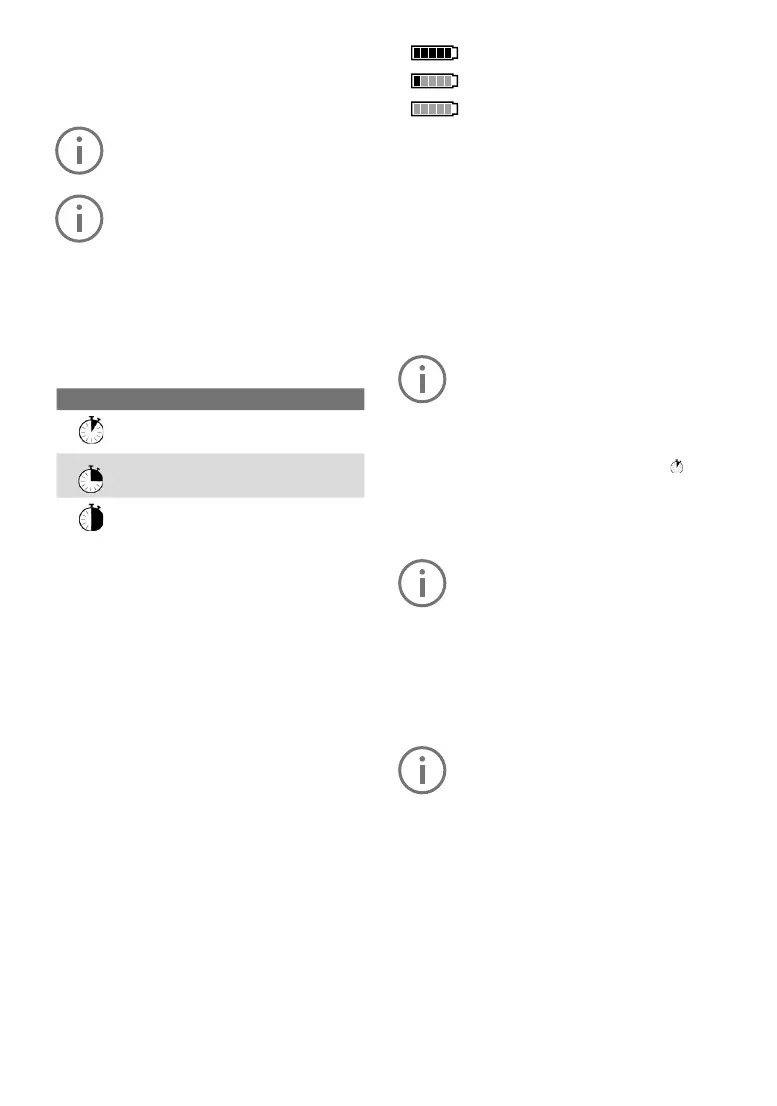
Battery charge indicator
The battery charge indicator g shows the state of
charge of the e-bike battery. This can also be read
off from the battery itself, via the LEDs. On the
indicator g, each bar in the battery symbol cor-
responds to approximately 20% capacity:
The e-bike battery is fully charged.
The e-bike battery needs recharging.
The status indicator LEDs on the bat-
tery go out. The capacity for drive sup-
port is depleted and the support will be gradually
deactivated. The remaining capacity
is reserved for the lights; the display ashes.
The e-bike battery has suf cient capacity remain-
ing for approximately 2 hours of bicycle lighting.
Activating/deactivating the pushing aid
The pushing aid makes it easier for you to push
the e-bike. The speed in this function depends on
the gear in use and can reach a maximum of 6
km/h. The lower the selected gear, the lower the
speed in the pushing aid function (at full power).
The pushing aid function may only be
used to push the e-bike. If the wheels
of the e-bike are not in contact with the
ground when the pushing aid is in use,
there is a risk of injury.
To activate the pushing aid, brie y press
the
«WALK» button on your on-board computer. Af-
ter activation, press the «+» button within three
seconds and hold it down. The e-bike drive will
be switched on.
The pushing aid cannot be activated in
support level «OFF».
The pushing aid is switched off as soon as one
of the following events occurs:
• you release the «+» 6 button,
• the wheels of the e-bike are blocked (e.g. due
to braking or hitting an obstacle),
• the speed exceeds 6 km/h.
With certain systems, the pushing aid
can be started directly by pressing the
«WALK» button.
Symbol Explanation
Short button press (less than 1 se-
cond)
Medium button press (between 1
and 2.5 seconds)
Long button press (longer than 2
seconds)
 Loading...