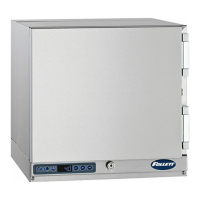
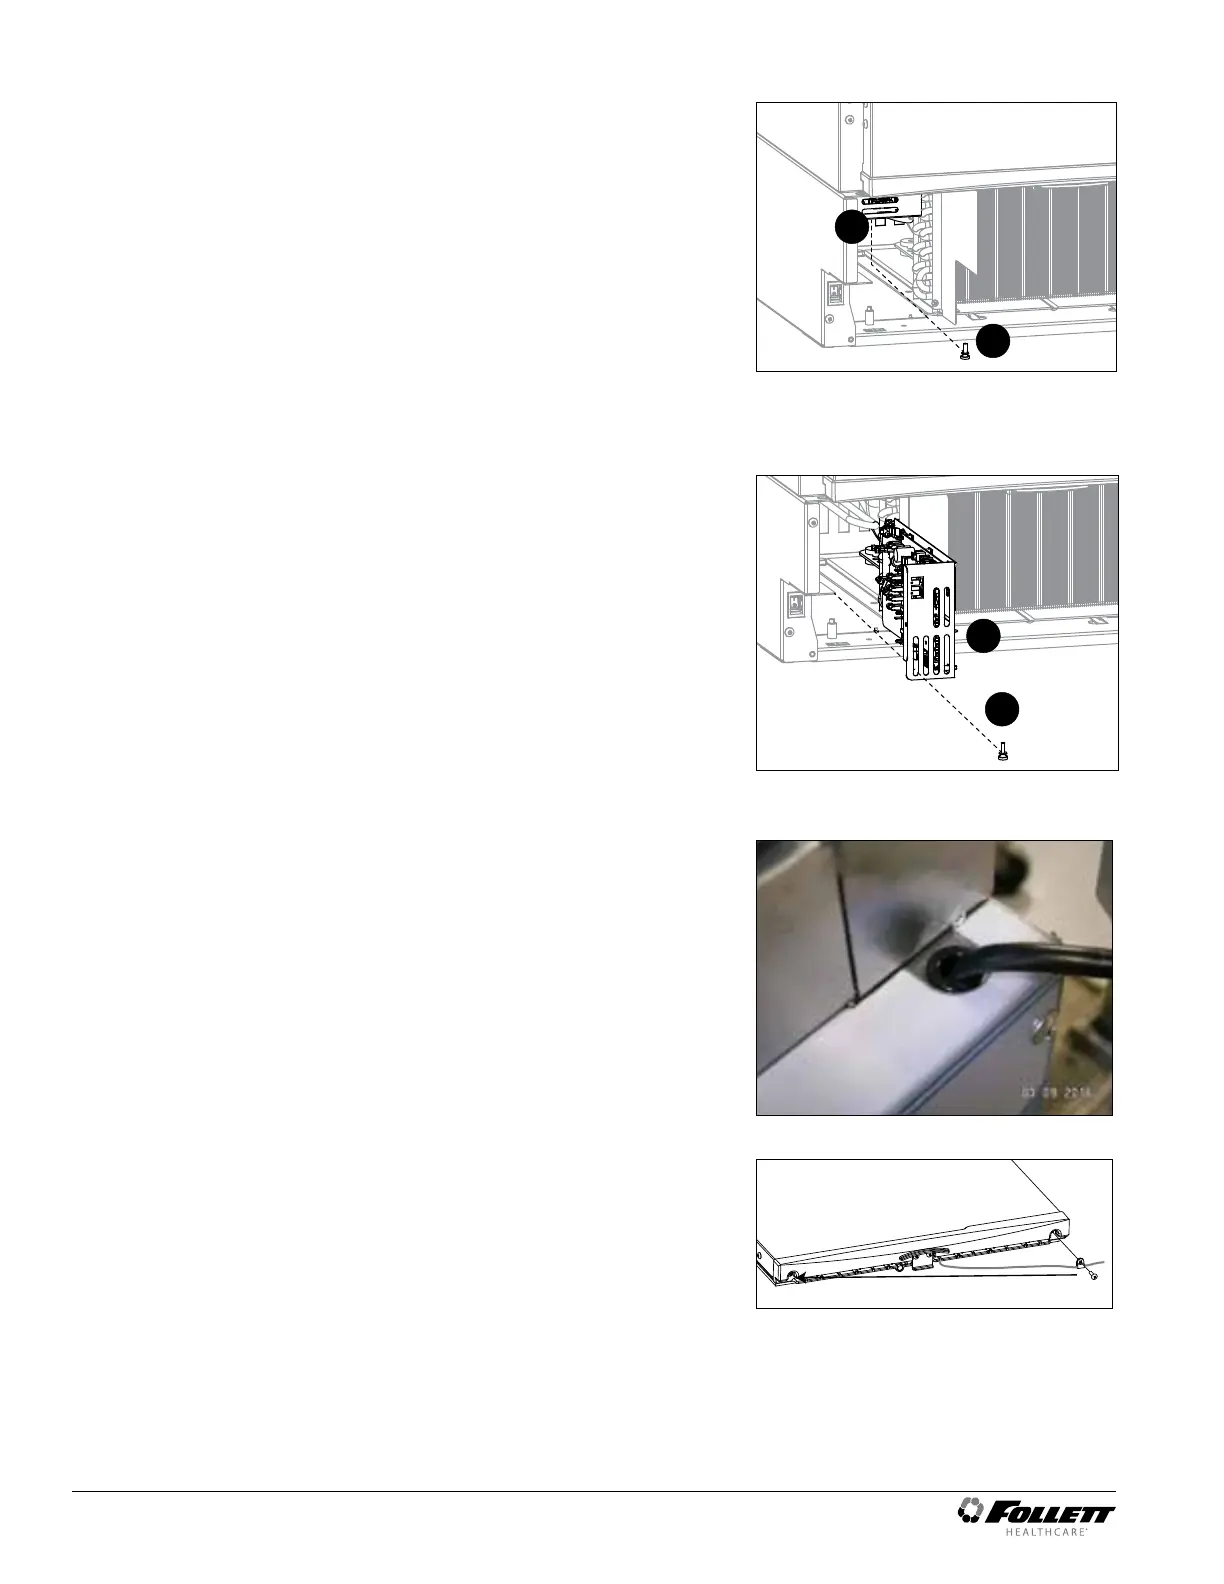
3. Find the control module on the left-hand side of the unit, just to
the left of the condenser.
4. Remove the thumb nut (Fig. 6.1) on the bottom front of the
control module (Fig.6.2).
Fig. 6
5. Pull control module forward 1 inch, rotate left as per Fig. 7, and
continue to pull the control module forward.
Fig. 7
1
2
6. Disconnect the door communication harness from the P10
terminal on the control board.
7. Locate the wire tie securing the door harness to the underside
of the cabinet and cut.
8. Locate the ground screw in the front right-hand corner that
secures the communication harness ground wire and remove.
Do not discard the ground screw.
9. Remove the wire and strain relief from the right side panel and
pull the communication harness through the opening. (Fig. 8).
Fig. 8
10. Remove the screw from the white strap on the hinge side of the
wire channel (Carefully remove the control wire from the channel
ensuring the insulation jacket does not tear.) Route through
channel to opposite side of door. Reinstall the wire and strap on
the opposite side of the door (Fig.9).
Fig. 9
1
2
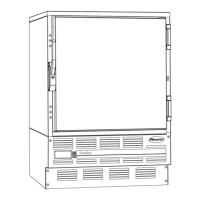
6 REFVAC4P, REFVAC5P Undercounter Refrigerators