33
Operating Procedures - Quick start guide
508FS Basic Operation
There are 4 main differences between the 508FS & the 508DT as follows:
1. There is a pre-stretch function to allow the plastic material to be stretched prior to forming.
2. There is an auto-leveling function to prevent drop and allow more even heat.
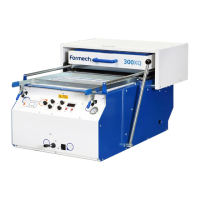
3. The 508FS has cooling fan option. When activated a cooling fan button and timer will be shown.
4. Compressed air is used for three release function.
The settings and save functions operate the same as the 508DT.
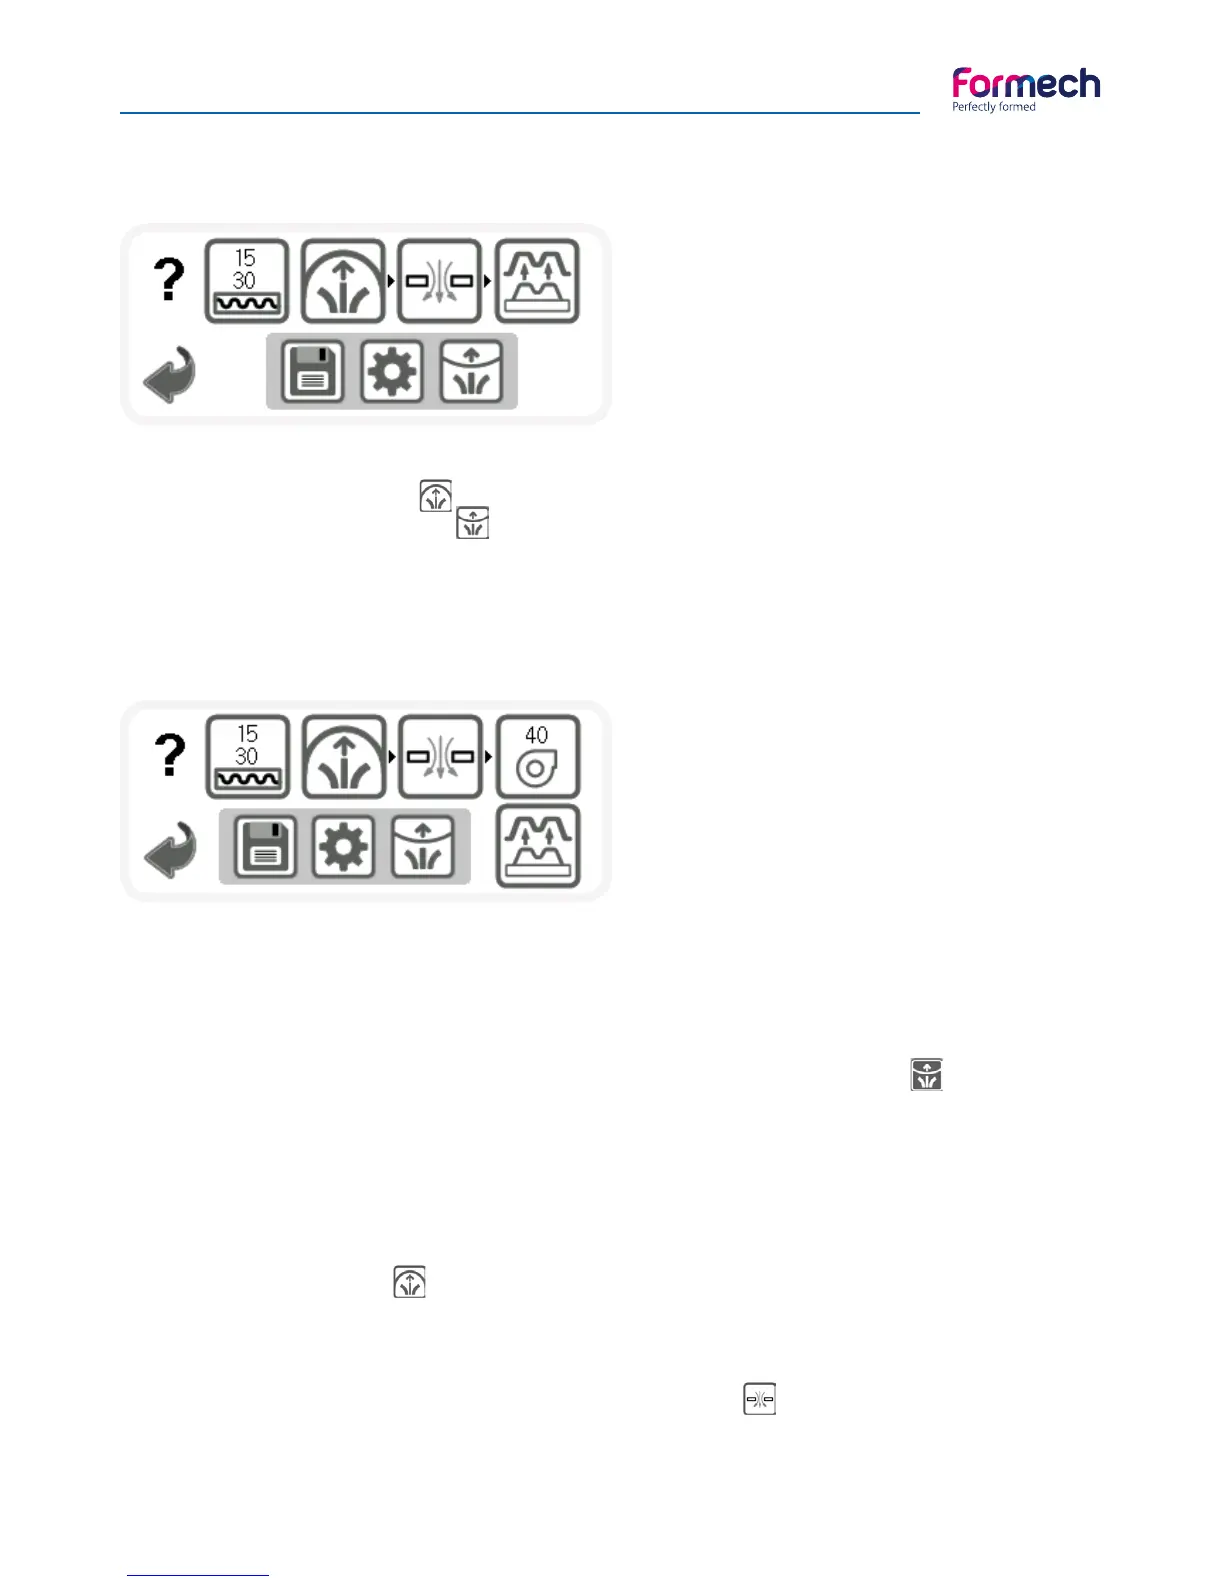
The 508FS Memory Operating screen is shown.
The Heater timer function is the same as the 508DT.
The manual operating heat timer function is also
the same showing only a single count up timer.
The following section explains the 508FS vacuum forming process using the additional features:
• Pull the Heater forwards over the clamped plastic.
• As the plastic heats up it may begin to rise slightly. It will then soften and begin to drop back.
• Activate the Auto-level if required by touching the button so it shows negative image . If the plastic is
sagging and not being heated evenly then the auto-level feature is used to keep the plastic level while the
heater is forward and until ready to form a mould.
• When performing an initial forming it will be necessary to check the progress of heating as this will vary
with plastic type, thickness and colour. Push the heater back slightly to test the softness of the plastic
manually or to observe its state. Continue heating until it is soft enough to form. When the plastic softness is
correct push back the heater fully back.
• Press the Pre-Stretch button to inflate the plastic before moulding if required. This feature is
particularly useful if the mould is high because it keeps the plastic at a more even thickness throughout the
moulding. If the moulding is quite high it may be necessary to pre-stretch the plastic before moulding takes
place.
• Lift the table until it is fully raised. Then press the VACUUM button to latch on the vacuum. The
moulding will form around the tooling.
The operating screen with the FAN option activated
is shown on the left.