w
w
w
w
w
w
.
.
f
f
o
o
s
s
c
c
a
a
m
m
.
.
c
c
o
o
m
m
30
S
S
h
h
e
e
n
n
z
z
h
h
e
e
n
n
F
F
o
o
s
s
c
c
a
a
m
m
I
I
n
n
t
t
e
e
l
l
l
l
i
i
g
g
e
e
n
n
t
t
T
T
e
e
c
c
h
h
n
n
o
o
l
l
o
o
g
g
y
y
C
C
o
o
.
.
,
,
L
L
i
i
m
m
i
i
t
t
e
e
d
d
T
T
e
e
l
l
:
:
8
8
6
6
7
7
5
5
5
5
2
2
6
6
7
7
4
4
5
5
6
6
6
6
8
8
F
F
a
a
x
x
:
:
8
8
6
6
7
7
5
5
5
5
2
2
6
6
7
7
4
4
5
5
1
1
6
6
8
8
30
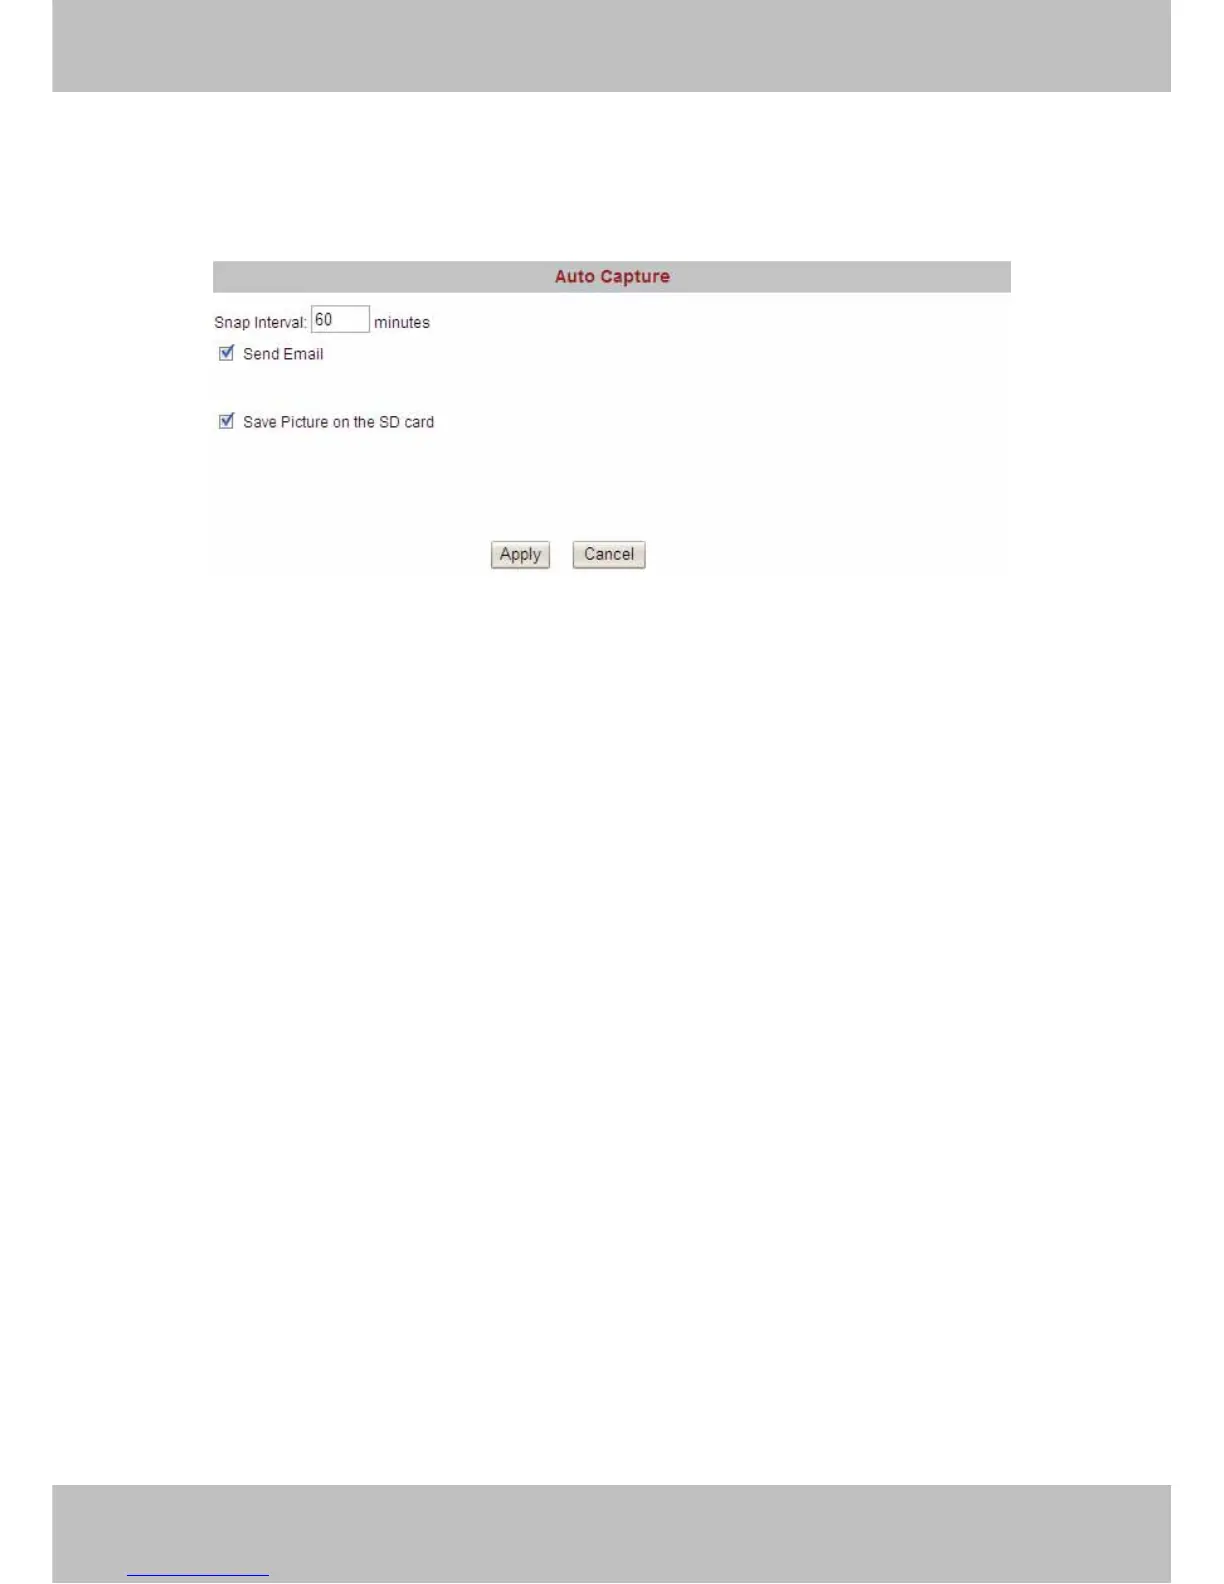
3.9 Auto Capture
The camera can capture pictures automatically at interval time if you have set auto capture.
Figure 3.21
Snap interval: Set snap interval time. The pictures will be stored to the disk you set (you can set
the storage path under “For Visitor”).
Send E-mail: Select it, the camera will send email to you with the picture it has captured. Make
sure you have set E-mail correctly.
Save Picture on the SD card: Select it and the snapped pictures will be stored to the SD Card.
Make sure the camera has plugged in the SD card.
Click Apply after settings.
3.10 Motion Detection
If the user wants to monitor a special region, he should select motion detection.
IP CAM supports four detection regions. Choose the options dialog box before window1,
window2, window3, window4 to enable the corresponding areas. For example, choose
window1.Then you can see a box with a number at living video (Figure 3.23).