14
CD-R/RW MASTER RECORDER CR500 (Preparation before using the CR500)
Power connection
Connect the supplied power cable to the [AC IN] connector on the rear panel first, and
then to the AC outlet.
AC IN
CAUTION
AVIS:
RISQUE DE CHOC ELECTRIQUE
NE PAS OUVRIR
WARNING:
TO REDUCE THE RISK OF FIRE OR ELECTRIC
SHOCK, DO NOT EXPOSE THIS EQUIPMENT
TO RAIN OR MOISTURE.
UNBALANCED [-10dBV] BALANCED [+4dBu]
1:GND 2:HOT 3:COLD
RL RL
BALANCED [+4dBu]
DIGITAL
OUTPUTINPUT
L
R
R
L
ANALOG INPUT ANALOG OUTPUT
AC IN
GPI
Realtime clock setting
After making power connection, turn on the CR500 and make setting of the realtime
clock.
<Notes>:
Connect the CR500 to the AC outlet of the voltage indicated on the rear
panel. If you use the unit in another country where the power voltage or AC connec-
tor type is different, consult your dealer or local Fostex service station.
The realtime clock data is used for date/time of creation of an audio file which is
made when you make a recording to a BWF formatted CD-R/RW disc.
By default, the realtime clock is set according to local date/time of the factory. There-
fore, set the clock correctly according to your local date/time before using.
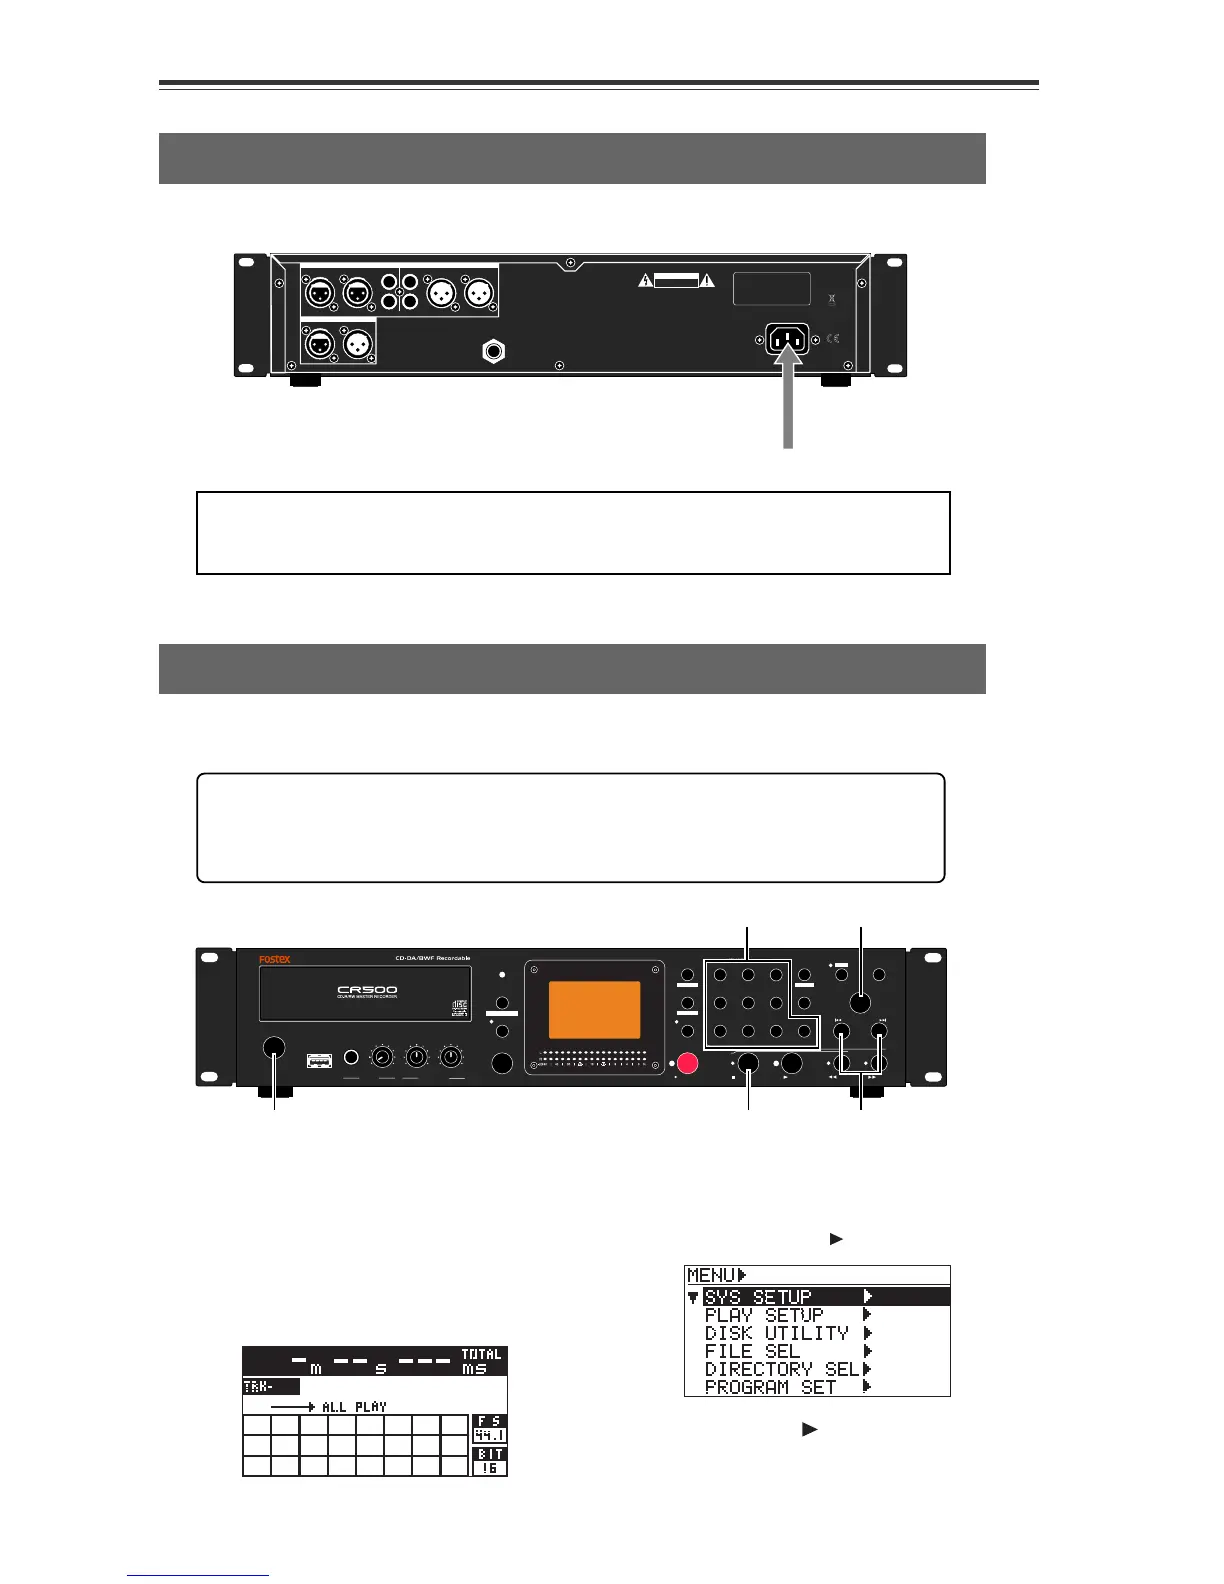
1) Press the [POWER] switch to turn on
the CR500.
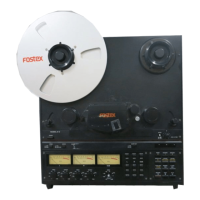
Soon after turning on the power of the
unit, the display shows the screen below.
The time display shows "-m--s---ms",
showing that the CR500 started up with
no disc loaded on the drive.
Power cable
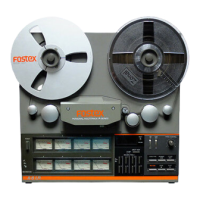
2) Press the [ENTER/YES] key.
The unit enters the MENU mode and the
display now shows the MENU list screen
on which "SYS SETUP
" is highlighted.
EXIT/NO
SHIFT
PUSH
MENU/ENTER/YES
SKIP/CURSOR
STOP/HOME
RECORD PLAY
REWIND
F FWD
PQRS
REC END
ABS 0
0
symbol TUV WXYZ
8
2
5
CONTRAST
FILE SEL
space ABC DEF
EDIT TIME
CLEAR
1
4
7
MEMORY SET
MEMORY
GHI JKL MNO
9
3
6
DISPLAY
LOCATE
+10
DIR SEL
REC RDY
ACCESS
PLAY MODE
PROGRAM SET
REPEAT
OPEN/CLOSE
RL
MAX
MIN
MAX
MIN
MAX
MIN
PHONES
INPUT LEVEL
(KYBD ONLY)
USB
POWER
1
2,3,4,5,6,76
6
8
3) While "SYS SETUP " is highlighted, press
the [ENTER/YES] key again.