DMT-8 Ver 2.0 Supplement to the Owner’s Manual
27
4. Press the EXECUTE/YES key again.
The display in Step 1 will appear, and the setting is complete.
5. Press the STOP button or the EXIT/NO key to quit Setup mode.
You can set an effective range for the Undo function in "Undo" in Setup
mode.
Two modes are available for the Undo function:
"Edit" : Non-destructive mode OFF - this mode allows for undo of auto punch
in/out, copy & paste, and move & paste, and "ALL". Non - destructive
mode ON - this mode allows for undo of all types of recording and editing.
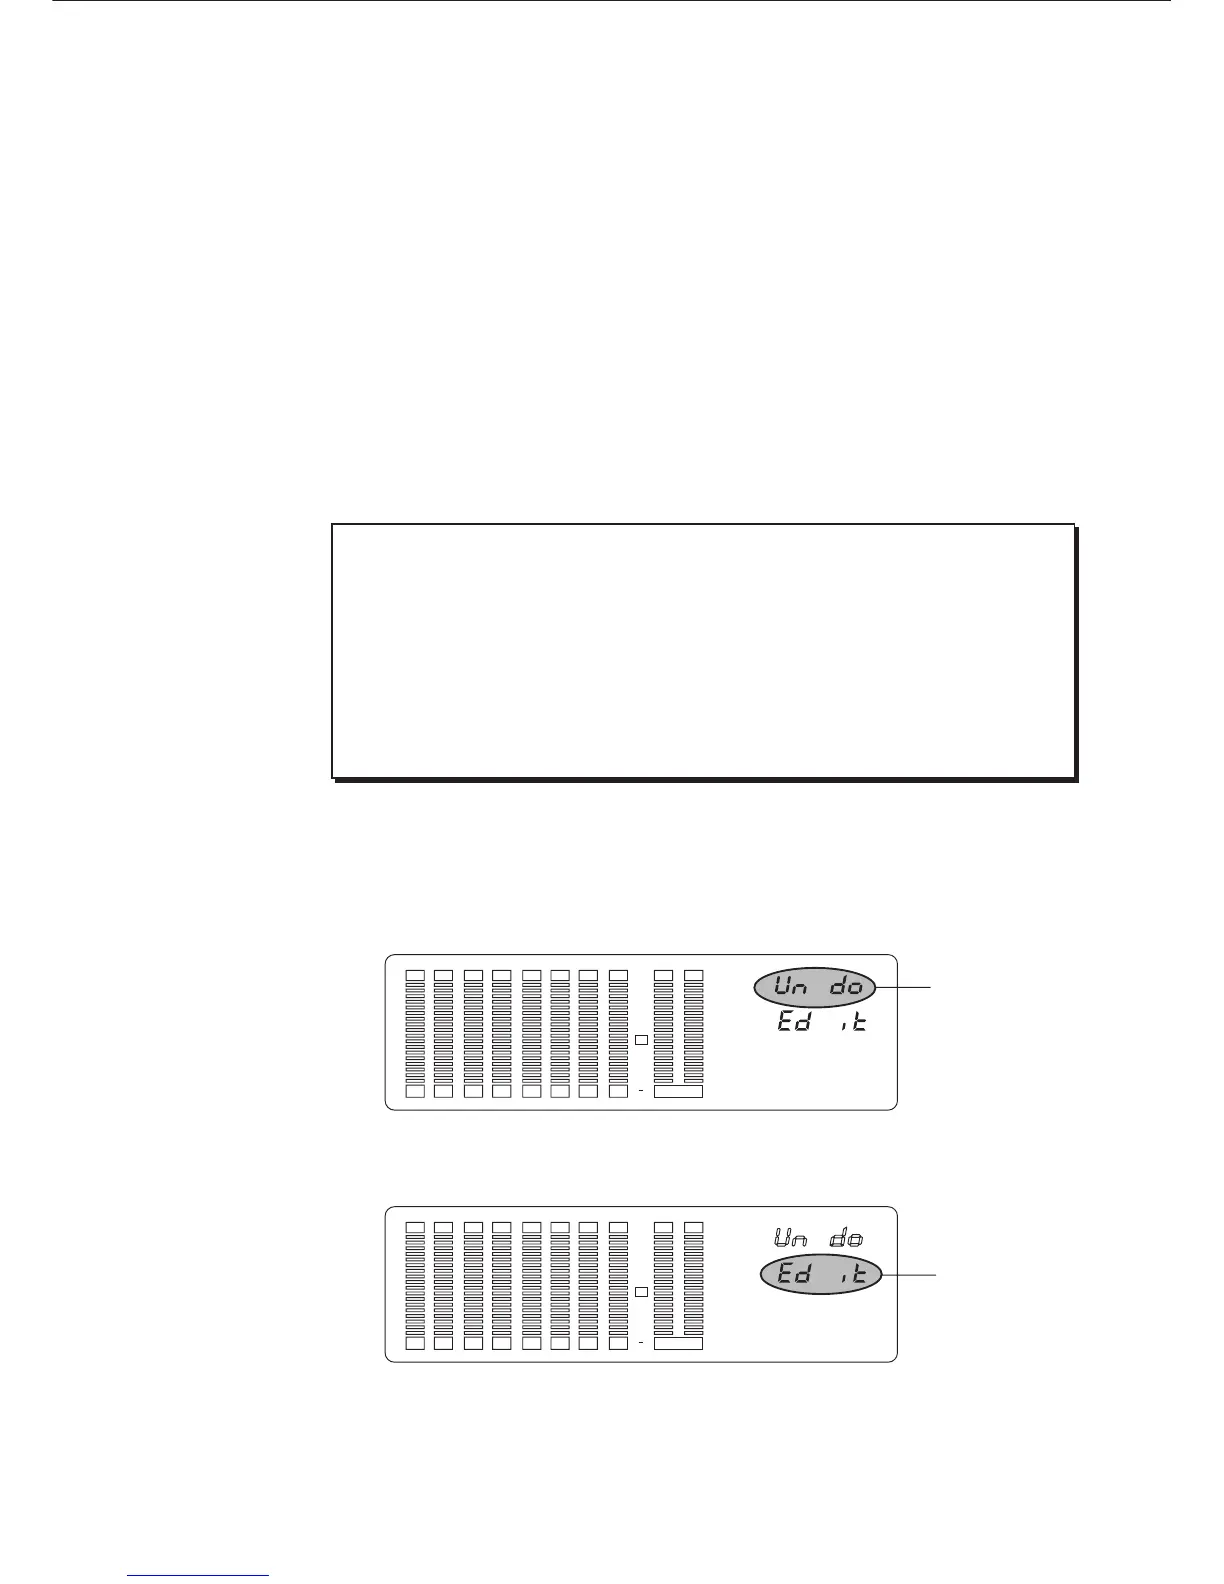
1. Press the DISP SEL key to select "SETUP" and press the EXECCUTE/YES
key. (The "SETUP" indicator will light up.) Turn the JOG dial to select
blinking "Undo".
The display will change to something similar to this, and the current value will
appear. (The detail setting is "Edit".)
2. Press the EXECUTE/YES key again.
The letters "Edit" on the display will blink, and you can edit the value now.
3-8. Setting the Undo function range ("Undo")
When executing direct recording in "undo ALL" mode, you need enough free
disk space to accommodate real time recording data. If you record a large
amount of data in this mode, the remaining disk space may run out during
your performance.
In this case, use the Undo function as soon as possible. (Once you perform
any edit operation, you will not be able to use the Undo function.) To maximize
the available disk space, cut an unnecessary part of another Programs, and
move the ABS END point of each Program backward as much as possible.
< Note >
Blink
12 34 567 8 LR
SET UP
OVER
0
3
6
9
12
18
24
30
Blink
12 34 567 8 LR
SET UP
OVER
0
3
6
9
12
18
24
30