9
(1) Turn down the rotary faders on input chan-
nels 1 through 4.
(2) Set the [SLATE] switch on the front panel to
“1k” (upper position).
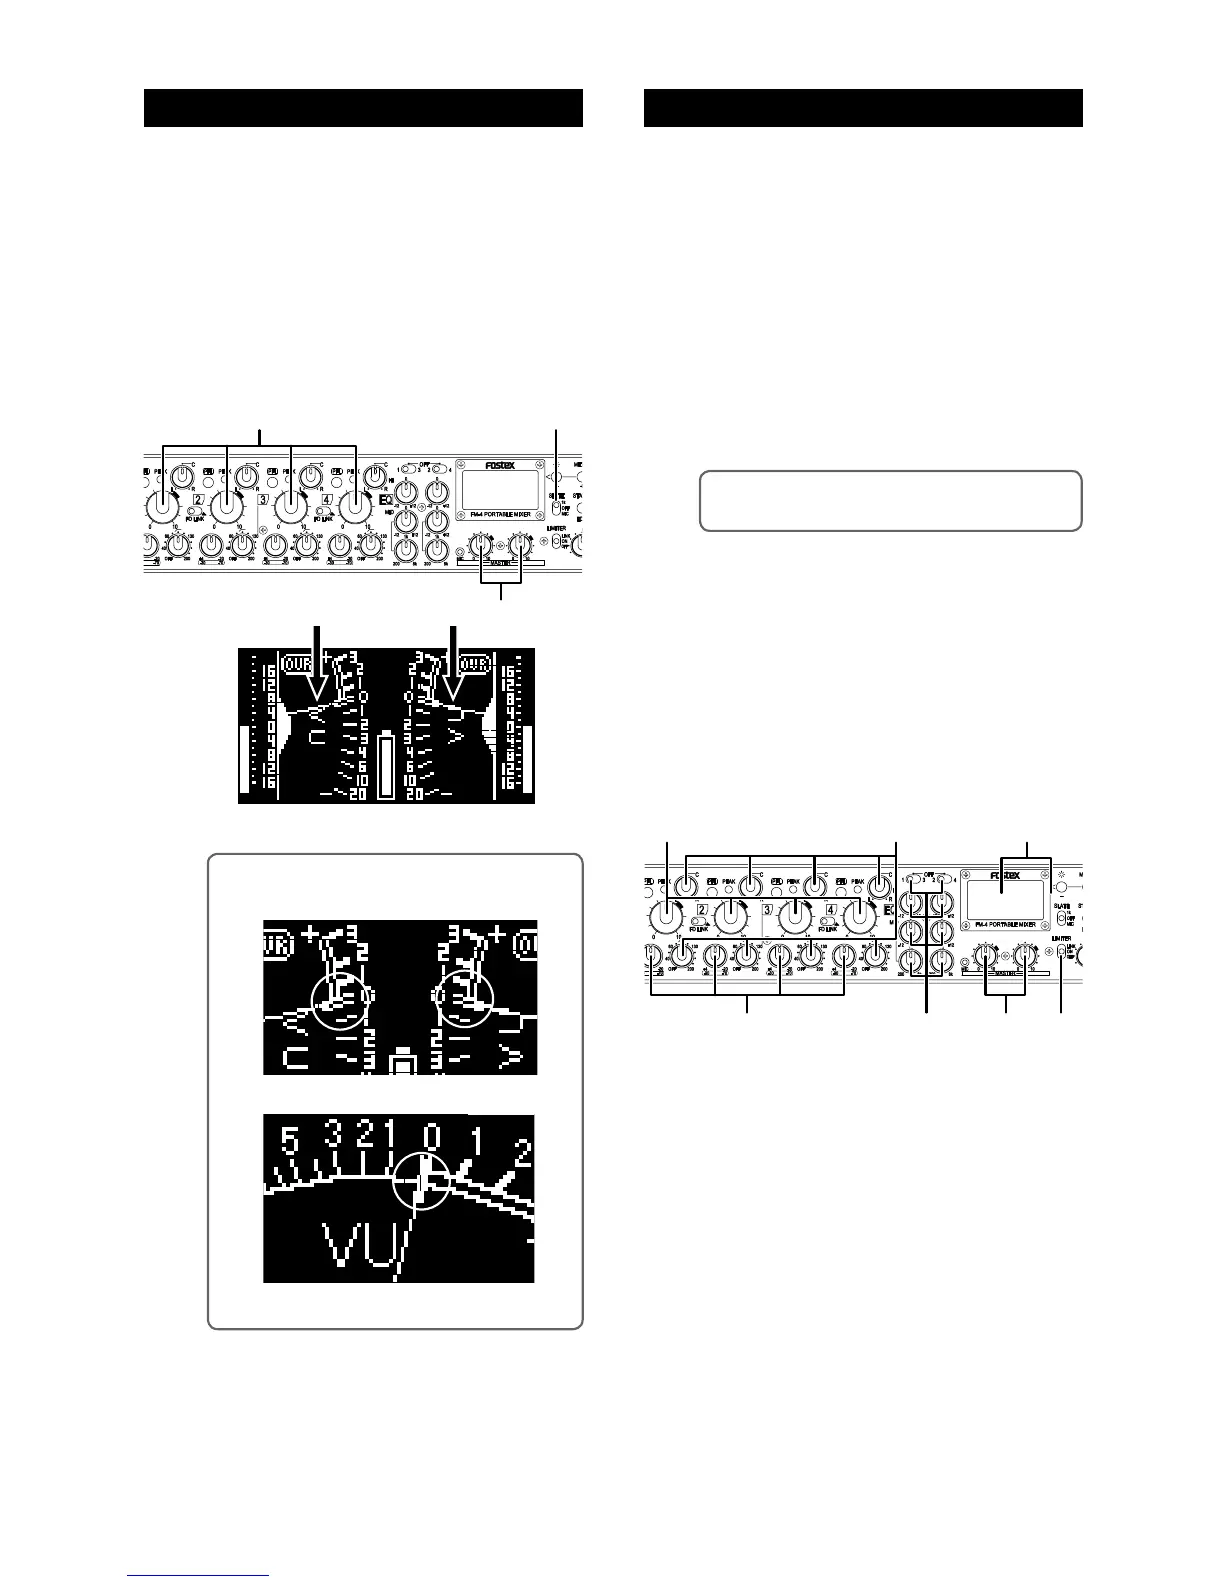
(3) Set the [MASTER] L and R faders to the
two-o’clock position (marked in orange) so
that the meter needles point to 0 VU (see the
figure below).
Normally this is the reference output position.
(4) After adjusting the reference level, switch the
[SLATE] switch to “OFF”.
(1) Set the [MASTER] faders to the reference po-
sition.
(2) Receive input signals and adjust the trim
control of each channel.
Adjust the trim control appropriately so that the
peak indicator does not light in red at the maximum
sound level.
(3) Raise up the channel fader of each channel
gradually until the meter shows the proper
level.
(4) Set the pan and HPF controls of each input
channel appropriately if required.
<Memo>: The HPF cuts the unnecessary low fre-
quency range, such as wind blowing.
(5) If you want to apply the EQ to input channels,
set the EQ switches and controls appropri-
ately.
To use the EQ, select the input channels you apply
the EQ to using the EQ switches and make EQ set
-
ting using the EQ controls. If you do not apply the
EQ to an input channel, set the EQ switch to OFF.
(6) If you want to apply the limiter to the main
output, set the [LIMITER] switch to “ON” (or
“LINK”).
<Memo>: In the following figures, the meter nee-
dles point the reference (0 VU).
Stereo metering
Mono metering
Audio settingMaster fader reference setting